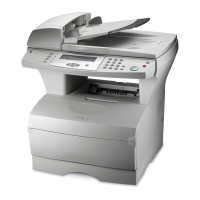
Identifying the media path
85
Clearing jams
Use the following table to locate instructions for jam removal based on the jam message:
Message To clear this jam, see instructions in these sections
290 Scanner jam, remove all originals
from the scanner
Entering the ADF
291 Scanner jam, remove all originals
from the scanner
In the ADF
292 Scanner jam, remove all originals
from the scanner
Opening top cover during scanning
293 Scanner jam, replace all originals
if restarting job
Jammed due to missing scan media or poor
positioning in the ADF
200 Paper jam, remove Print Cartridge
to access
Jams under the print cartridge
Jams in the tray 1 area
Jams in the tray 2 area
201 Paper jam, remove Print Cartridge
to access
Jams under the print cartridge
Jams behind the upper front door and the rear
output bin door
Jams in the tray 1 area
Jams in the tray 2 area
Jams inside a tray after clearing the metal stop
Jams in the fuser
202 Paper jam, open rear door to access Jams under the print cartridge
Jams behind the rear output bin door
Before reaching the standard output bin
Exiting to the standard output bin
230 Paper jam, check duplex Jams in the fuser
Jams under the MFP
250 Paper jam, check MP Feeder Jams in the multipurpose feeder