Setting the Date and Time
9
CAUTION
It is highly recommended to set the date and time when first setting up your system.
Inaccurate time stamps may render your footage unusable for court evidence.
1. Right-click or move your mouse to the bottom of the screen to open the Menu Bar and
click the Main Menu button (
).
2. Enter the system user name (default: admin) and password (default: 000000) and
click Apply.
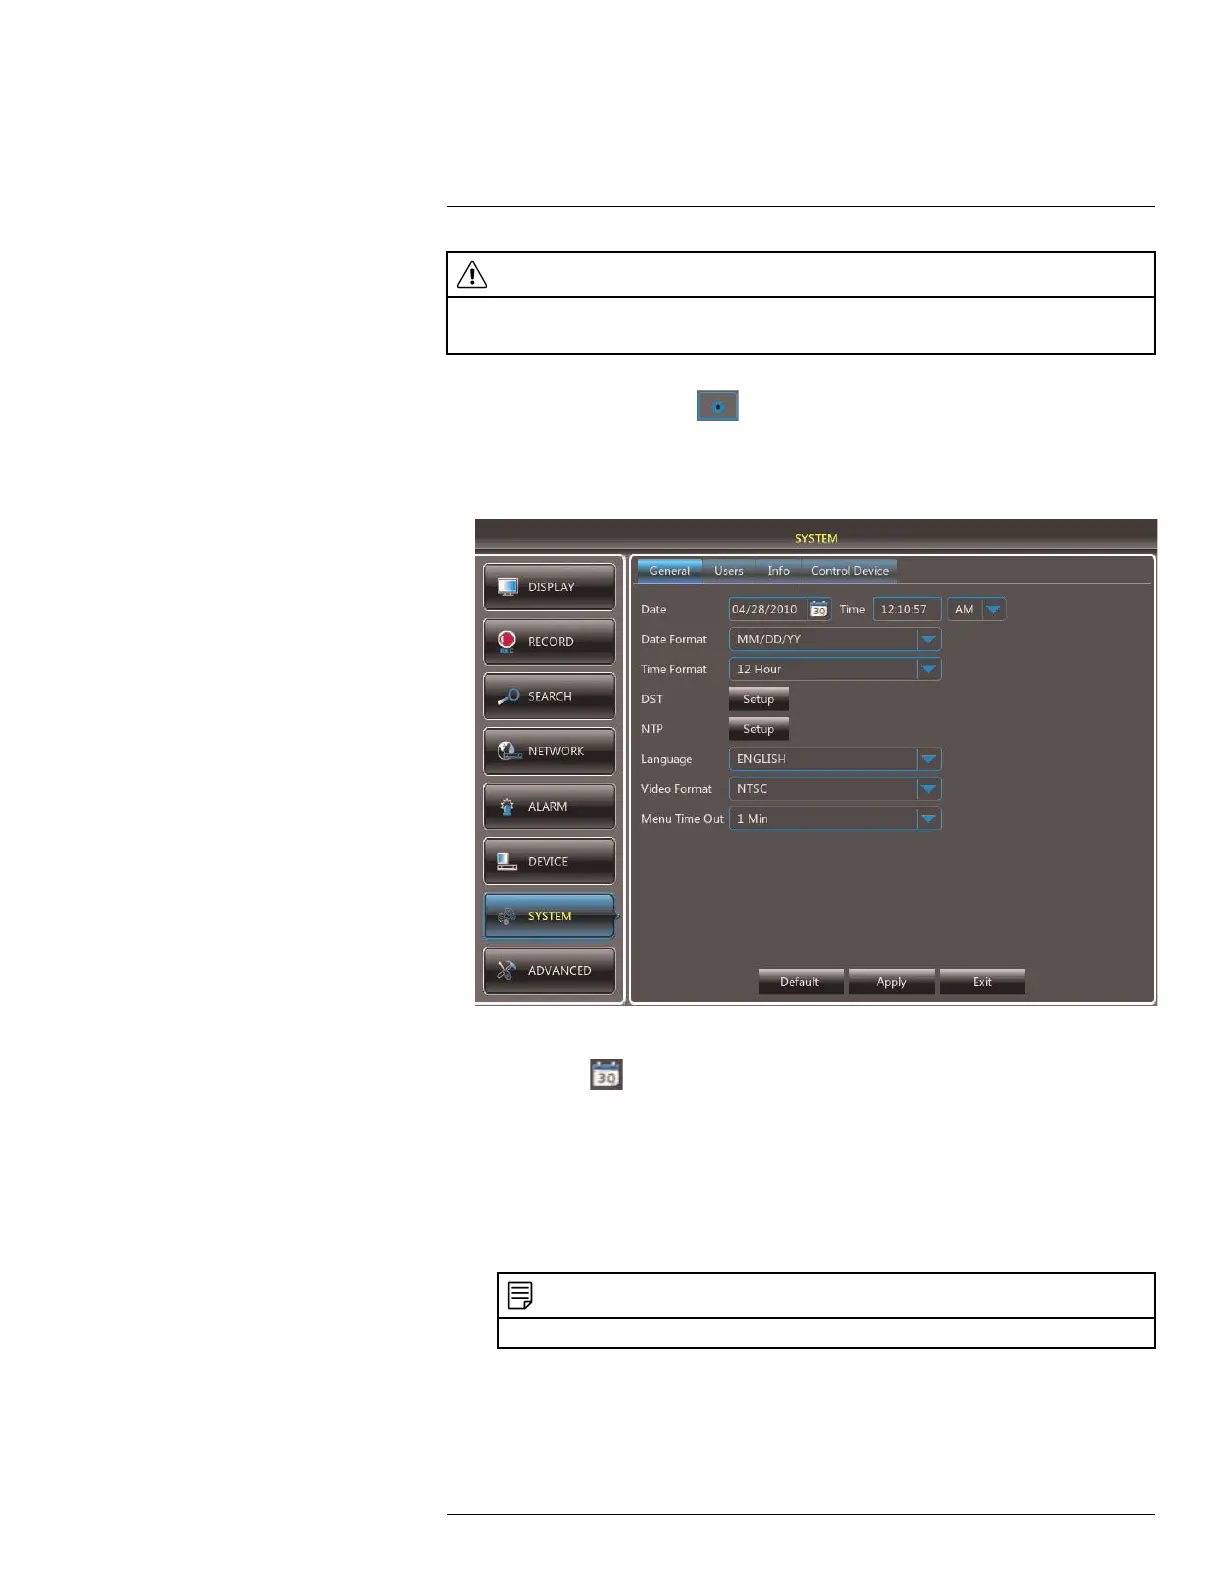
3. Click System.
4. Configure the following:
• Date: Click
to display the on-screen calendar. Select the month, date, and year.
• Time: Click inside the field and enter the time using the on-screen number pad.
• (Optional) DST: Click the Setup button next to DST to configure automatic Daylight
Savings Time adjustments.
• (Optional) NTP: Click the Setup button next to NTP to synchronize your DVR’s
time and date with a Network Time Protocol (NTP) time server. Lorex provides a
free NTP service that automatically updates your DVR’s time for Daylight Savings
Time.
NOTE
A constant internet connection is required for the NTP server feature to function.
5. Click Apply to save your settings.
#LX400080; r.36800/36800; en-US
17

 Loading...


