43
Using DVR Netviewer
5. Under File, click the text field to select the
save location and file name for the backup
file.
6. Click Start. File ba
ckup begins. Depending
on your connection and size of the file, this
could take several moments.
NOTE:
You may need to log back in to your
system via DVR Netviewer after the Backup
process.
To use Backup:
8/16-channel
1. Click the Channel buttons to select the
channel you want to view.
2. Under Start Time, click to open the
pop-up calendar and enter a date and
time.
3. Under Stop Time, click to open the
pop-up calendar and enter a date and
time.
4. Click Start t
o b
egin backup. File is saved to
C:\ with the default file name, bv3.mov
NOTE: Backup files carry the file extension
.mov; QuickTime Player is required to view MOV
files.
OR
5. Under File, click the text field to select the
save l
ocation and file name for the backup
file.
6. Click Start. Fil
e backup begins.
Depending
on y
our connection and size of the file, this
could take several moments.
NOTE:
You may need to log back in to your
system via DVR Netviewer after the Backup
process.
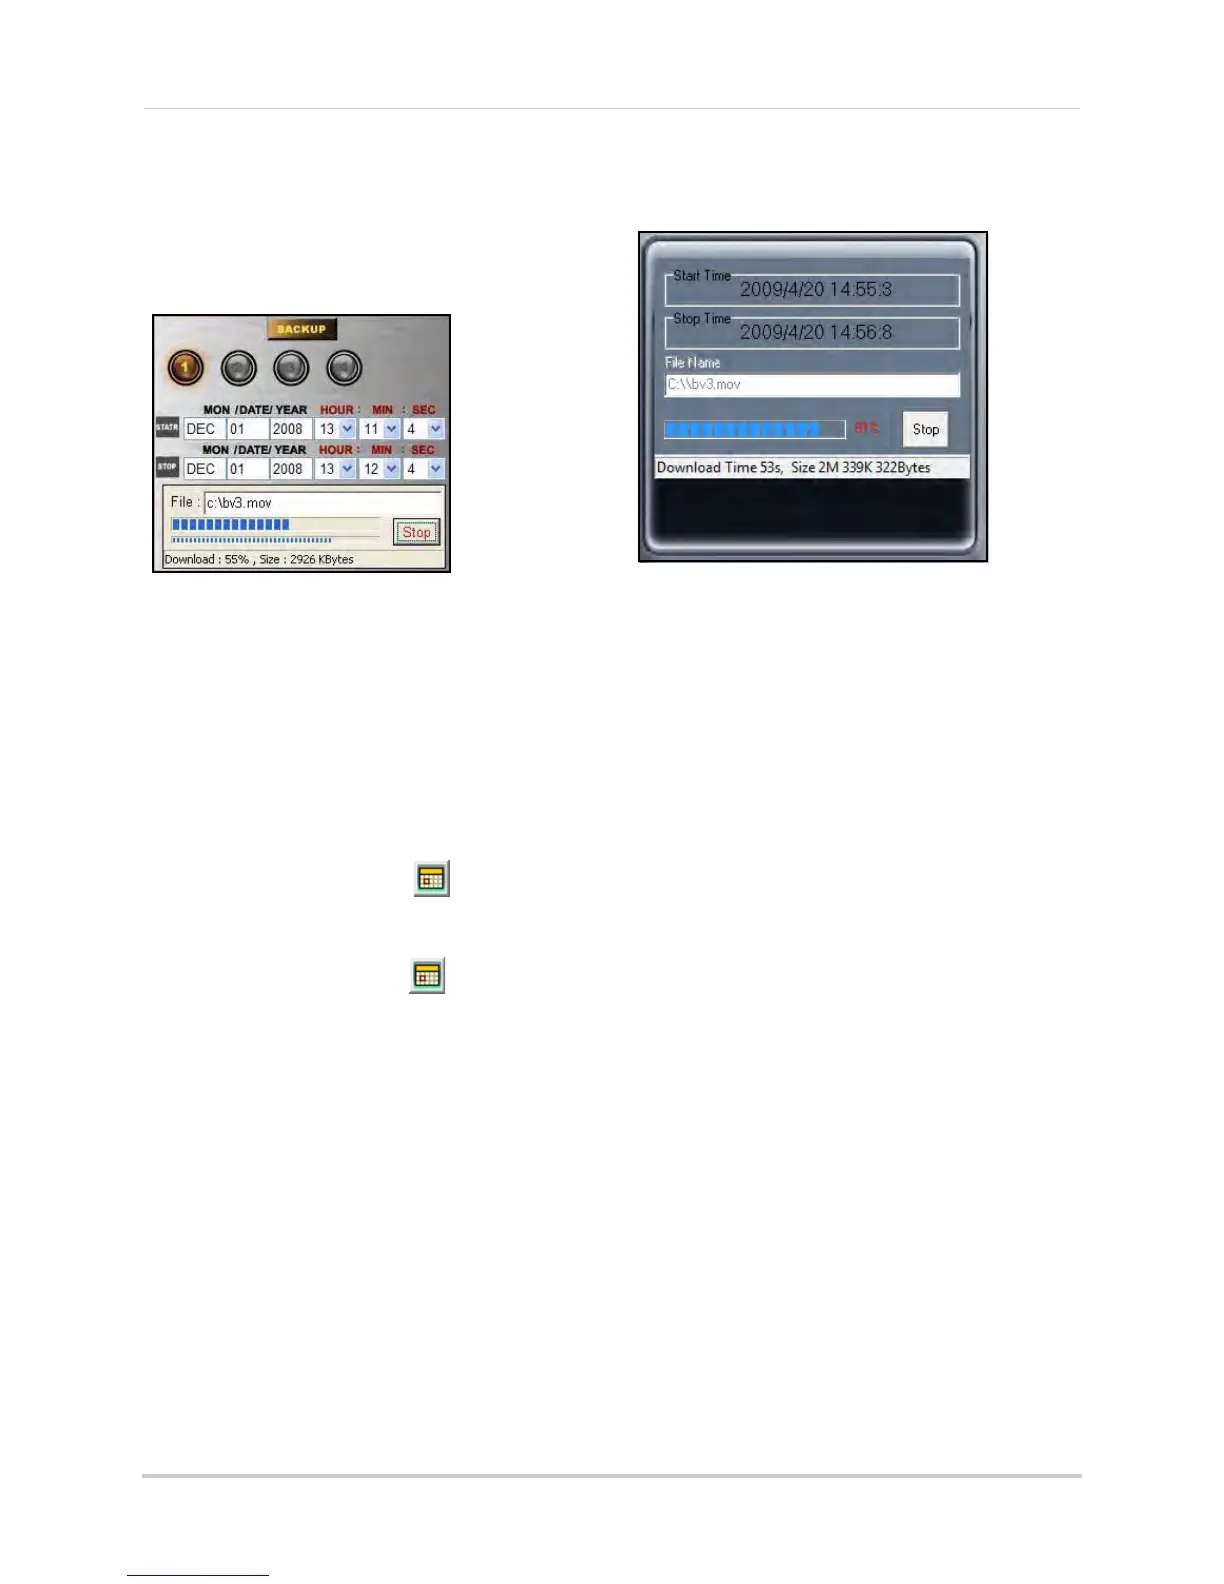
Figure 22.4 Backup progress (4-channel)
Figure 22.5 Backup progress (8/16-channel)