p/n 18603-001, Rev. C LTV
®
1200/1150 Ventilator Service Manual Page 8-79
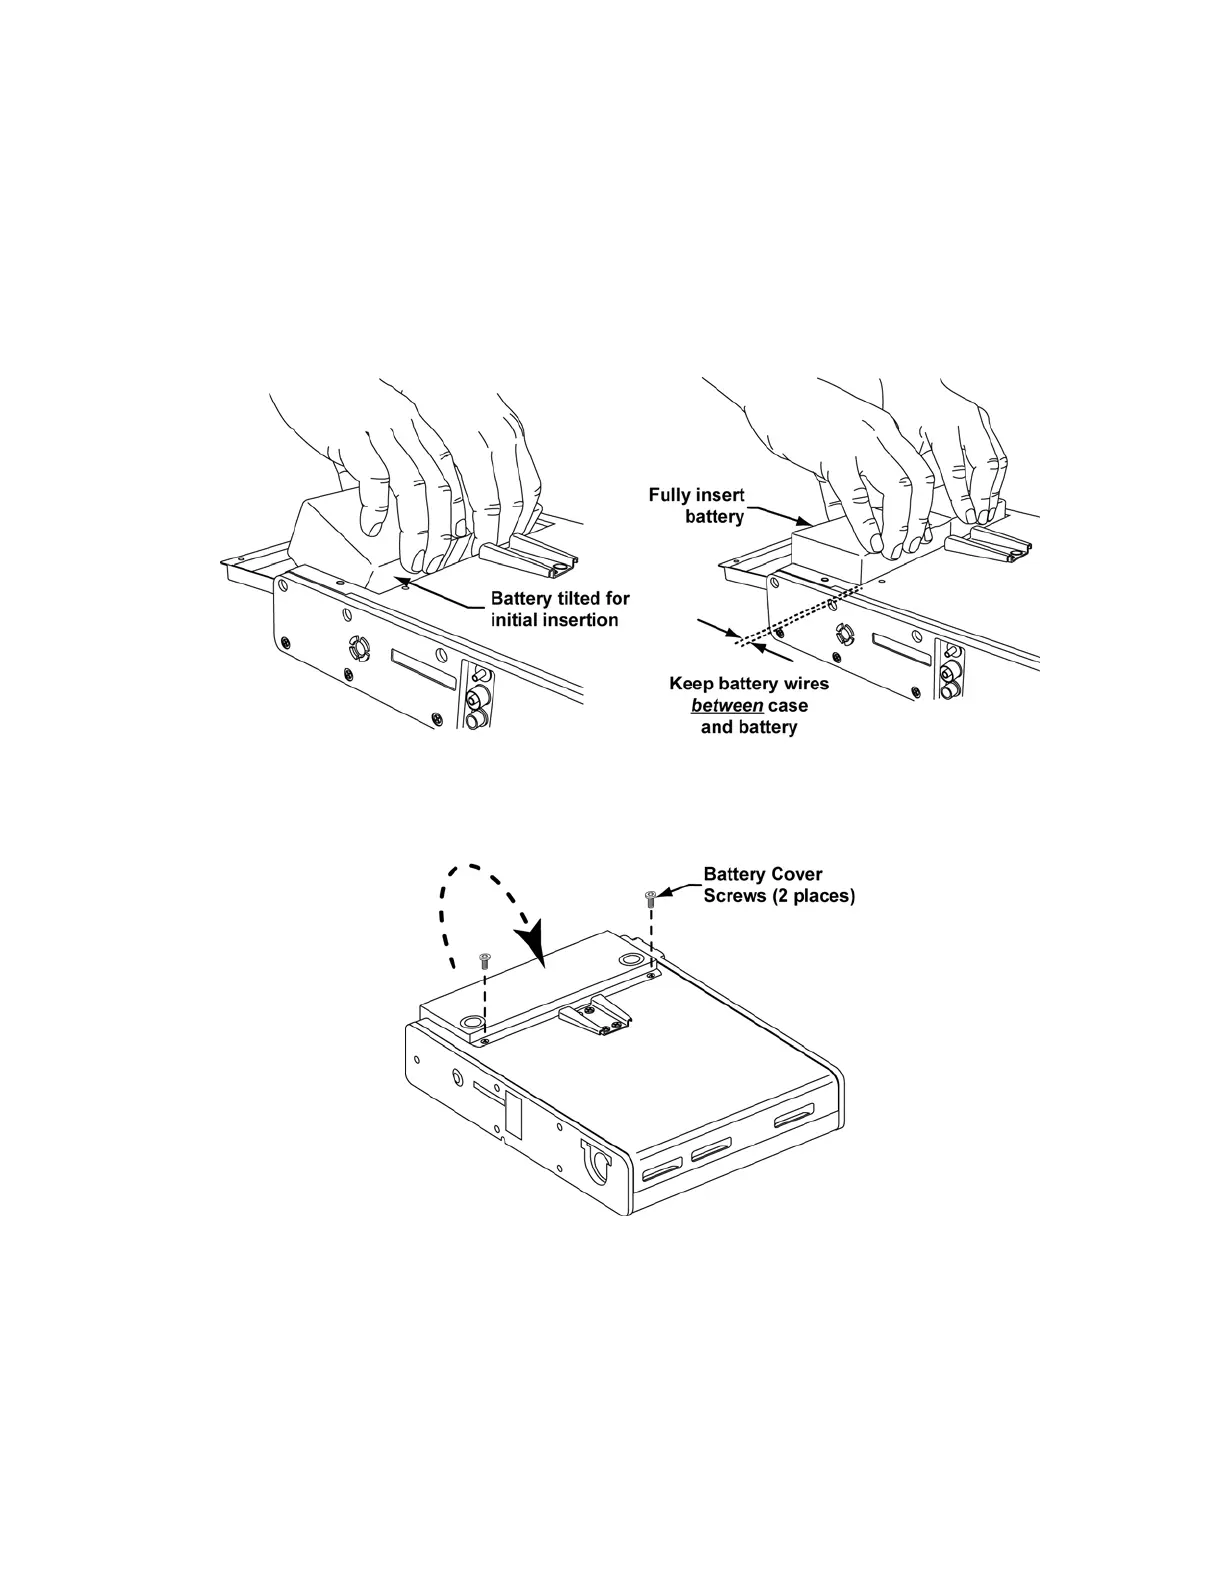
7) Ensure that the battery connector and battery cable are fully inserted into their
enclosures, tilt the battery as shown and begin inserting it into the battery
compartment.
8) Straighten the battery and continue pressing down until it is fully seated in the battery
compartment.
• keep the battery connector wires between the case and the side of the
battery (not under, or above the battery).
9) Close the battery cover, replace the battery cover screws and use a torque driver
and 3/32” hex bit to torque tighten to 120 in-oz (0.84Nm).
10) Prior to initial use of the ventilator, charge the replacement battery by plugging the
ventilator into an AC power source for 24 hours and check for proper operation by
performing testing as specified in the Checkout Test Selection table in Chapter 9 -
Final Checkout Test.