Page 8-86 LTV
®
1200/1150 Ventilator Service Manual p/n 18603-001, Rev. C
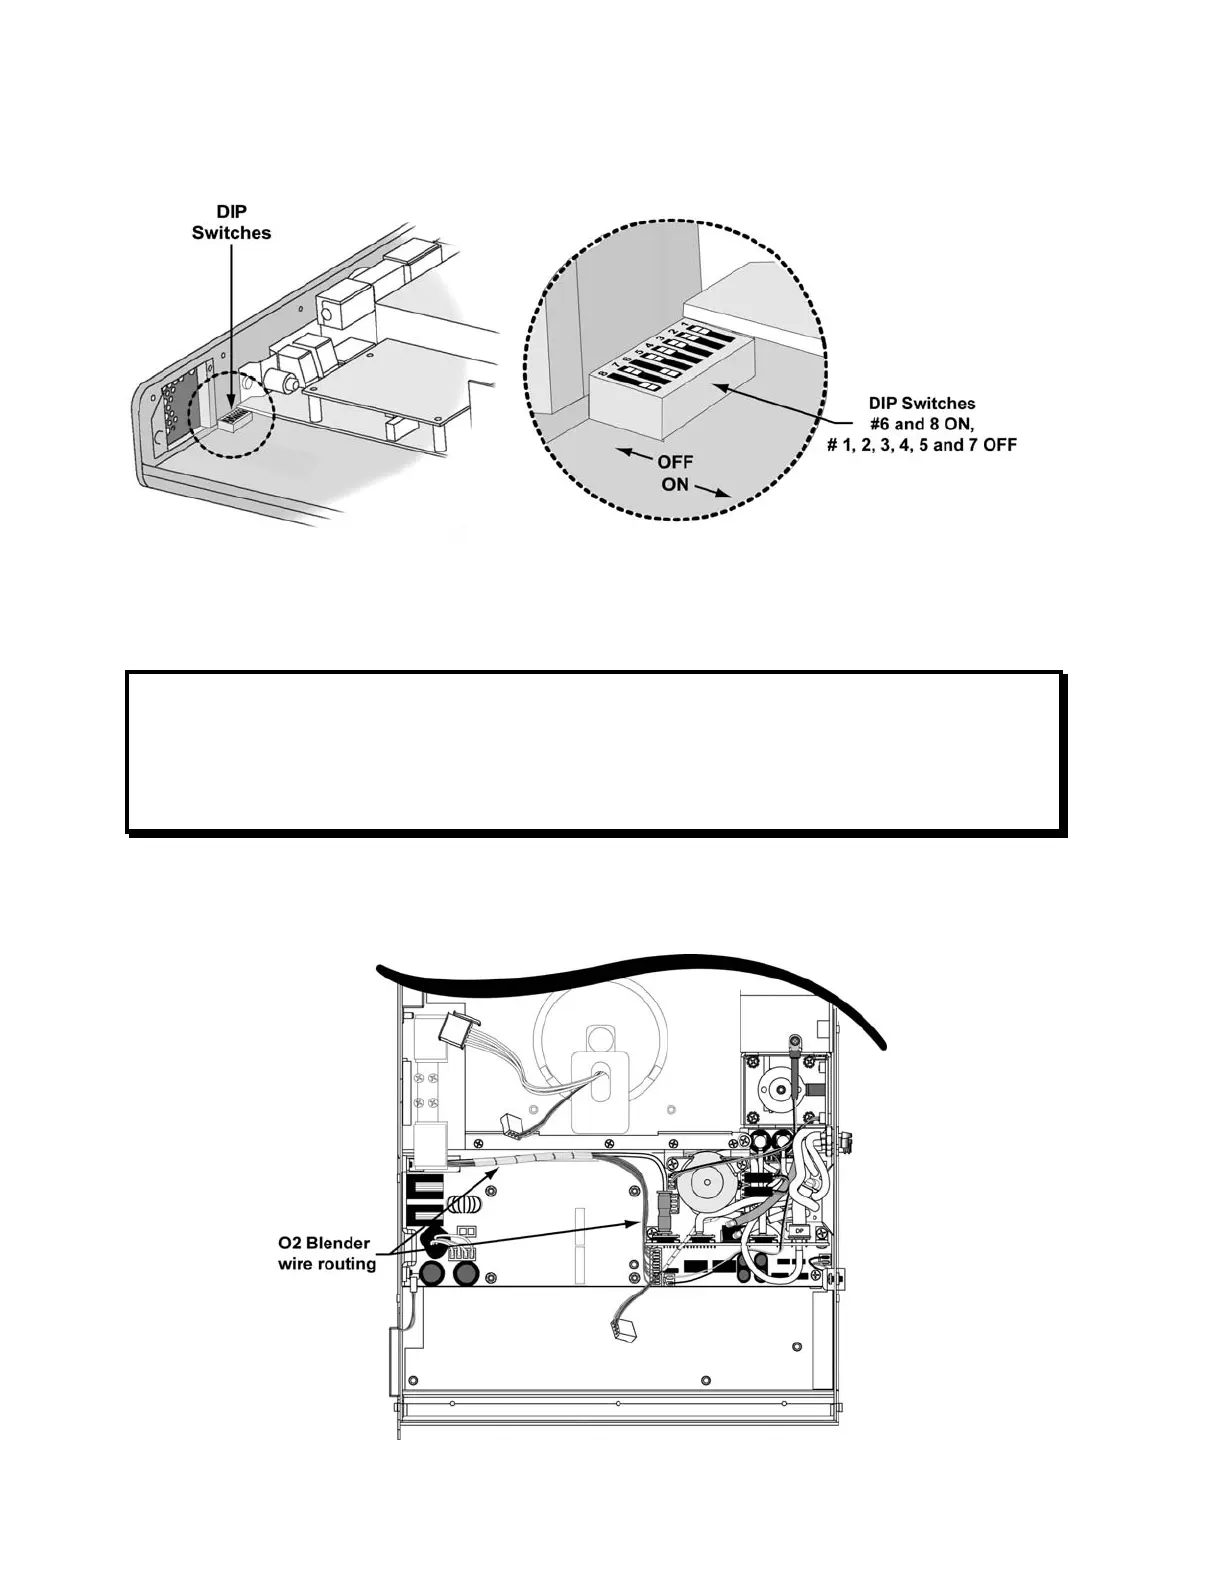
26) When LEDs are aligned, return all DIP switches to the default positions.
27) Reconnect the flexible tubes to the Flow Xducer and Exh Valve fittings on the side
panel of the ventilator following the diagrams, tables and instructions beginning on page
8-33. Inspect all flexible tubes for tears at the connecting ends and replace worn or
damaged tubes if necessary.
NOTE
Tubing Configurations - When disconnecting tubes, note their positions and review the
internal flexible tube routing tables, instructions and diagrams beginning on page 8-33.
If tubing needs to be replaced, consult the tables and instructions in Internal Flexible Tubing
beginning on page 8-33 for tubing diameters, lengths and routing diagrams.
28) Replace the fan assembly (see instructions on page 8-63).
29) Reconnect the 8-wire oxygen blender connector to the power board. Route as shown
(LTV
®
1200 only).