Page 8-118 LTV
®
1200/1150 Ventilator Service Manual p/n 18603-001, Rev. C
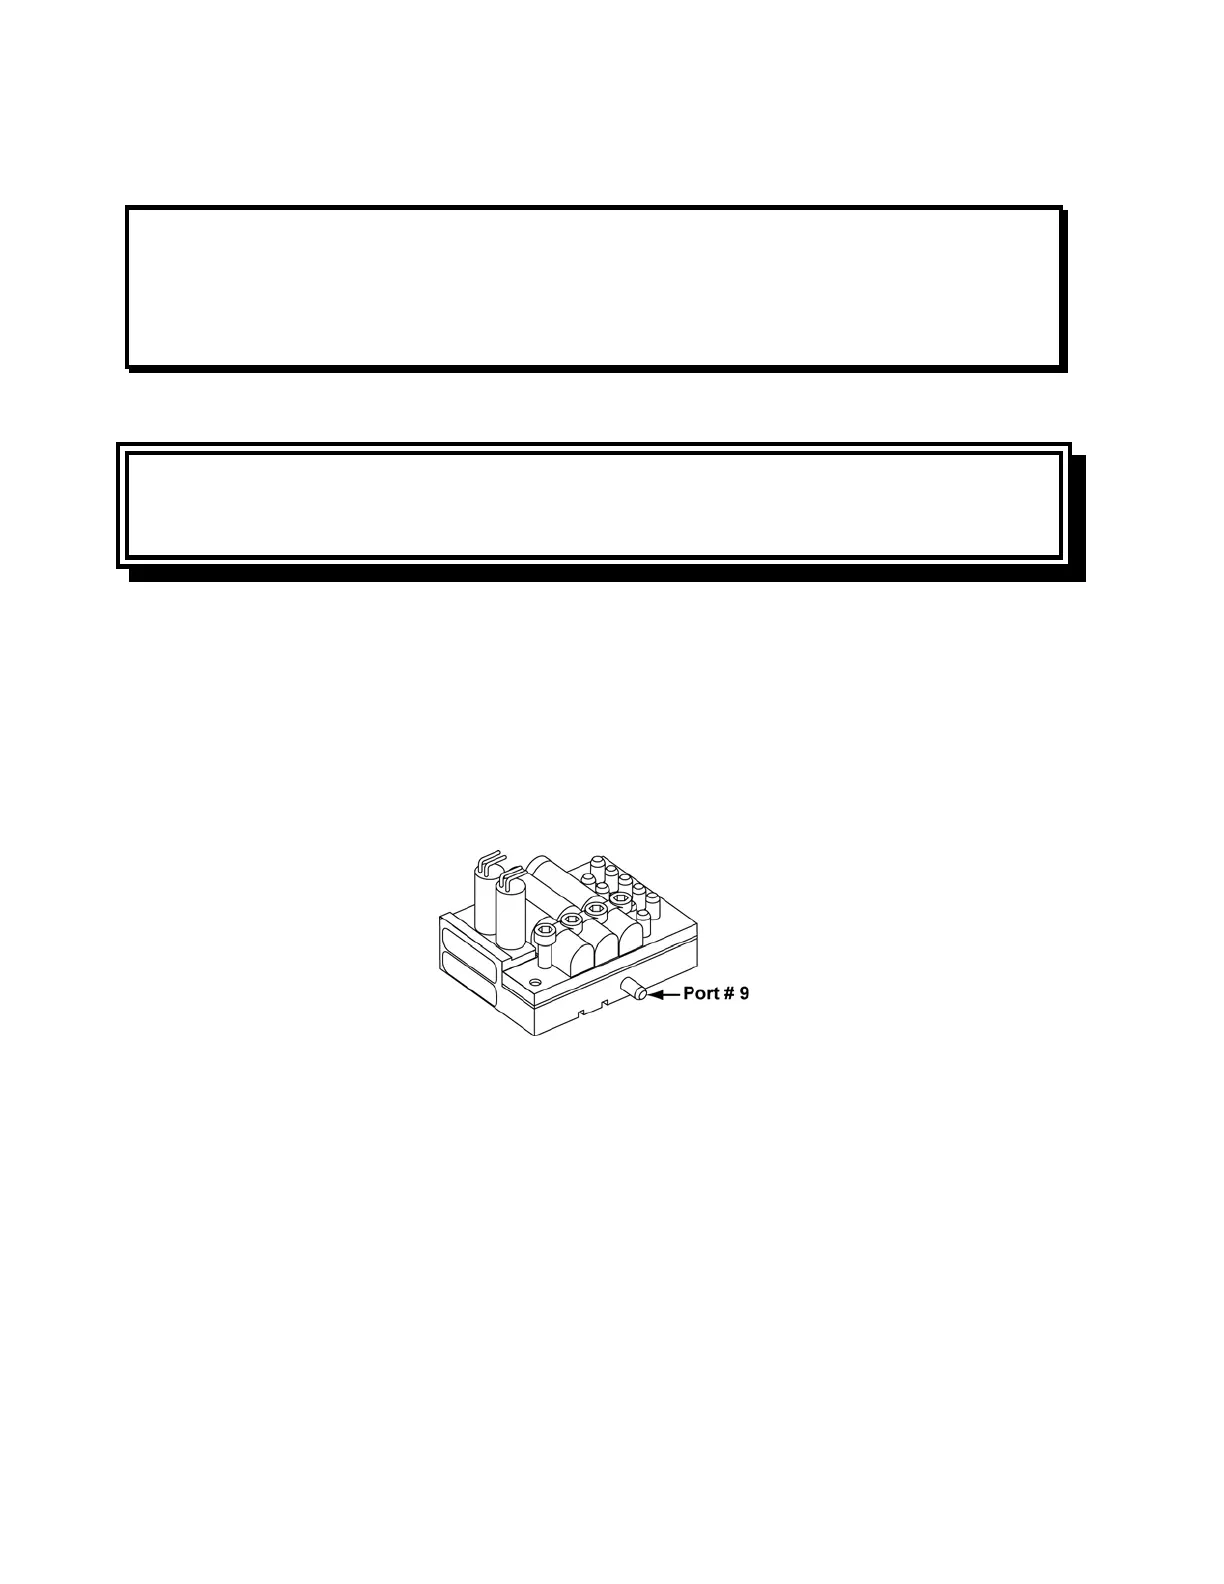
16) Remove the solenoid manifold from the power board, disconnect the flexible tube from
port #9, and separate the solenoid mount assembly from the solenoid manifold.
NOTE
Tubing Configurations - When disconnecting tubes, note their positions and review the
internal flexible tube routing tables, instructions and diagrams beginning on page 8-33.
If tubing needs to be replaced, consult the tables and instructions in Internal Flexible Tubing
beginning on page 8-33 for tubing diameters, lengths and routing diagrams.
17) Disconnect all flexible tubing from the solenoid manifold.
WARNING
Mounting Screw Use – Make sure the correct length mounting screws are used as
specified in the instructions or internal damage to the ventilator may result.
Installing the new solenoid manifold:
1) Reattach the flexible tubes to the solenoid manifold ports #2, #3, #4, #6, #7, and #8,
following the tube routing table at the beginning of this section and the tube routing
instructions and diagrams beginning on page 8-33. Inspect all flexible tubes for tears at
the connecting ends and replace worn or damaged tubes if necessary.
2) Reattach the small diameter tube from the tee fitting and port A of the accumulator to
port # 9 on the front of the new solenoid manifold.