169441 126 Revision D
If adjustments are required, proceed as follows:
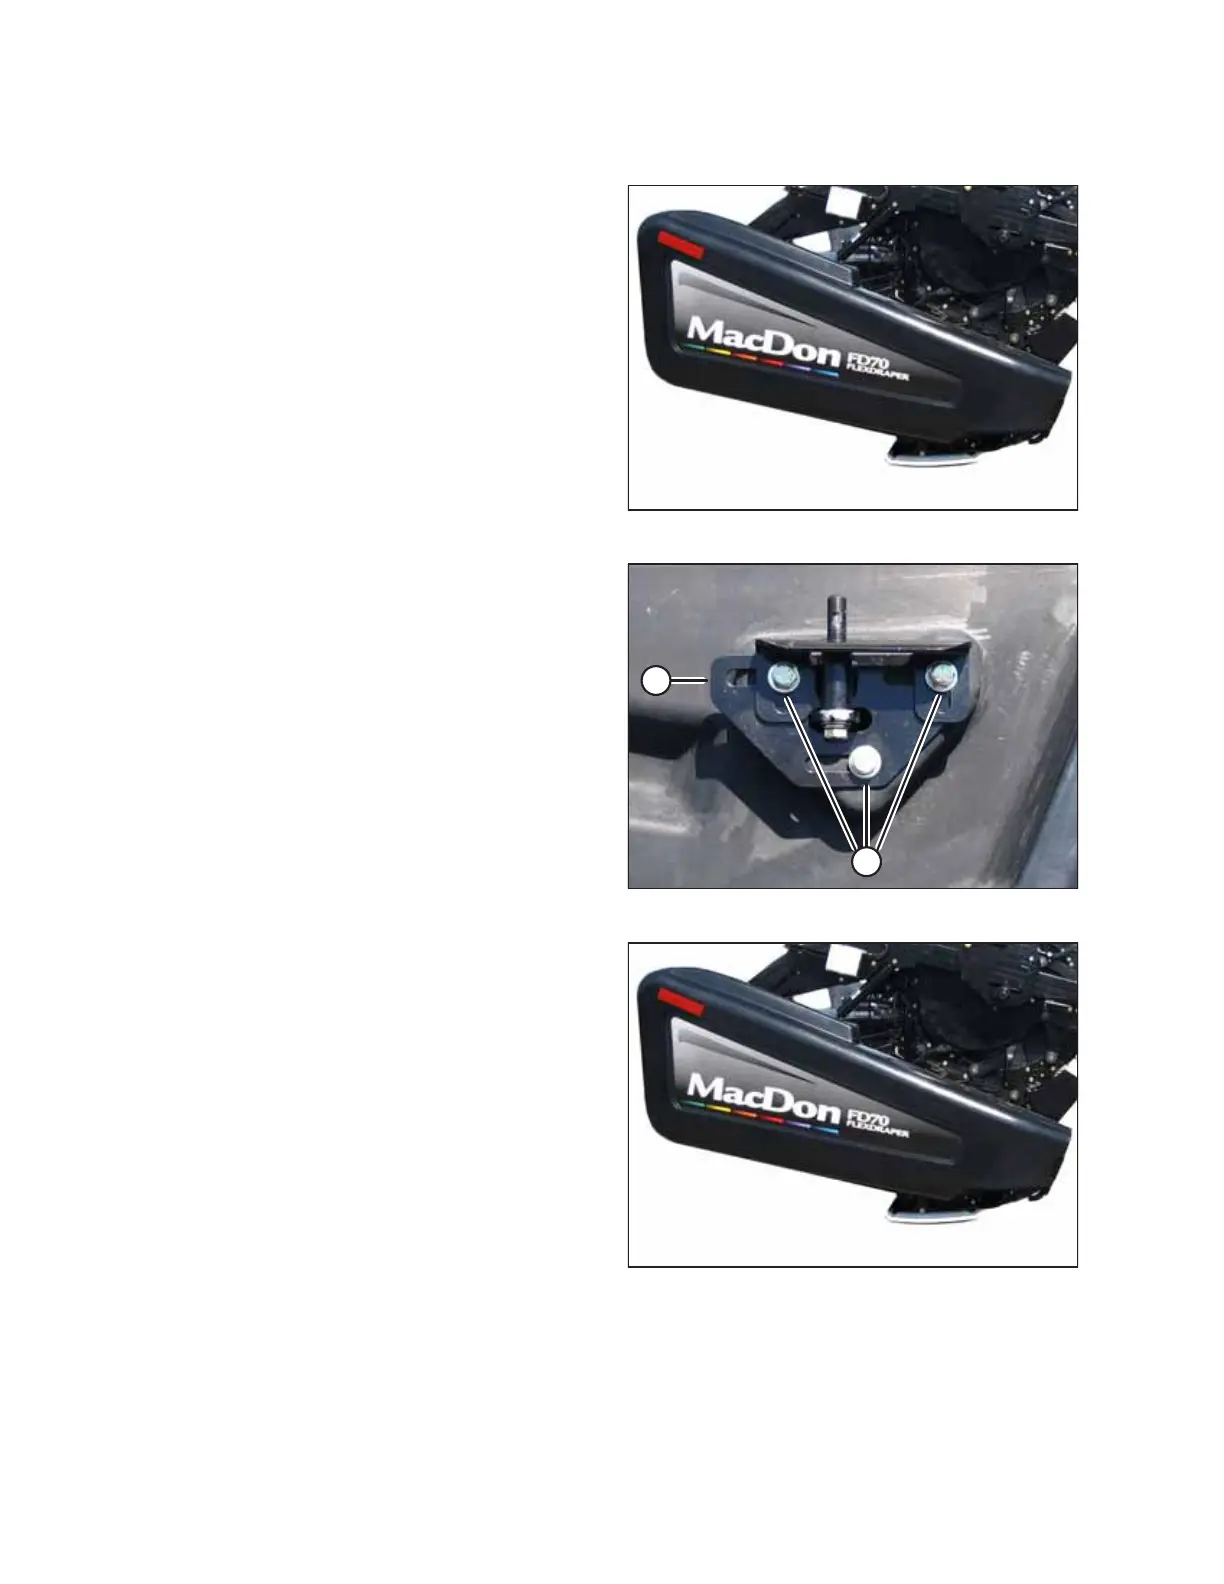
Figure 4.25: Right Endshield
2. Remove the endshield. For instructions, refer to 4.3.6
Removing Non-Hinged Endshields, page 124.
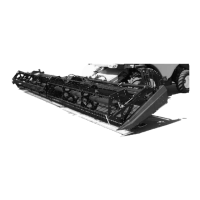
Figure 4.26: Latch Assembly
3. Loosen bolts (A) on latch assembly (B).
Figure 4.27: Right Endshield
4. Close the endshield and adjust its position to achieve the
desired gap between the front end of the endshield and the
header frame.
MAINTENANCE AND SERVICING