169441 146 Revision D
Replacing Pointed Guards
To replaced pointed guards, perform the recommended replacement procedure provided here.
Replacing normal, drive side, and end guards
DANGER
To prevent bodily injury or death from the unexpected start-up of the machine, always stop the engine and remove the
key from the ignition before making adjustments to the machine.
1. Shut down the engine, and remove the key from the ignition.
2. Stroke the knife manually until the knife sections are spaced midway between the guards.
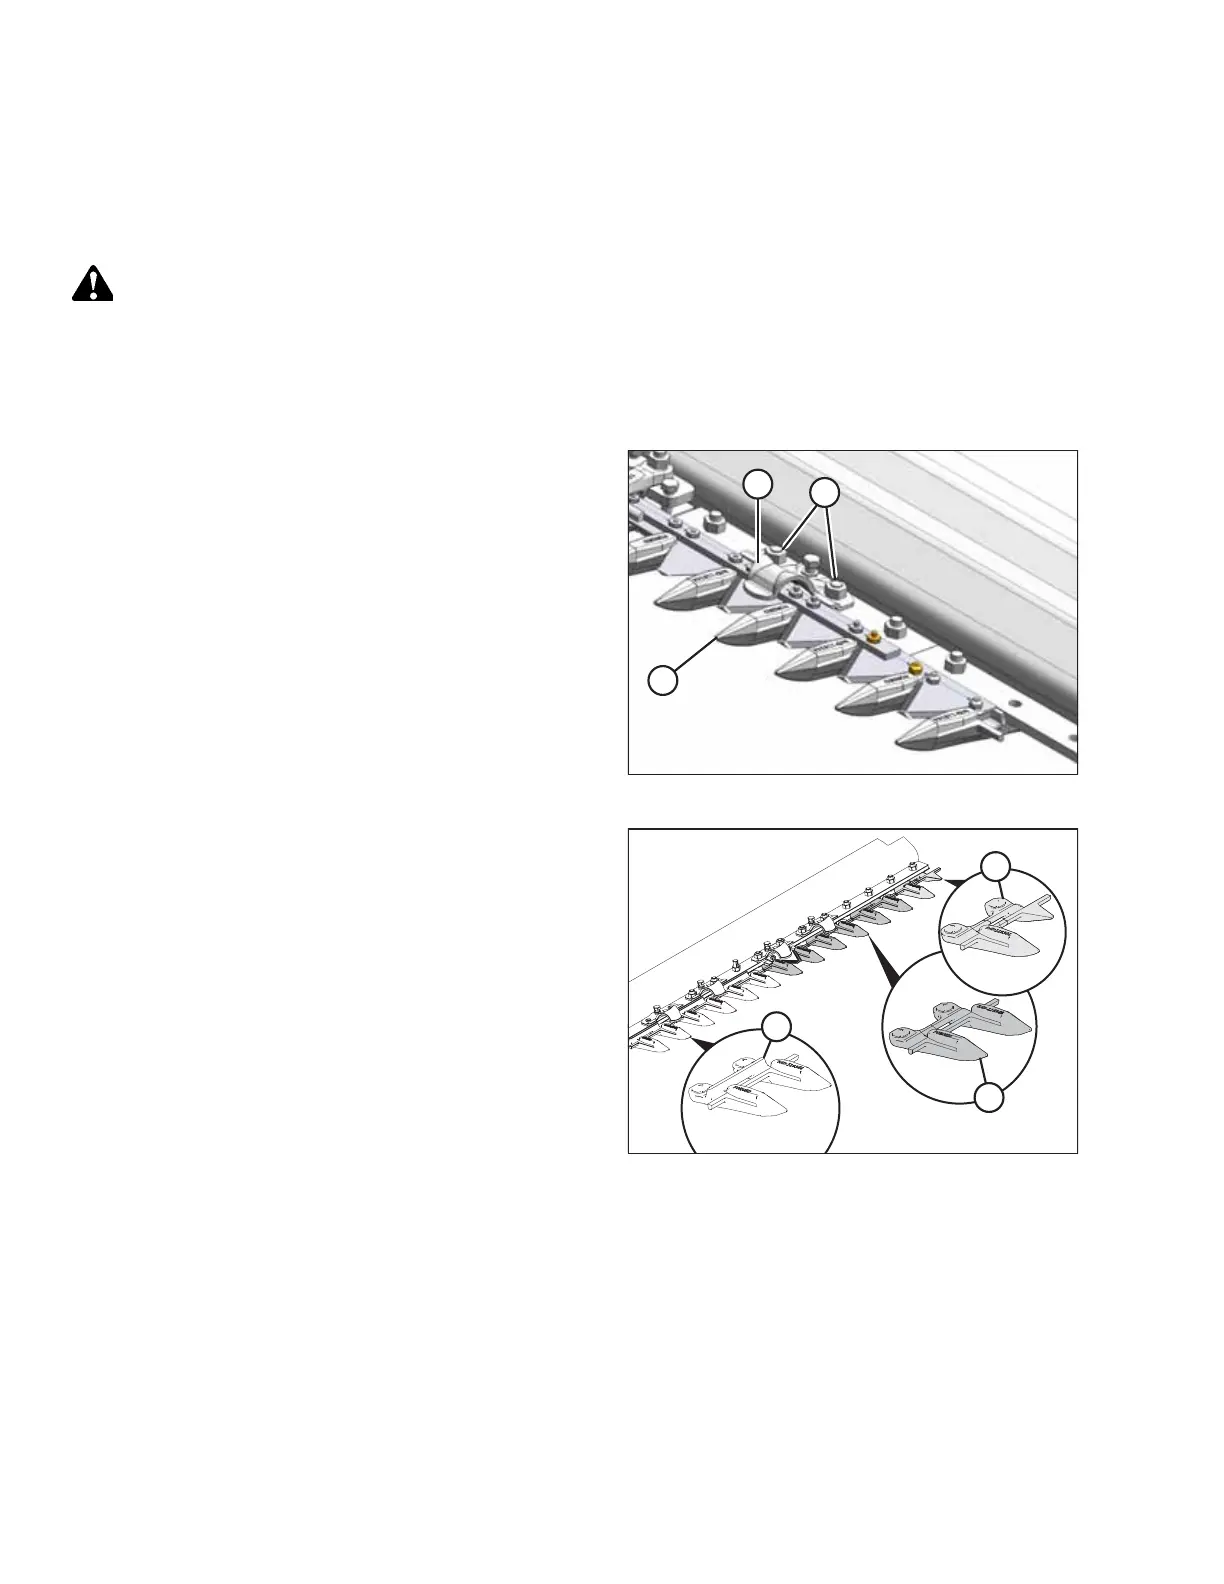
Figure 4.54: Pointed Guards
3. Remove two nuts (B) and bolts attaching guard (A) and
hold-down (C) (if applicable) to the cutterbar.
4. Remove guard (A), hold-down (C) (if applicable), and plastic
wearplate (if installed).
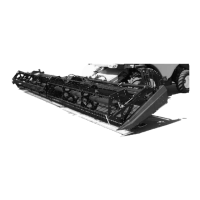
Figure 4.55: Pointed Guards – Left End of Cutterbar
A - Half Guard (End) B - Drive Side C - Normal
IMPORTANT:
At each end of the cutterbar, the first four guards (end
guards [A] and drive side guards [B]) do NOT have ledger
plates like standard guards (C). Ensure proper replacement
guards are installed at these locations.
MAINTENANCE AND SERVICING