Repair Comet Executive Gas
7-28
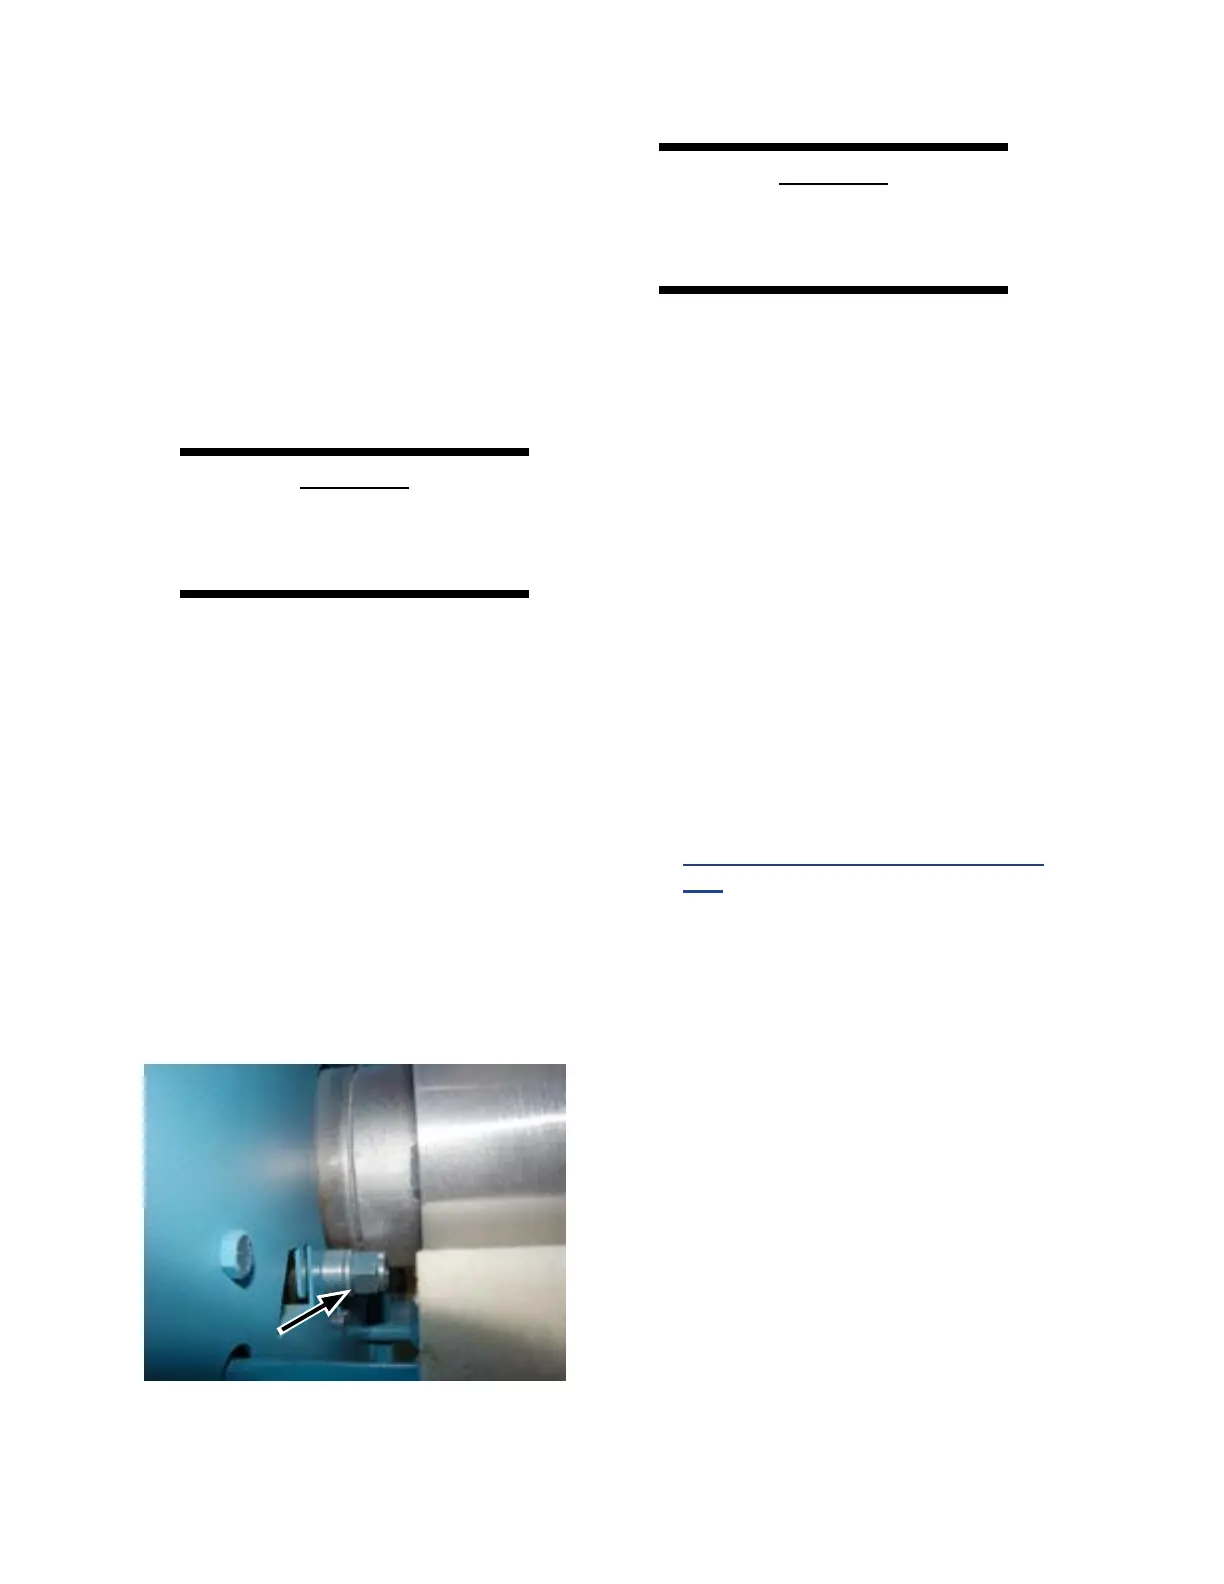
4. Remove the cam follower bearings (Figure
7-24, B) by unscrewing the nuts located
on the inside of the left endframe (Figure
7-25). Carefully examine their condition
and determine if replacement is appropri-
ate.
5. There are 3 or 4 1/4” roll pins located
around the body of the hardened ring
(Figure 7-24, C). Use a punch to drive all
of these out.
CAUTION
Be careful not to damage the
surface of the trunnion when
removing the old ring.
6. If possible, use a suitable punch to drive
o the old ring. Depending on the condi-
tion of the ring, it may have to be cut o
instead.
7. If it is necessary to cut o the old ring,
use a saw with a steel cutting blade to
cut a deep notch in the ring and then use
a cold chisel to force the ring to expand
for removal.
8. Use a scraper or coarse sandpaper to clean
any rust or scale from the surface of the
trunnion and lightly oil the trunnion.
CAUTION
Do not heat the hardened
ring to make it easier
to install.
9. Drive on the new hardened ring using a
block of hard wood as a cushion to pre-
vent damage. Do not strike the new ring
directly with a hammer. Drive on four
alternating points to avoid cocking or
jamming the ring.
10. Drill new holes for the roll pins through
the holes in the hardened wear ring and
into the trunnion.
11. Install new roll pins.
12. Re-install the cam follower bearings by
reversing Step 4.
13. Slowly and carefully remove the wooden
wedges. Use the jack to lower the ironing
cylinder onto the cam follower bearings.
14. Re-install the burner system; refer to
Burner Removal/Replacement on page
7-29.
Figure 7-25: Cam follower bearing nut inside the
left endframe.