Comet Executive Gas Repair
7-35
4. Note where each of the two wires are
connected for the control being replaced
(Figure 7-31, A/B) and disconnect.
5. Locate the appropriate contact shoe as-
sembly (Figure 7-29). The temperature
control sensor is located toward the center
of the ironing cylinder (A) while the high
temperature limit sensor is located toward
the left end of the cylinder (B).
6. Follow Steps 3 to 5 of Temperature
Sensor Contact Shoe Replacement on
page 7-33.
7. Carefully bring the capillary tube and
probe into the left endframe (Figure 7-30,
C).
8. Remove the mounting hardware which
secures the control being replaced.
9. Remove the control and discard following
local codes.
10. Use the hardware from Step 8 to secure
the new control in position.
CAUTION
Do not bend capillary tubing
sharply and no closer to
switch or tube than 1/2”.
11. Carefully thread the capillary tube and sen-
sor through the hole in the left endframe
(Figure 7-30, B).
12. Follow Steps 8 to 10 of Temperature
Sensor Contact Shoe Replacement on
page 7-33.
13. Reconnect the control’s wires as noted
in Step 4.
14. If replacing the temperature control, push
the dial onto the control.
15. Close and secure the left endframe door.
WARNING
Never operate the unit unless
all safety covers are in place
and all safety equipment is
working correctly.
16. Turn power ON at the main disconnect
switch and start the unit.
17. Heat the unit and make sure it is operating
correctly.
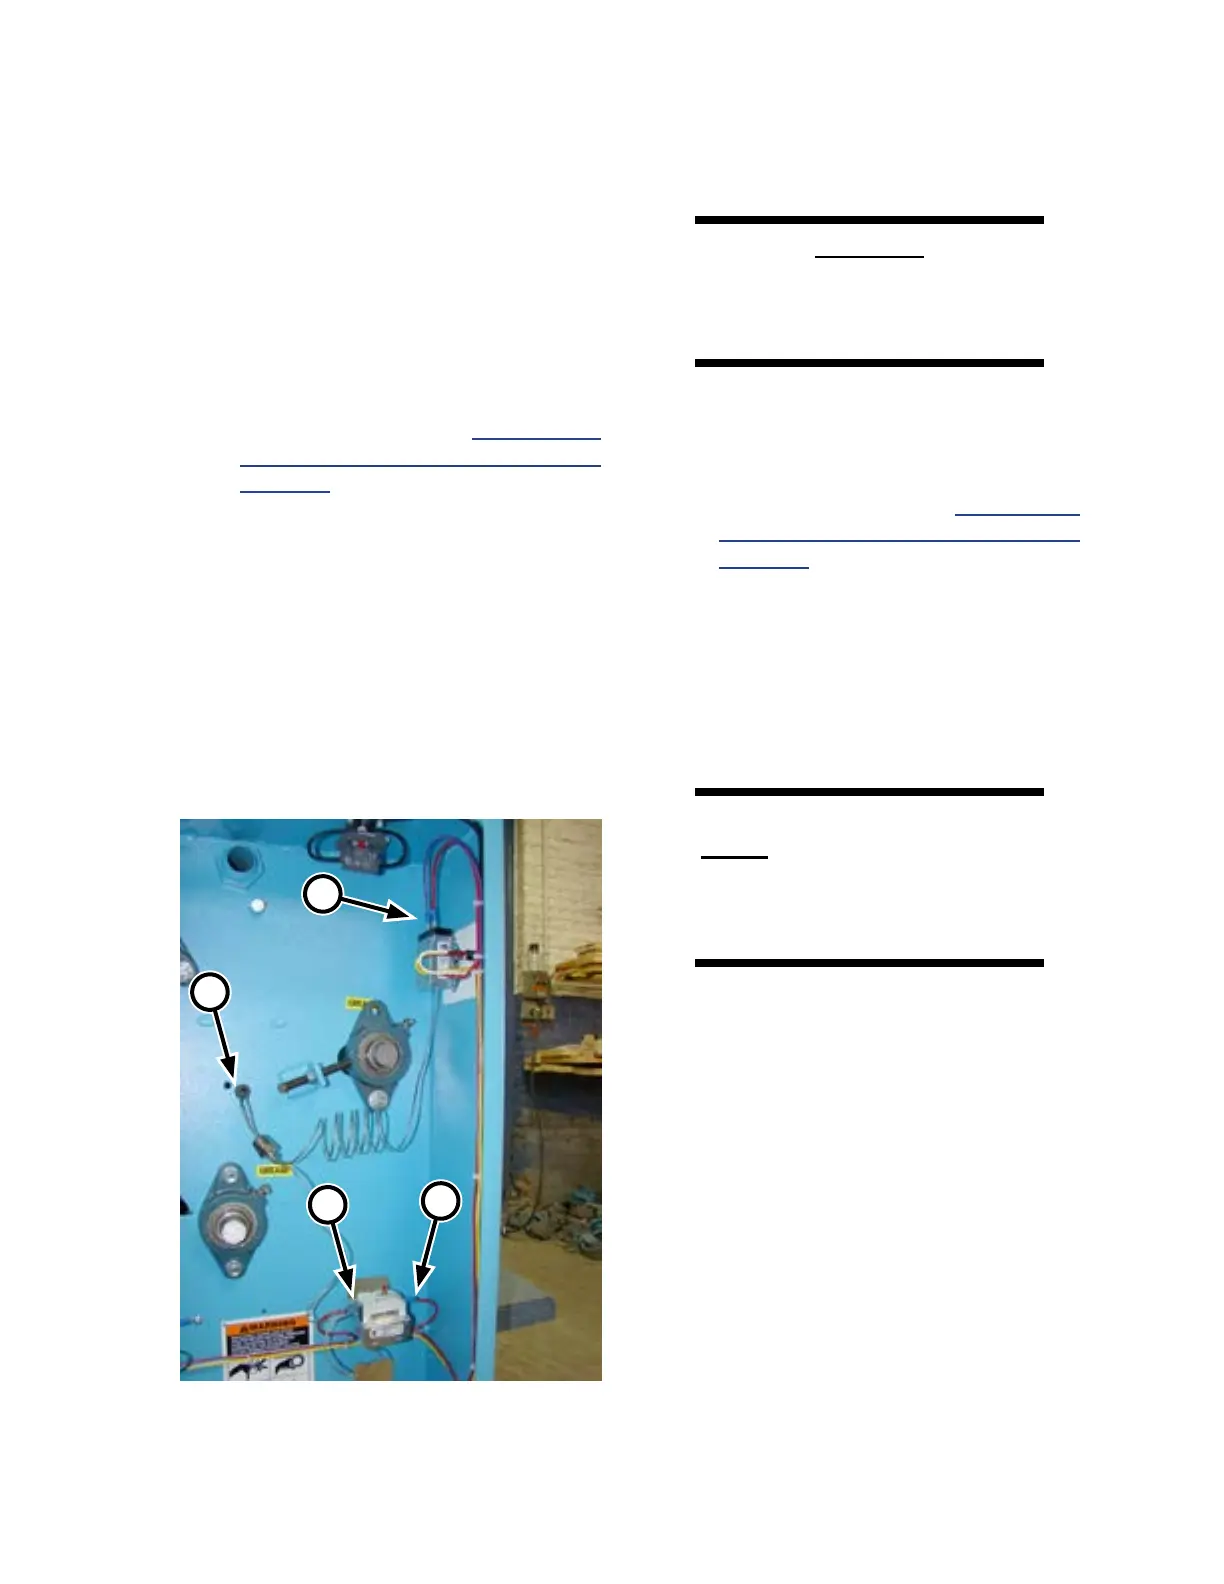
Figure 7-31: The TEMPERATURE control is
mounted inside the left endframe.
A
B
B
C