Song Recording
In this chapter, we will introduce you how to record your performance in different ways. We have pre-programmed two useful
methods: Record your own performance as MIDI file, and use an external storage to save your own performance as audios.
MIDI Recording
To make recording procedure more simply, you can choose quick
recording or multiple recording for different requires.
Quick Recording: It makes performance recording more conveniently
and quickly.
Multi Track Recording: Record several different parts to multiple
channels.
Note:
All recorded songs can be further edited.
Quick Recording
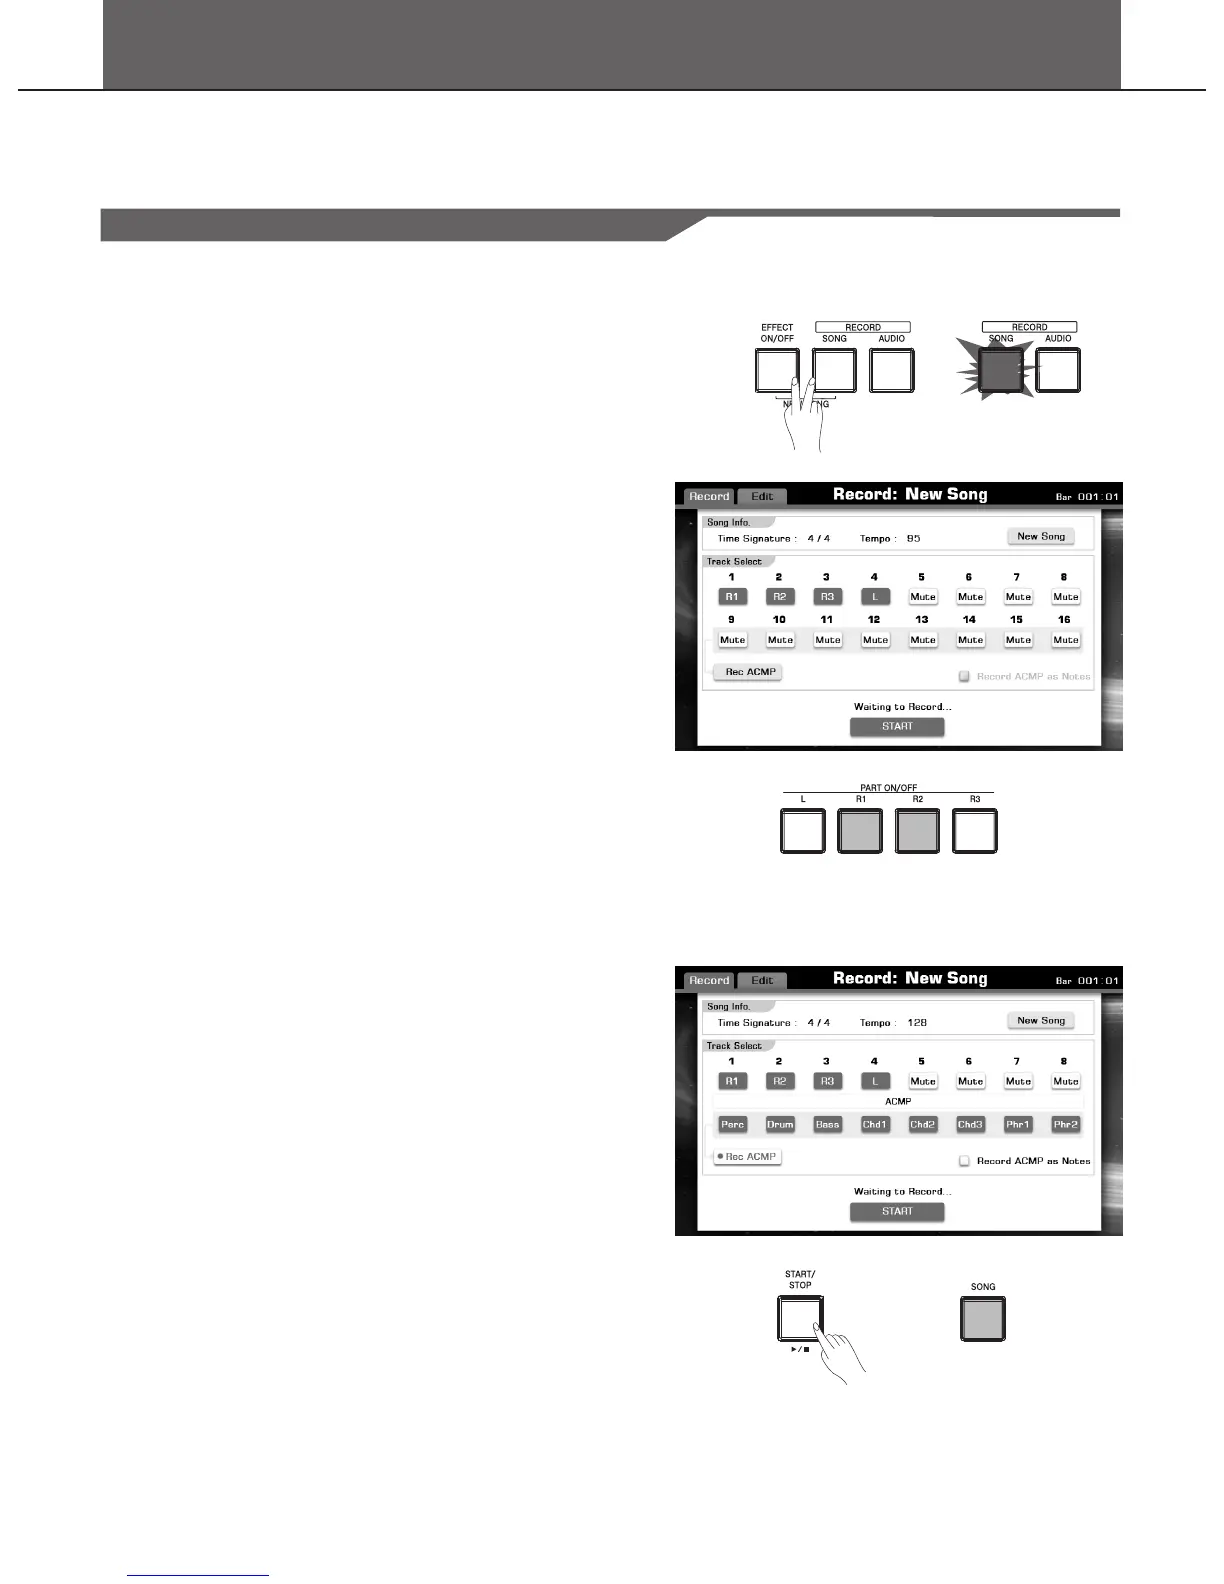
1. Press the [RECORD SONG] and [EFFECT ON/OFF] buttons
simultaneously to call up the Recording Display.
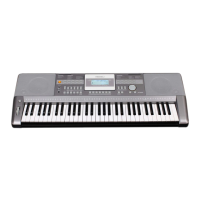
A blank Song (“New Song”) is called up for recording. The LED of
[RECORD SONG] is flashing that means it is in the recording
standby mode.
2. Make the desired panel setting for your keyboard performance.
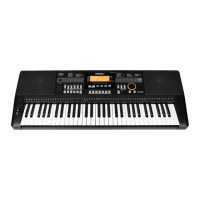
Recording the RIGHT2,RIGHT3, and LEFT parts
Pressing the “ch mute” button and selecting the relevant part or
pressing the relevant part button directly to turn on the relevant part
and record them.
Select the voice for each keyboard part. Details see
Voice-Playing Various Voices.
Recording Styles
Press the “Rec ACMP” button to switch recording accompaniment
on or off.
Select a style. Details see Style- Selecting Various Styles.
Set the tempo for recording by pressing the [TEMPO+] or [TEMPO-]
buttons.
Using Performance Memories
Press one of the PERFORMANCE MEMORY [1–6] buttons.
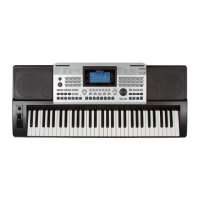
3. Start recording.
Press the [PLAY/STOP] button or Press the [RECORD SONG]
button.
The LED of [RECORD SONG] will light up.
Playing the keyboard.
Recording begins automatically as soon as you play a note on the
keyboard.
Note:
You can turn on the metronome during recording. The metronome
sound will not be recorded.
You can start the record for a new song with just one press.
Record ACMP as Notes
Select the Record ACMP as Notes” to directly record the ACMP
track as notes.
“
58