Chapter1:GettingStarted
.
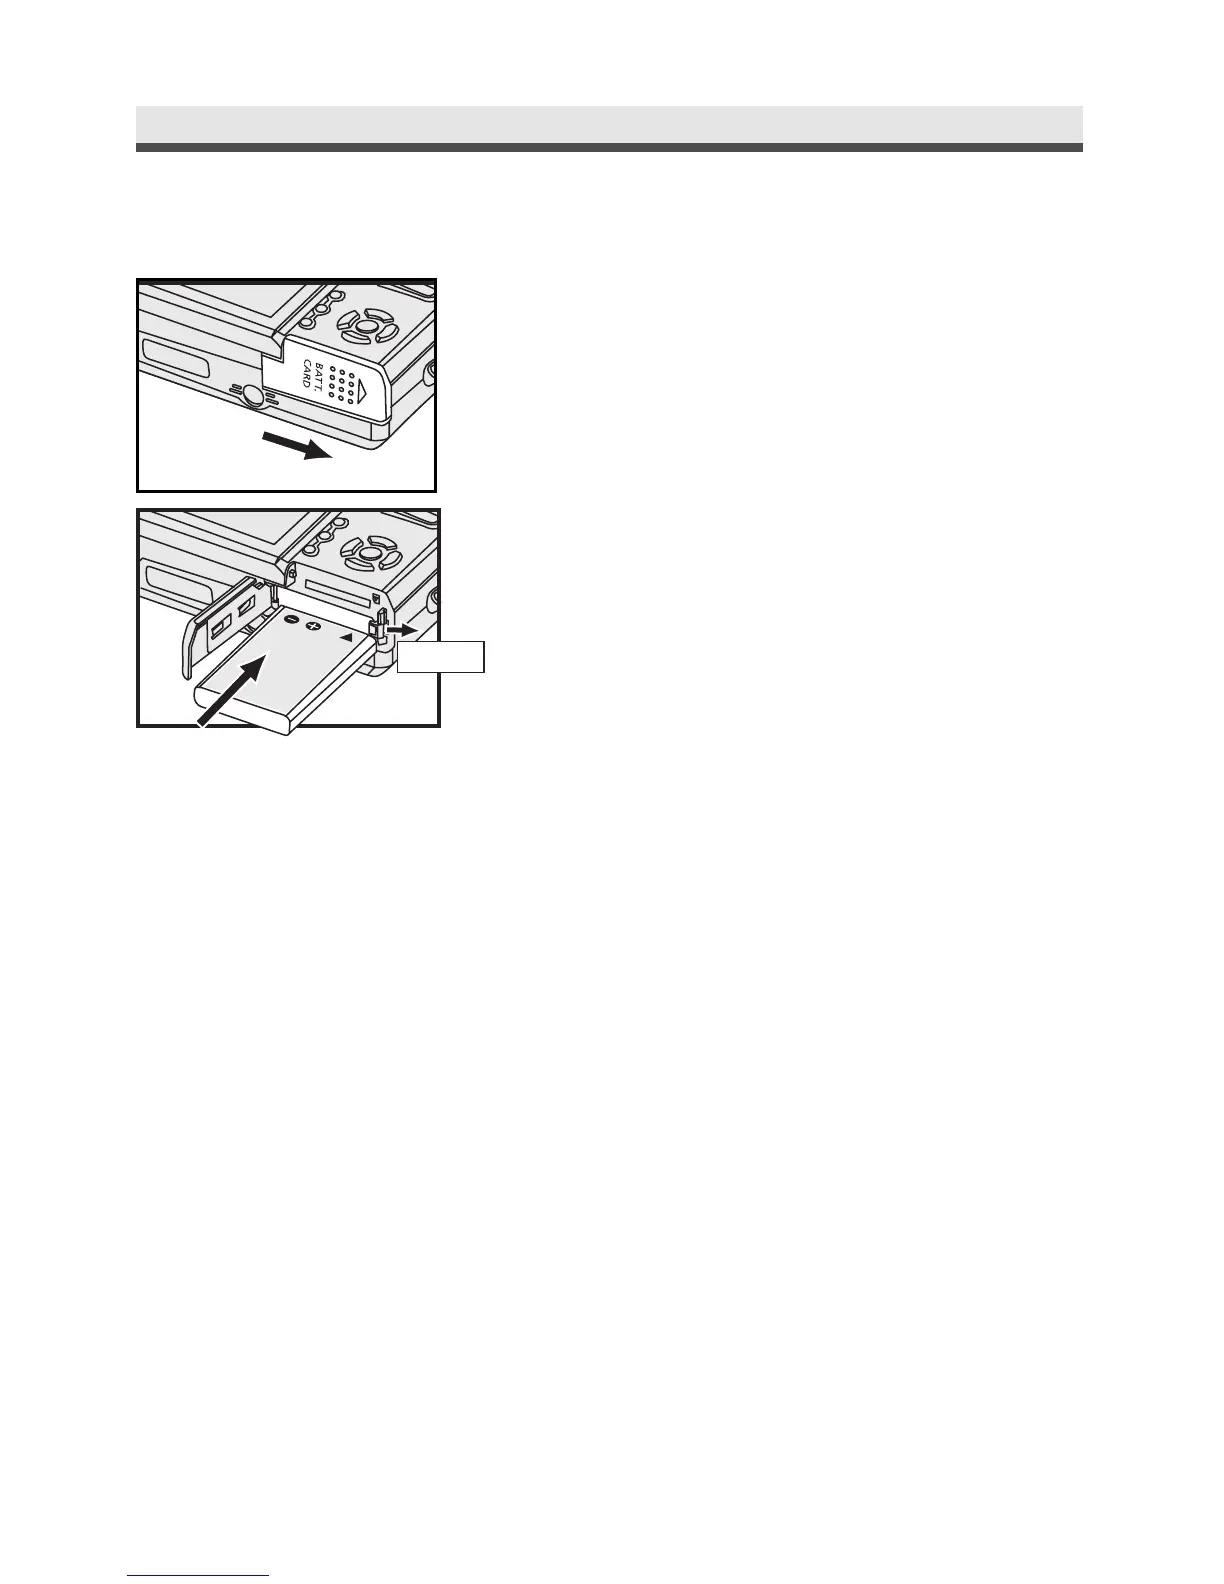
Inserting the Battery
1
Slide the battery / memory card door in the
arrow direction to open it.
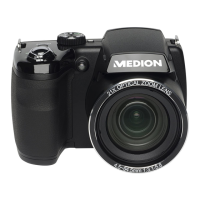
2
Insert the supplied Li-ion battery.
Note : Hold the battery so that the label of the
battery is on the top (observe the polarity!).
Insert the battery; you will hear the catch
snap in place. To remove the battery, push
the red catch slightly to the right.
Note: To conserve battery power, use the viewfinder, instead of the LCD monitor
to take the picture. Also, you can also activate the power saving function to
Battery
release catch
Battery Label
The battery must be fully charged before you can operate the camera
(appr. 10 hours before first use).
To charge the battery, connect the suplied AC adaptor to the DC IN 5V socket
(cf. page 17). Connect the other end of the AC adaptor to the power socket.
The camera must be turned off.
The battery is now being charged. The indicator light on the front of the camera
will light red. Before first use, leave the battery to charge for appr. 10 hours.
When the indicator light is out, the battery is fully charged.
During normal use, a message "please load battery" appears on the display
when the battery is flat (the battery symbol is empty). Charge the battery
again with the supplied adaptor. The charging time is now shorter.
The battery is equipped with an overcharge protection.