22
WIDTH
CAL
F
LOW
CAL
MIN
FLOW
ADJUST
RATE
TARGET
RATE
SPEED
CAL
INLINE
BYPASS
TEST
SPEED
VOLUME /
MINUTE
DISTANCE
AREA /
HOUR
VOLUME
(1) (2) (3)
RATE
SPEED
AREA
(1) (2) (3)
CAL
AUTO
MAN
RESET
CAL HOLD
S
pray
M
ate
™
II
TANK
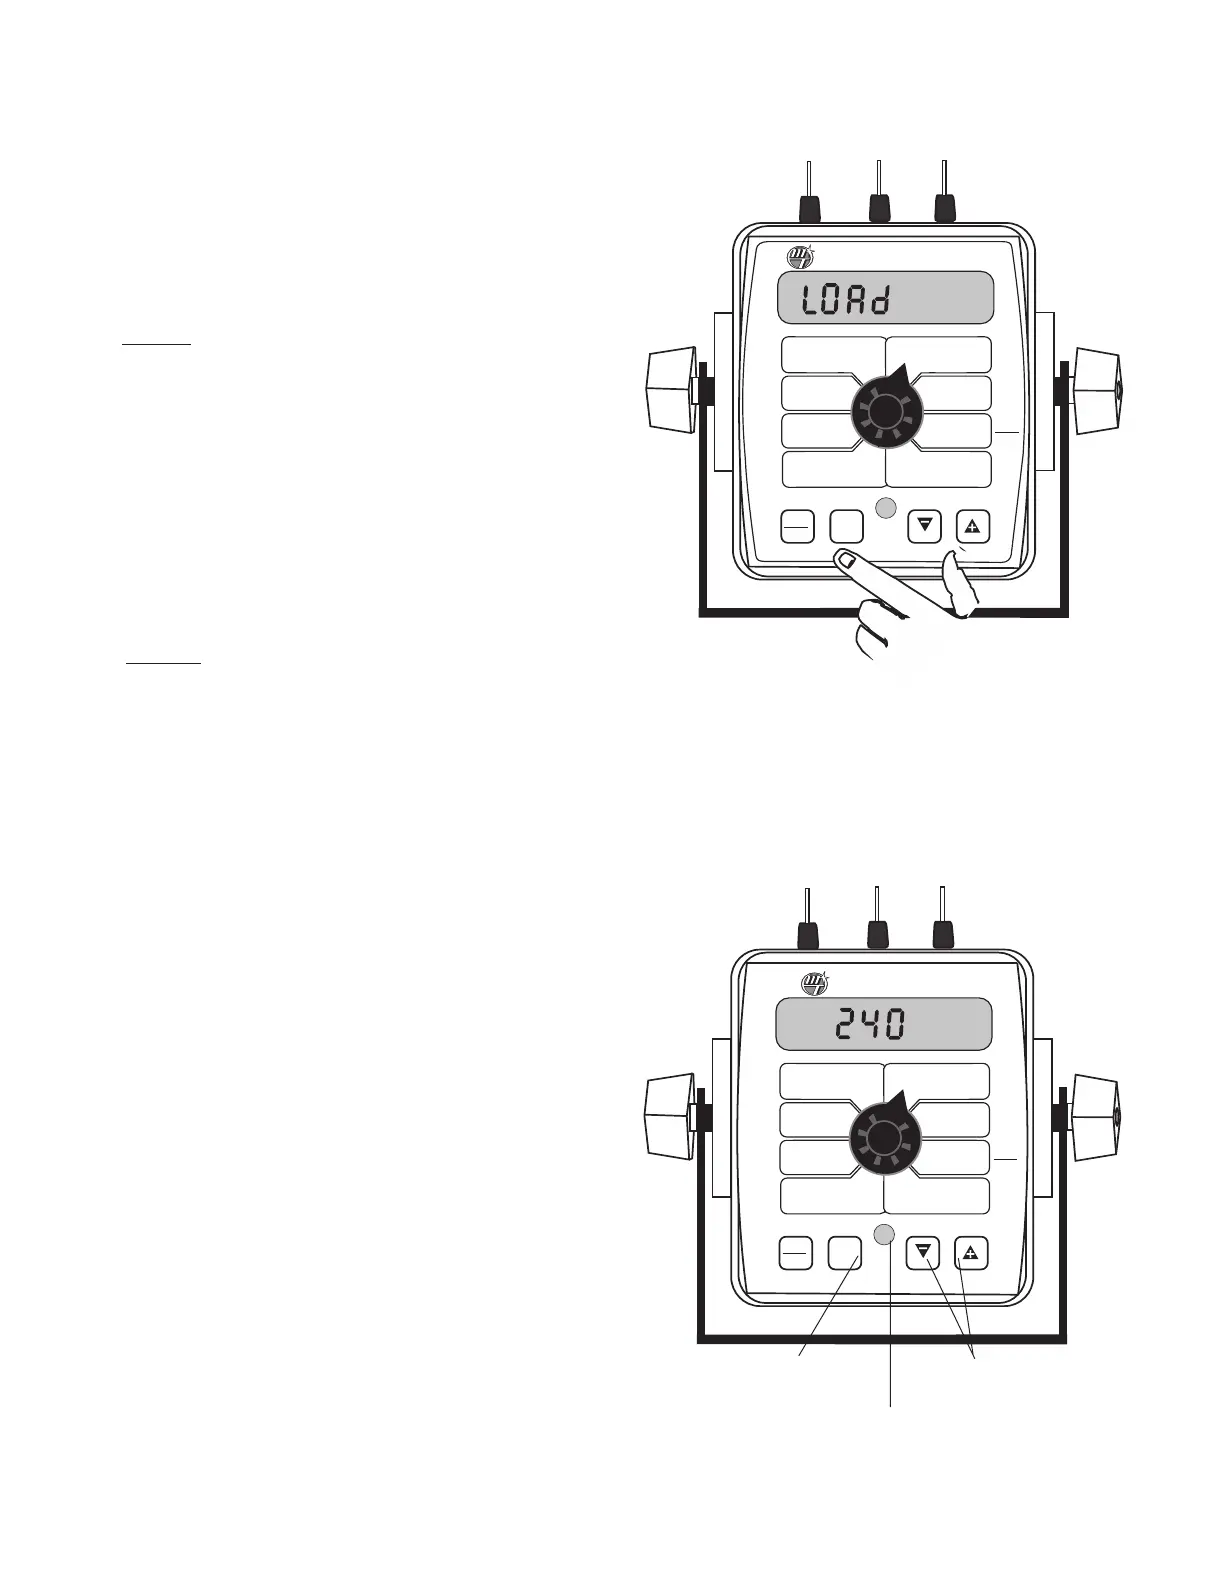
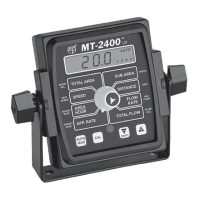
Illustration 14
Calibration
English or Metric?
The SprayMate II is capable of displaying information in Ameri-
can English or standard Metric measurement. The SprayMate II
is shipped from the factory programmed for English. Note that
the following procedures will also load factory default
calibration values. To simply change units without loading
defaults, see the "Special Calibration" section.
METRIC
• You must be in HOLD or have all booms OFF to enter Cal.
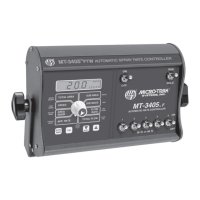
To activate the Metric mode,turn power OFF and place the
rotary switch at “AREA.” Hold down both the “CAL” and
“-” keys and turn power ON. See Illustration 13. The con-
sole will display LOAd for two seconds. Once LOAd is
displayed, release the two keys. To “lock-in” Metric mode
you must enter and exit calibration. Press and hold the CAL
key until “CAL” icon appears on the display. The console is
now in calibration and Metric mode is selected. Exit CAL
by pressing and holding the “CAL” key until CAL
disappears from the display (approximately 1 second).
NOTE: you must exit CAL to lock in Metric units.
ENGLISH
• You must be in HOLD or have all booms OFF to enter Cal.
To activate the English mode, turn power OFF and place the
rotary switch in the VOLUME position. Hold down both
the “CAL” and “-” keys and turn power ON. The console
will display LOAd. Once LOAd is displayed, release the two
keys. To “lock-in”English mode you must enter and exit cal-
ibration. Press and hold the CAL key until “CAL” lights on
the display. The console is now in calibration and English
mode is selected. Exit CAL by pressing and holding the
“CAL” key until CAL disappears from the display
(approximately 1 second).
NOTE: you must exit CAL to
lock in English units.
In all calibration operations:
1. Turn all boom switches OFF or put system in "HOLD".
2. Press and hold the “CAL” key for 1 second to select the cal-
ibration mode. The console display will display the "CAL"
ic
on,
the currently selected calibration value, and the red
w
arning light will turn on.
3. Turn the rotary dial to the desired “CAL” position. Then use
the “+” or “-” key to adjust the displayed value up or down
as needed
.
A
djust ALL nec
essar
y v
alues.
S
ee Illustr
ation 14.
4. Hold the “CAL” key again for 1 second to exit calibration.
“CAL” will disappear from the display.
NOTE: You must
exit CAL to save changes.
NOTE: In metric, the width will have a decimal point, in
English there is no decimal point. Also, changing from
English to Metric mode may change or alter any
previously entered calibration values. After switching
measurement modes, confirm that all calibration val-
ues are correct.
P
r
ess t
o enter or exit
calibration mode.
Press to increase or
decrease values.
R
ed warning light will be
lit when in CAL.
WIDTH
CAL
FLOW
CAL
MIN
FLOW
ADJUST
RATE
TARGET
RATE
S
PEED
CAL
INLINE
BYPASS
TEST
SPEED
VOLUME /
MINUTE
DISTANCE
AREA /
HOUR
VOLUME
(1) (2) (3)
RATE
S
PEED
AREA
(1) (2) (3)
C
AL
AUTO
MAN
R
ESET
M
ANAUTO
CALHOLD
1
2 3 4 5
S
p
ray
M
a
te
™
II
TANK
Illustration 13