INSTALLATION
Milli-Q Synthesis/Synthesis A10 30
4-4 TURNING ON THE SYSTEM POWER
Turn on the Milli-Q system electrical power. The Power Switch is located on the rear of the Milli-Q system
cabinet. The ‘ ‘ is the ‘on’ position of the Power Switch.
Make sure the POU Dispenser Trigger is in the upright position.
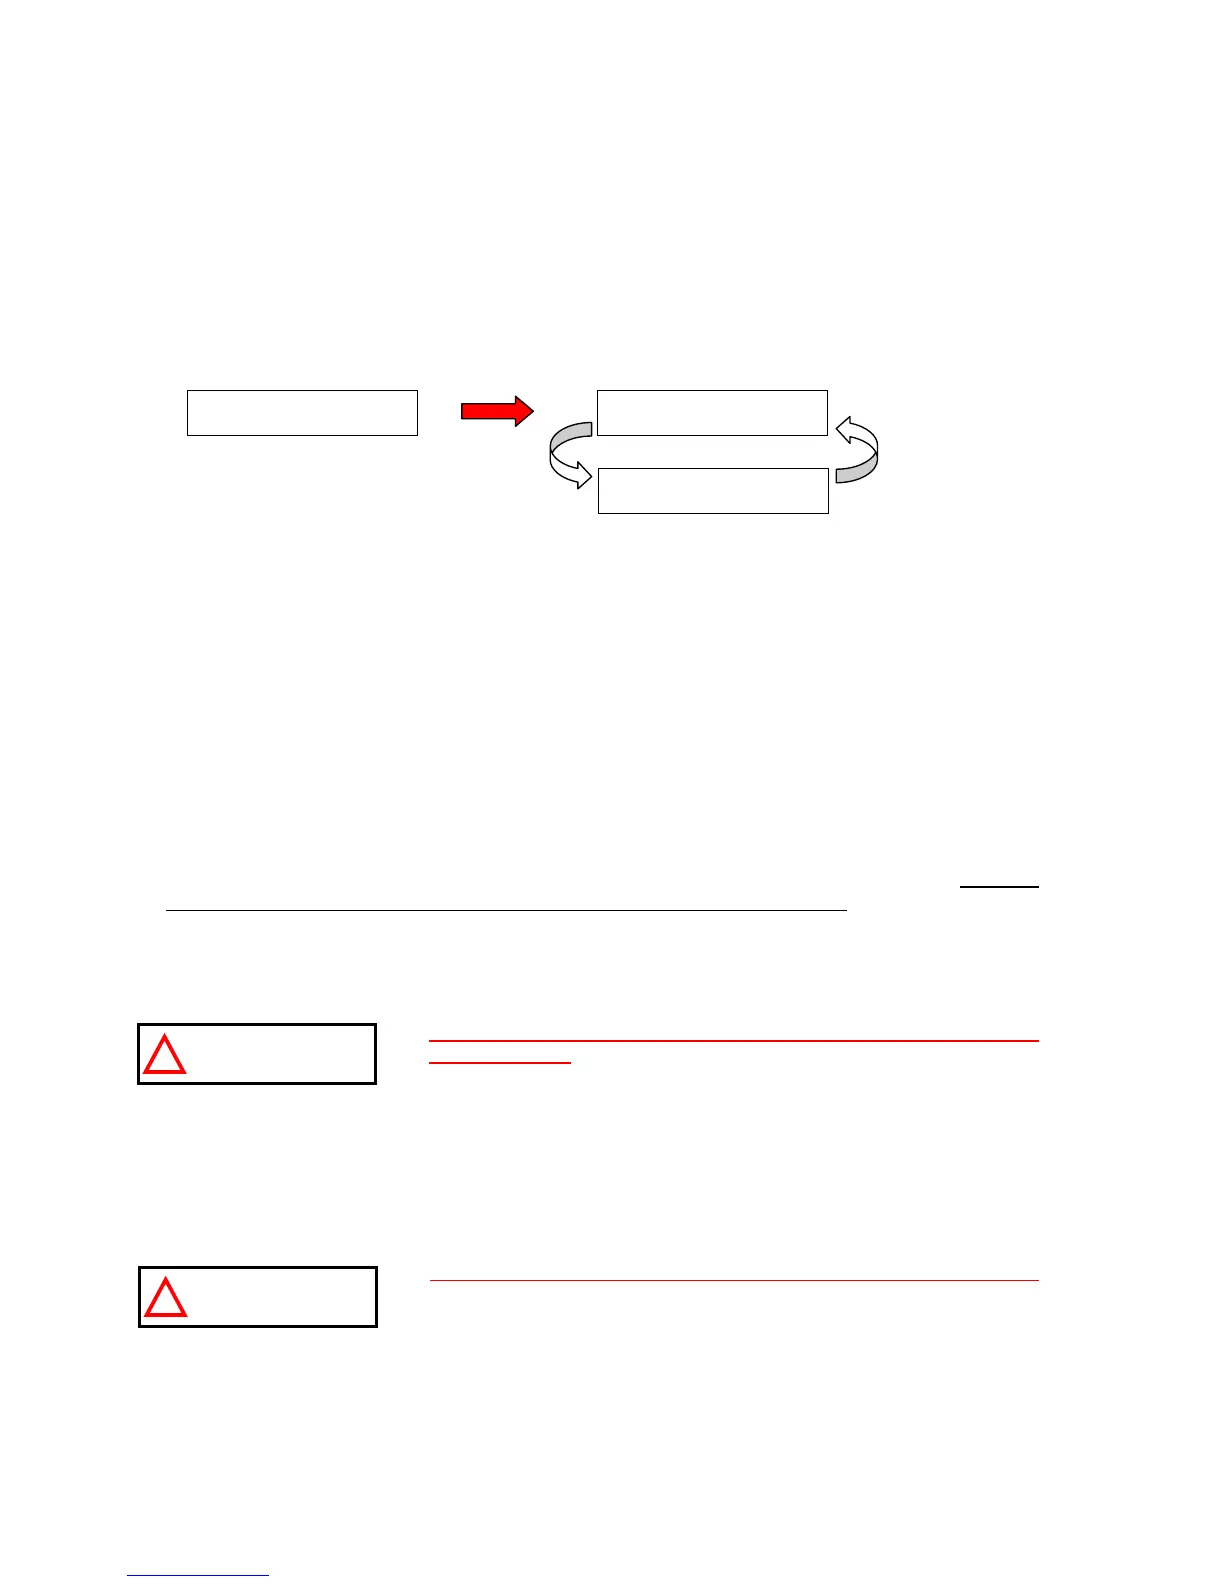
When the system power is on but the Quantum Cartridge is not installed, the LCD should look like:
NOTE: The display messages may be in English on your Milli-Q system (go to Section 4-11 to change your
display language).
4-5 INSTALLATION OF THE QUANTUM CARTRIDGE
Locate the 2 latches on the front door of the Milli-Q Cabinet. Push each latch to the left and then open the
door.
Remove the 2 yellow plastic inserts that are inside. Pull them out and remove them.
Remove the Quantum Cartridge from its shipping box. Confirm that you have the desired type of Quantum
Cartridge by viewing the label on the top of the Quantum Cartridge.
Remove the 2 plastic covers on the ports of the Quantum Cartridge. There should be a black rubber O-ring in
each port. Make sure these are pushed firmly in place.
Wet the Quantum Cartridge O-rings with water. It is preferable to wet them with ultrapure water. DO NOT
WET THE O-RINGS WITH A LUBRICANT SUCH AS OIL OR SILICON GREASE.
Push the Quantum firmly into place. Both the top and bottom ports of the Quantum Cartridge have to be fully
seated.
Close the door.
Make sure that both the top latch and the bottom latch of the door
are fully closed. Each latch should ‘click’ when it is fully closed.
The Quantum Cartridge is now installed.
4-6 INSTALLATION OF THE TYGON TUBING
Locate the clear Tygon Tubing and the Barbed Fitting from the Accessories Bag.
Screw the Barbed Fitting onto the bottom end of the POU Dispenser.
Do not use any Teflon Tape on the threads of the Barbed Fitting.
An O-ring is located inside the POU Dispenser to insure water tightness
between the threads of the POU Dispenser and the Barbed Fitting.
Push one end of the Tygon Tubing onto the end of the Barbed Fitting. Place the other end of the Tygon Tubing
in a sink.
S Y N T H E S I S V 3 . 0 3
S R . NO F 1 P N 6 4 5 3 7
PRE OPERATE
RECI RCULAT ION
PRE OPERATE
CAR T R I DGE OUT
System type, software version
and serial number displayed for
about 10 second