– 3.39 –
4. Cutting starts.
Data that has been already cut is displayed in percents.
5. Cutting completes.
The plotter enters the remote mode.
• When the SORTING is set to the ON state, cutting will not start until the specified
close time has elapsed after receiving all pieces of data to be cut. It should be
noted, however, that received pieces of data are sorted and cut in the following
cases.
• When the sorting buffer is full of data (approximately sixty thousand line segments)
•When executing a command to change cutting conditions (including pen number,
speed and pressure)
•When executing a feed command or origin change command
Method to Sorting
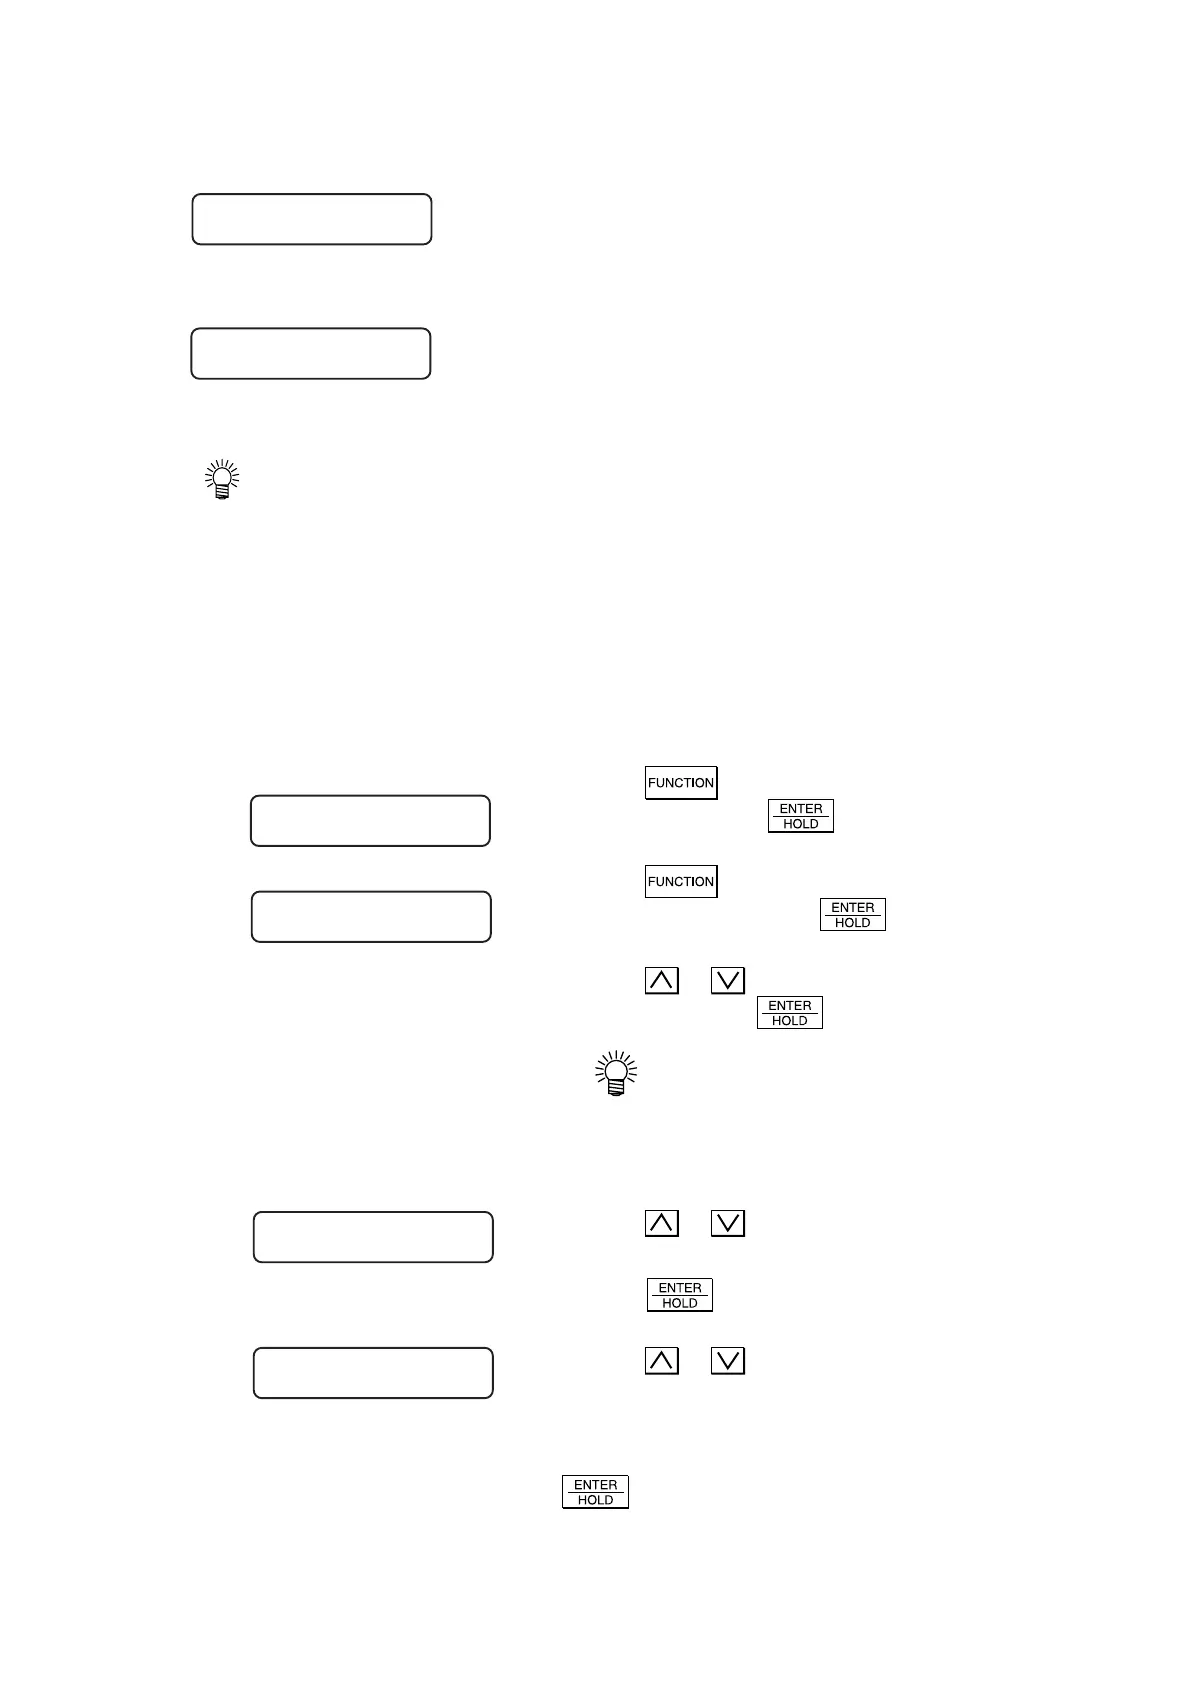
1. Press the key several times until [SETUP]
is displayed. Press the
key.
2. Press the key several times until [SORT-
ING] is displayed. Press the
key.
3. Press the
or key to select [ON] or [OFF] of
the sorting. Press the
key.
• When the [OFF] is selected, the
sorting setting is finished and the
operation mode is restored to the
LOCAL mode.
4. Press the
or key to select [ON] or [OFF] of
the auto-feed to be performed before cutting.
Press the
key.
5. Press the
or key to select the area manage-
ment function.
Select [OFF] or establish a value in the range of 10
to 5100 cm (in increments of 10 cm). Press the
key.
*SORTING* 10%
CUT1 **REMOTE **
SETUP <ENT>
SORTING <ent>
AUTOFEED : ON
AREA : 10cm