DICOM 11-17
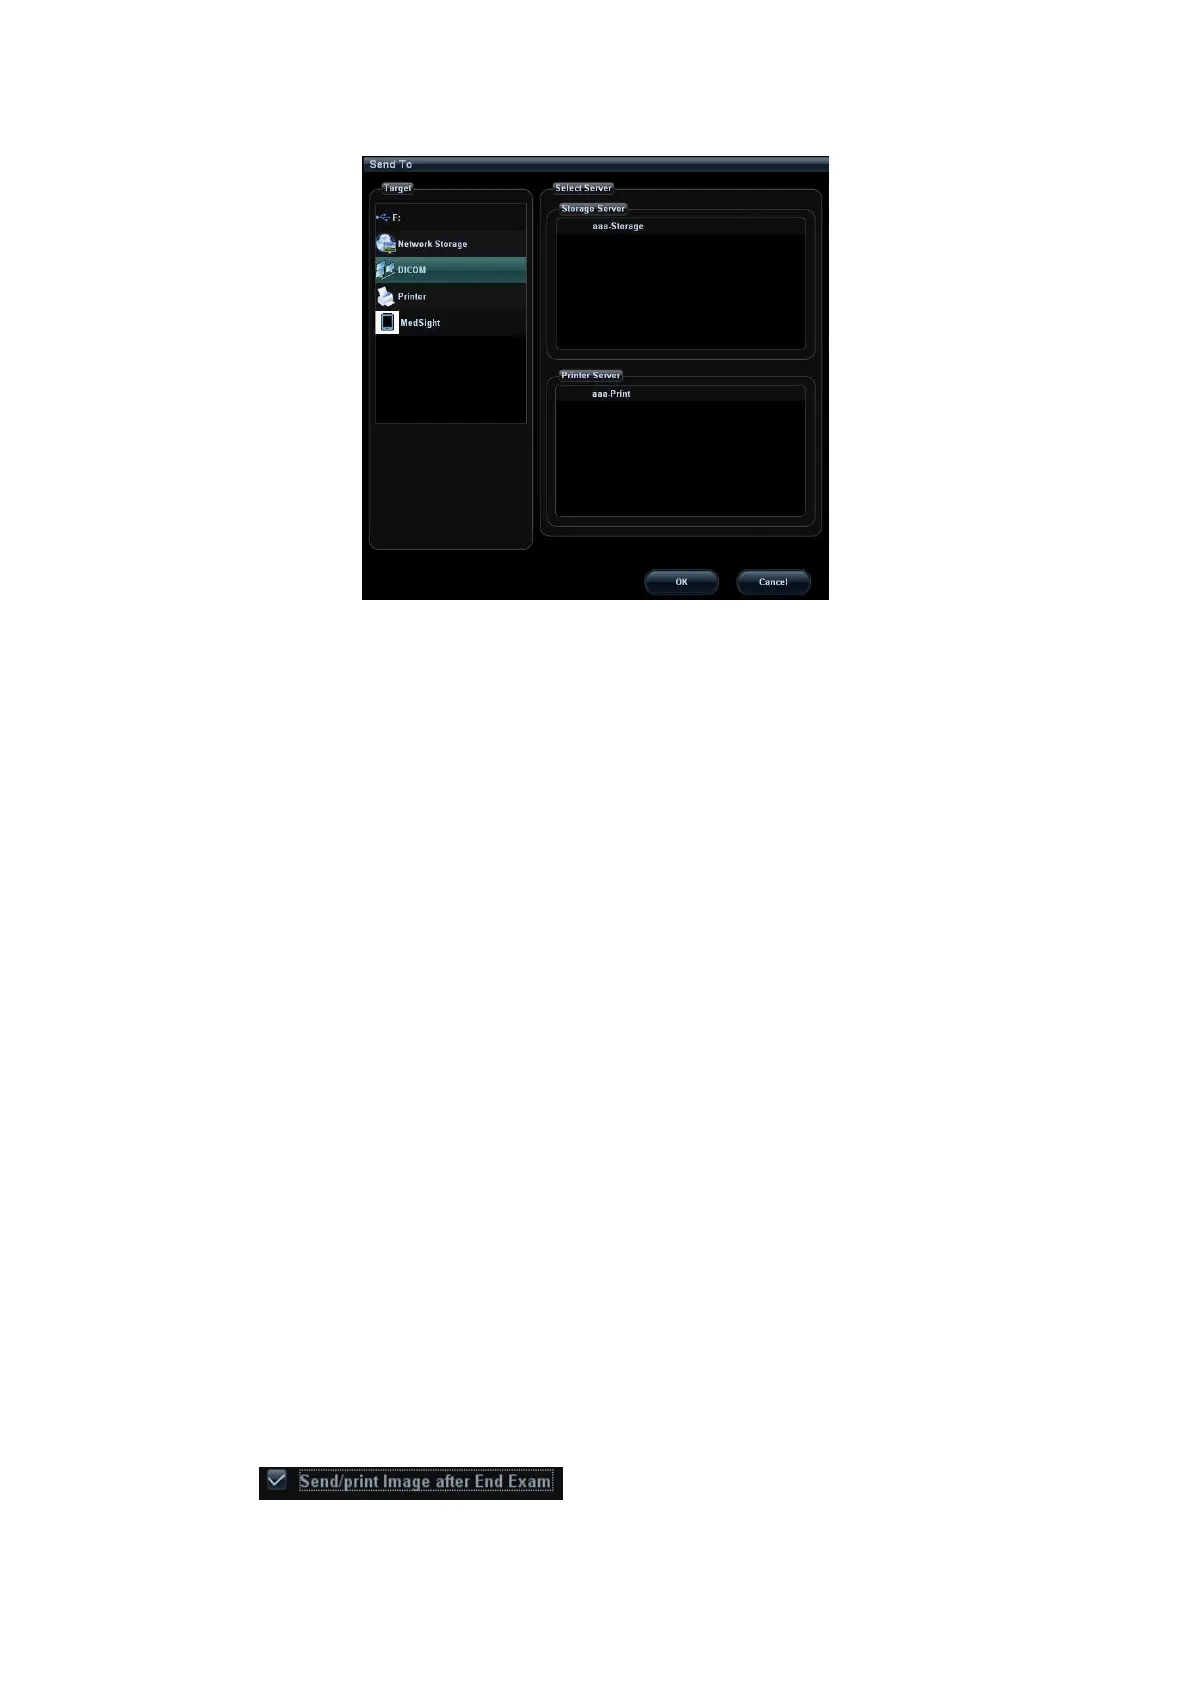
(3) Select DICOM in the “Target” list; select a server in the “Storage Server” list.
(4) Click [OK] to start the sending.
To send images by shortcut key
(1) You can save single frame image or multi-frame images to DICOM server by
shortcut key:
Save Image to DICOM Storage.
Save Clip to DICOM Storage.
You can select <Save>, <F1>, <F2>, <F3>, <F4>, <F5>, <F6> on the control panel, or
footswitch keys as user-defined keys.
(2) Define the shortcut key.
a) Enter the key configuration page: "[Setup]→[System Preset]→[Key Config]".
b) Assign functions to the desired keys.
c) Click [OK] to confirm.
d) Select [Return] in the Setup menu to take effect.
(3) To set default server
a) Enter the “Storage” page: “[Setup]→[Network Preset]→[DICOM Service
Setting]→Storage.
b) Select the desired server in the server list, and click [Default.]
c) Click [Exit] to confirm the settings, and click [Return] in Setup menu to take
effect.
(4) Press XX key on the control panel (which has been assigned as the shortcut key
for “Save Image to DICOM Storage”), the image is frozen. The system captures
the current screen image and sends it to the storage server as the single-frame
file. Or,
Press XX on the control panel (assigned as shortcut key for “Send Clip to DICOM
Storage”), the system will freeze the image and save it as multi-frame file and
send it to the storage server.
To send images for storage after an exam ends:
(1) Open [Setup] → [System Preset] →[General], and then check
in the Patient Management area.