3-18 System Preparation
Operation area Operations
Flick the edge downwards to enter the mapping mode.
2 Sweep to right to open the menus under the mapping mode.
3
The mapping menu, and toolbar are displayed. It is available to
perform the image adjustment, measures, image review, etc. For
details, see Chapter 5.1.2 Image Adjustment.
Under mapping or non-mapping mode, you can do fast operation
using the two-finger gesture according to the gesture hints
on the bottom-left of the screen. See Chapter “12.1.9 Gesture” for
details.
4 Flick the edge upwards to exit.
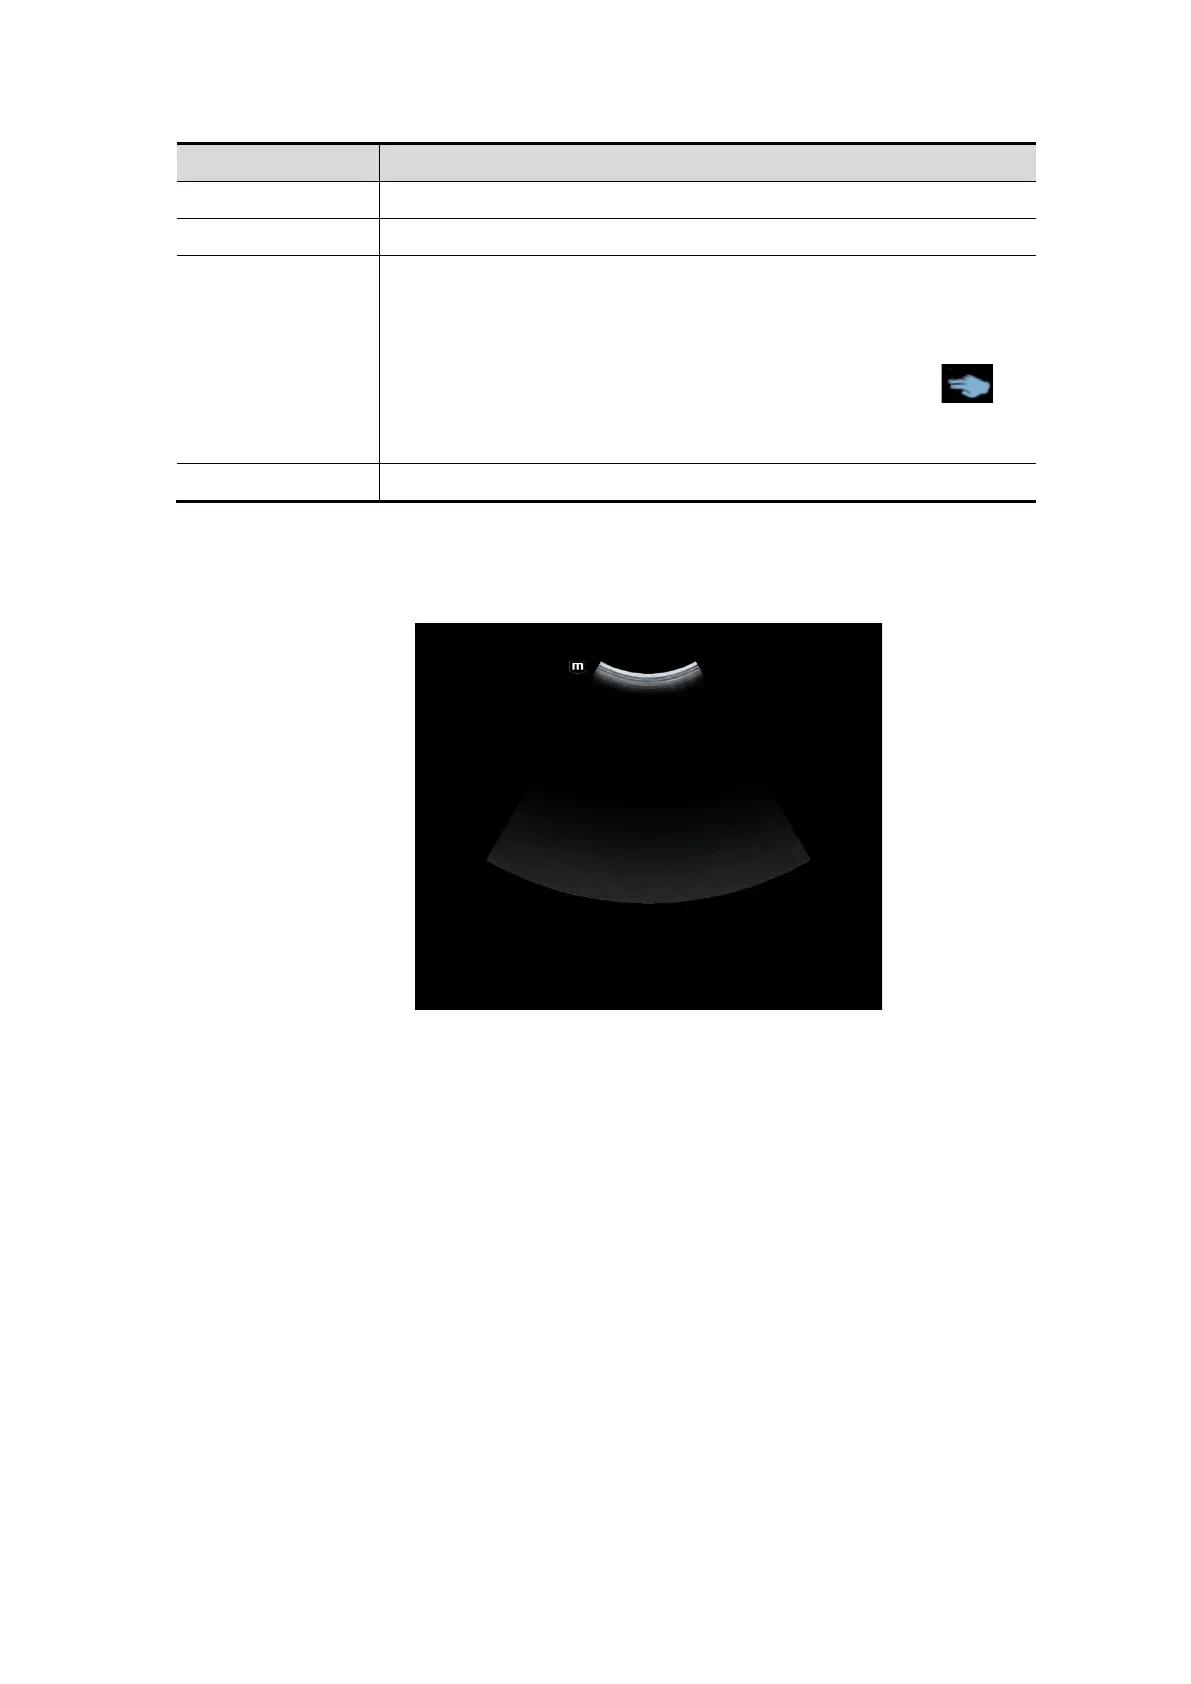
Enter the mapping mode
Flip the touch screen from top to bottom (area 1). The image on the control screen maps on
the touch screen. The mapping mode appears. See the figure below.
Tips: if there is a dialog box in the screen, the mapping mode is unavailable.
Mapping menu operations
Swipe the touch screen from left to right (area 2) under the mapping mode. The mapping
menu appears on the touch screen. See the figure below: Tap or sweep right or left to adjust
the image parameter, measures, etc. See Chapter 5.1.2 Image Adjustment for details.
Tap the blank area on the touch screen. The menu of the mapping mode hides.
 Loading...


