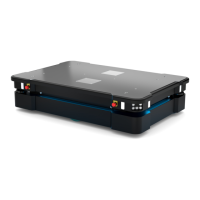
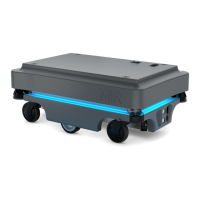
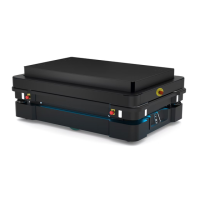
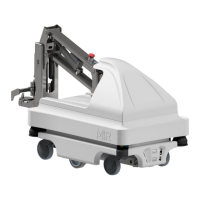
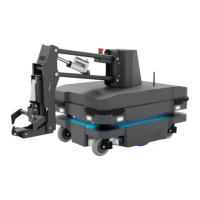
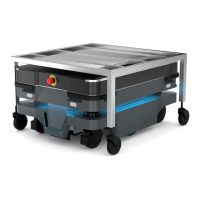
2. Product presentation
MiR1000 User Guide (en) 12/2020 - v.1.4 ©Copyright 2019-2020: Mobile Industrial Robots A/S. 22
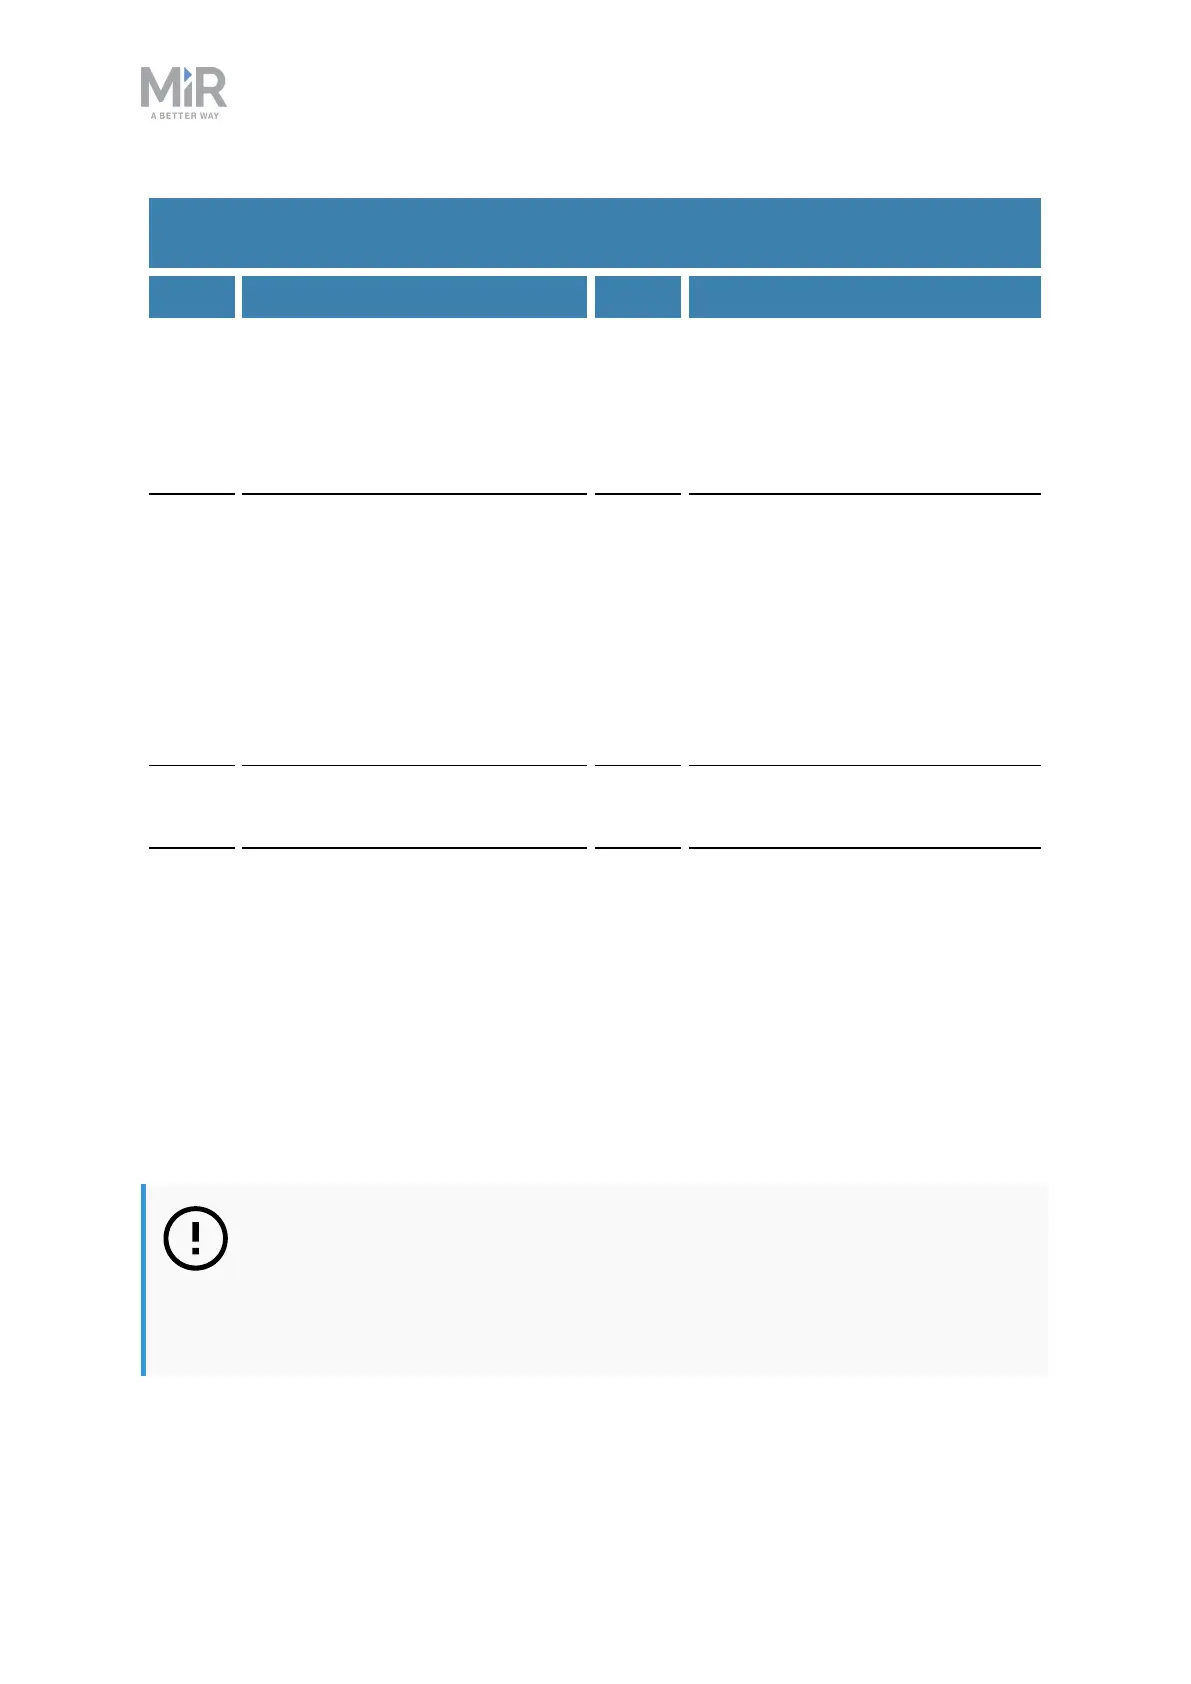
Pos. Description Pos. Description
1 Connectors for the proximity
sensors.
2 Battery disconnect switch:
disconnects the battery from the
robot. Shown in the Off position
where the battery is
disconnected.
3 Connector for the status light
band.
4 Manual brake release switch:
releases the brakes so the robot
can be pushed manually. Shown
in the Off position, where the
robot engages and releases the
brakes automatically—see
Manual brake release switch on
page 25.
5 Charging connection interface:
for external MiR cable charger.
6 Battery with connector: main
power to the robot.
7 Connection interface for MiR
Controller: connect a MiR
controller to drive the robot with
a joystick.
Table 2.2.
Identification of internal parts in Figure 2.7
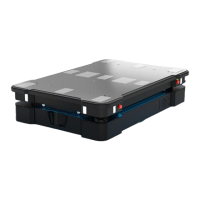
Side compartments
The side compartments contain the bogies and drive wheels.
To access a side compartment, see Accessing the internal parts on page 27.
NOTICE
The unique nameplate of your robot is to be mounted on the right side
compartment hatch—see Mounting the nameplate on page 53. Make sure you
do not swap the hatch with hatches from other robots.