92 TX3 Touch Screen Installation Manual
Touch Screen System and Setup
3.13 Beginning Configuration
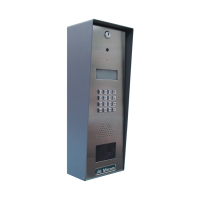
Ensure that the lobby controller ID is set up. This address is set by the SW1 DIP
switches on the lobby controller (Figure 65). The individual switches are
numbered 1 to 8 from left to right, and are marked as either ON or OFF. The first
six switches (1, 2, 3, 4, 5, and 6) set the address ID.
Every TX3 System controller requires a unique ID. The unit ID settings do not
need to be in sequence but it recommended to assign IDs starting from 1, using
increments of one (for example, 1, 2, 3, 4, and so on). Unit IDs must not be
duplicated on an RS-485 network.
DIP Switch 7 on SW1 must be set to ON for Touch Screens, and OFF for non-
Touch Screens.
The Touch Screen controller is now ready for configuration. For a complete
description of the configuration and on how establish a connection to the Touch
Screen, see the following documentation:
• LT-995 Configuration and Administration Guide
• LT-973 TX3 Configurator Quick Start