HEAD OFFICE: TOKYO BUILDING, 2-7-3 MARUNOUCHI, CHIYODA-KU, TOKYO 100-8310, JAPAN
HIMEJI WORKS: 840, CHIYODA CHO, HIMEJI, JAPAN
JY997D28701A
(MEE)
Effective November 2007
Specifications are subject to change without notice.
USER'S MANUAL - Hardware Edition
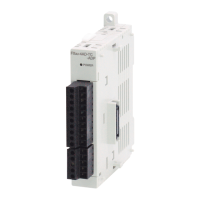
FX
3UC
SERIES PROGRAMMABLE CONTROLLERS
MODEL
FX3UC-HW-E
MODEL CODE
09R519
 Loading...