30
Initial Setup
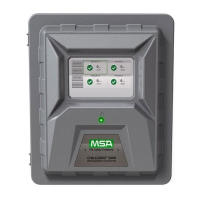
Chillgard 5000
US
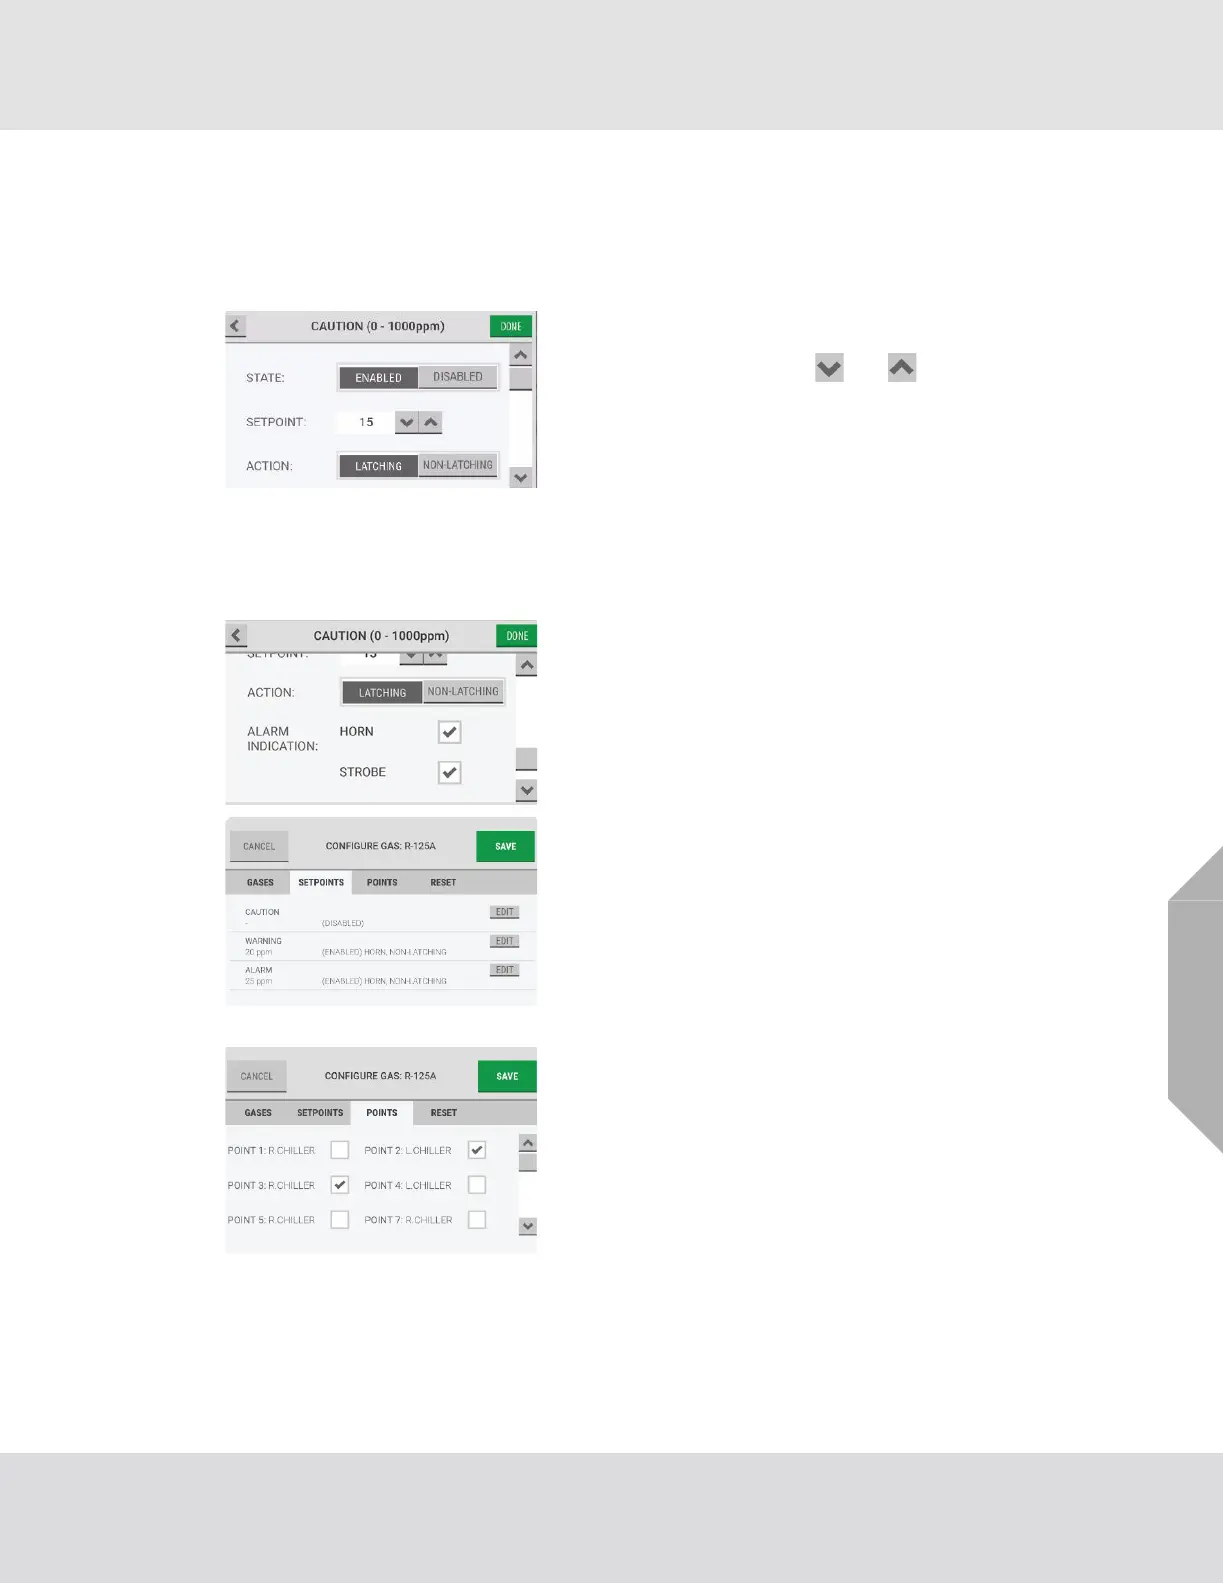
(5) In the configuration pop-up, for "State", select
"Enabled" or "Disabled".
If "Disabled" is selected, all other options are inactive. Go to
Step (8).
(6) For "Setpoint", use the and buttons to adjust
the value.
(7) For "Action", select "Latching" or "Non-Latching".
NOTE: For a definition of latching and non-latching events,
refer to Section 7.5, "Cautions, Warnings, and Alarms".
For a list of default settings, refer to Section 16, "Appendix
C: Default Settings".
Use the scroll bar to see all of the configuration options.
(8) To associate an audible horn or a visual strobe with
the event, for "Alarm Indication", select the "Horn"
and/or "Strobe" check boxes.
(9) Select "Done" to accept the settings and return to the
gas-specific configuration screen, which shows the
updated settings.
(10) Repeat Steps (2) through (9) until all event setpoints
have been configured.
(11) Select the "Points" tab.
(12) Select the applicable checkbox to assign a point to the
gas.
NOTE: If the "Points" tab is selected but a gas has not been
selected, the options on the "Configure Gas" screen will be
inactive.
Only one gas can be assigned to a single point. Points that
have already been assigned a gas are not available for
selection.