144 How to perform initial ink charging after ink discharge
3. Reinstalling
[1]
Referring to “Startup Guide”, unpack the product and assemble.
• Conduct up to “Turning the Power On and Making the Initial Settings”.
[2]
Carry out initial ink charging after ink discharge.
"How to perform initial ink charging after ink discharge" P. 144
How to perform initial ink charging after ink discharge
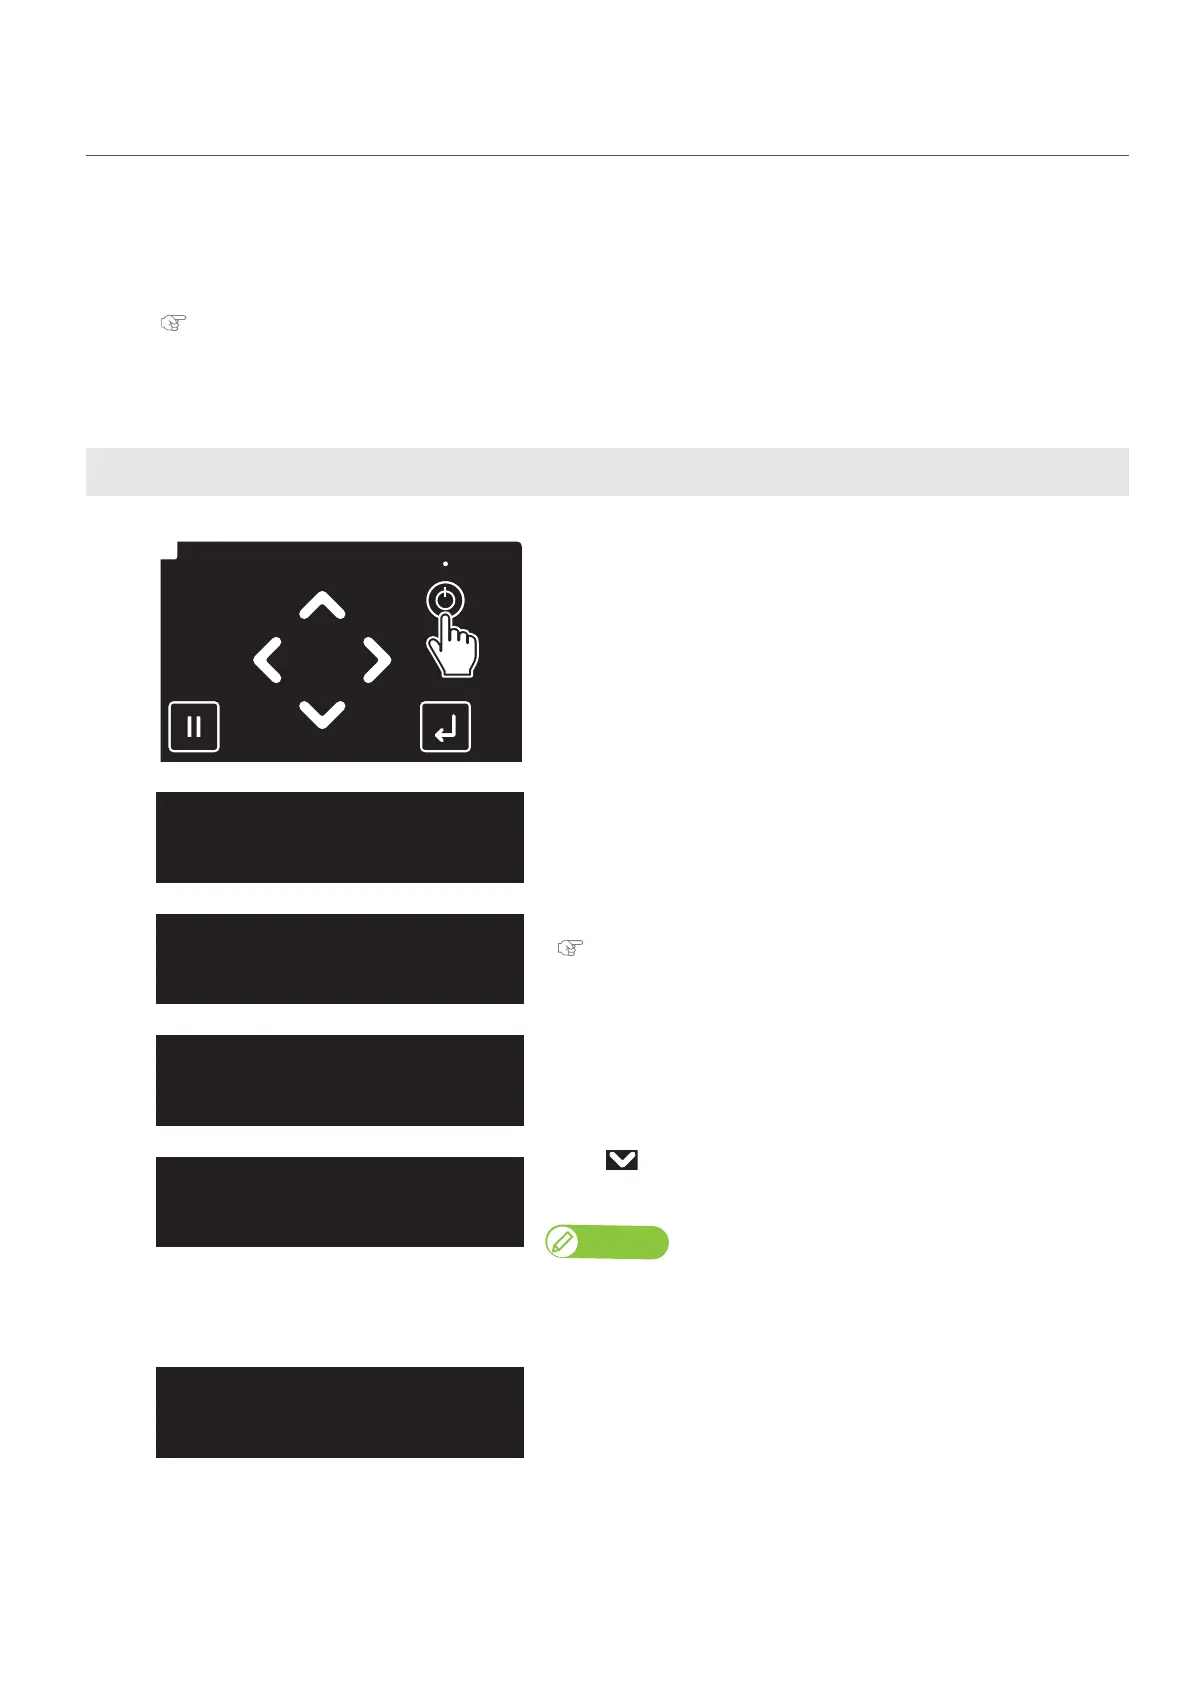
[1]
Long press the Power button.
• The keys on the operation panel light up.
• The printer will start mechanical initialization.
[2]
Tap [Enter] when the message on
the left appears.
[3]
When the message on the left appears, empty the waste ink tank.
"Drain waste ink into a container" P. 110 under "Emptying waste ink
tank"
[4]
The message on the left will appear.
[5]
• Use to choose the menu shown left.
•Tap [Enter].
Note
(When you use your printer for the first time or after you replace the waste ink
tank)If no or small amount of waste fluid is collected in the waste ink tank, you
may not be able to drain fluid out of the tank.
The message on the left will appear.
InkCharge
Start ー> Enter
EmptyWasteInkTank
thenTapEnter