After you finish
Go to
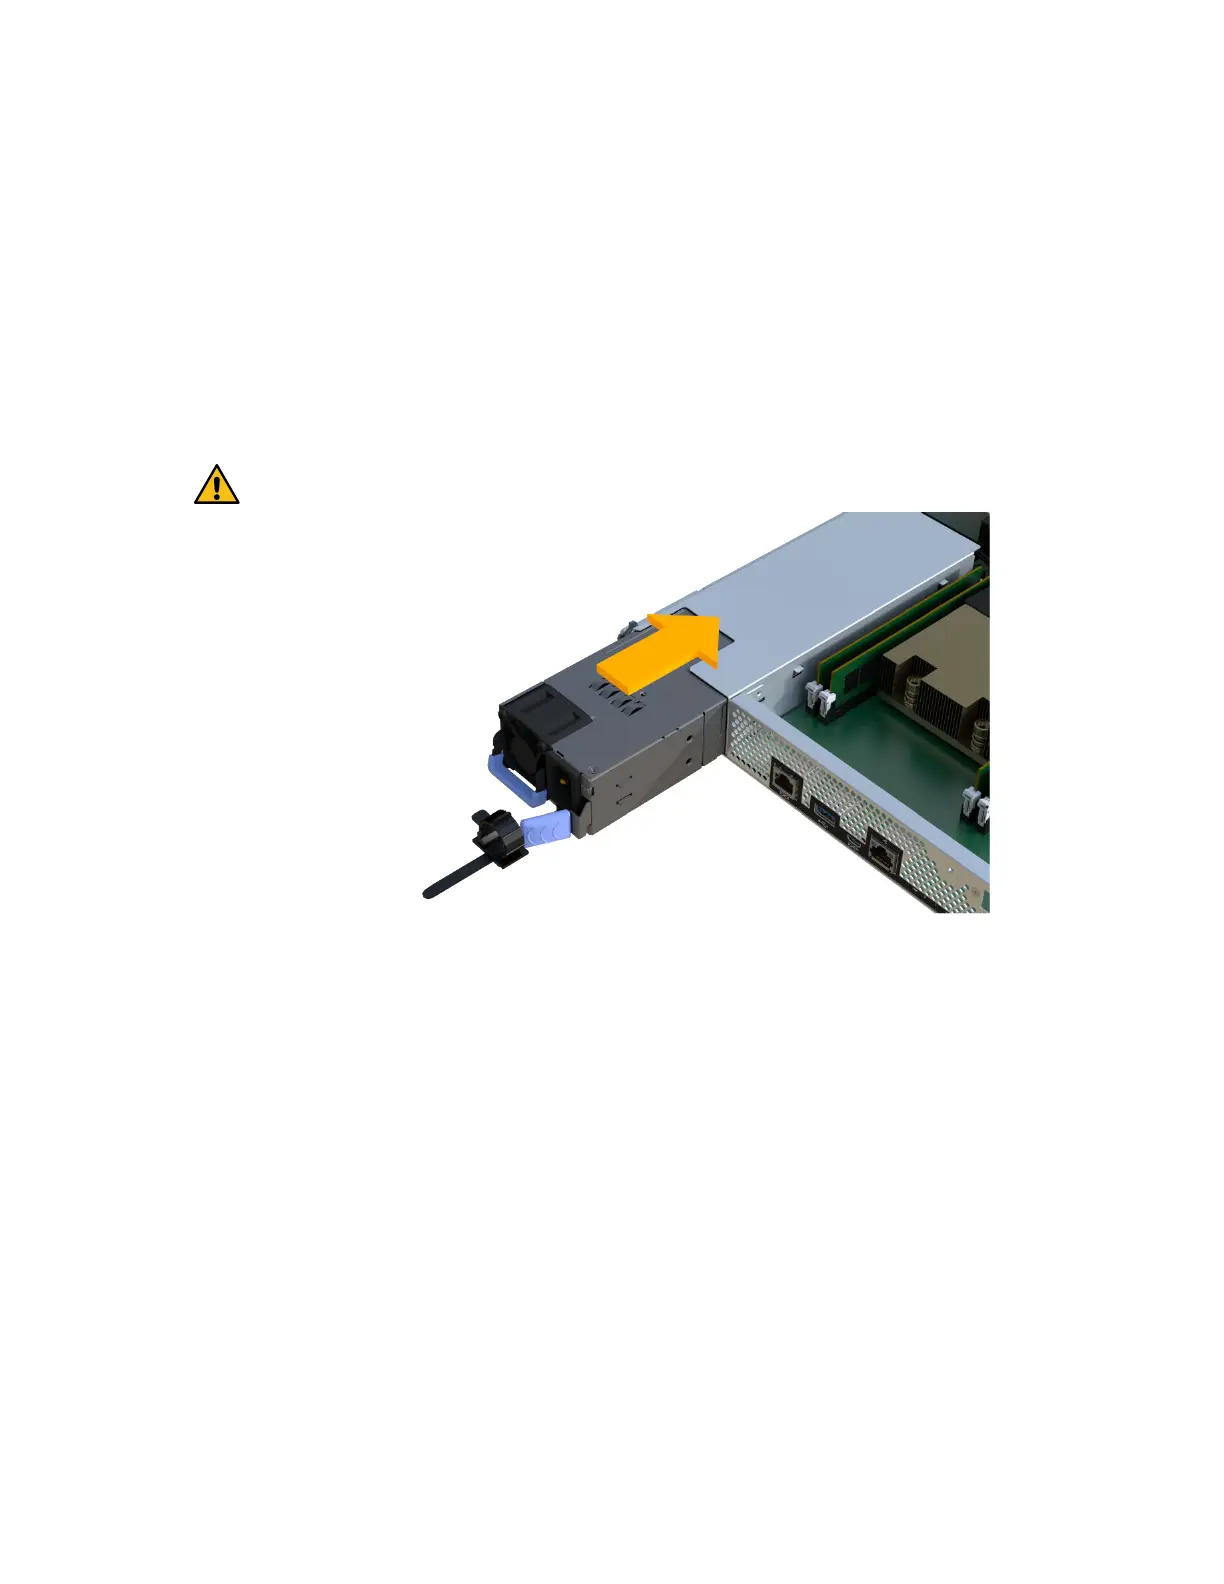
Install Power Supply
Install power supply
You must install the power supply into the replacement controller canister. Install the power supply
by gently sliding it into the opening of the new controller.
Step
Using both hands, support and align the edges of the power supply with the opening in the system
chassis, and then gently push the power supply into the chassis using the cam handle.
The power supplies are keyed and can only be installed one way.
Attention: Do not use excessive force when sliding the power supply into the system;
you can damage the connector.
After you finish
Go to
Install DIMMs
Install DIMMs
You must install the DIMMs into the new controller canister. Install the DIMMs by sliding the
DIMM into the slot and securing the latches on either side.
Before you begin
• You have an ESD wristband, or you have taken other antistatic precautions.
Steps
1. Hold the DIMM by the corners, and align it to the slot.
The notch among the pins on the DIMM should line up with the tab in the socket.
2. Insert the DIMM squarely into the slot.
Maintaining EF300 and EF600 Hardware
26
Controllers
 Loading...


