Operation
8-3
Part 1056418-07
E 2019 Nordson Corporation
System Startup
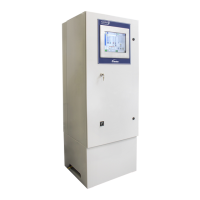
The console power switch is on the rear panel. When the console is turned
on, the operating system loads, then the iControl software loads and the
Main screen appears. All settings are restored to the state they were in at
shutdown.
NOTE: To set the system date and time, calibrate the touch screen, and
format or backup Compact Flash user data cards, refer to Section 4,
System Configuration.
1. Log into the system, if required. Refer to Section 2, Security.
2. Set the desired operating mode for all guns, in/out positioners, and
reciprocators: Global Control Screen, page 8-5.
3. Set the desired Part ID Mode: Part ID Controls, page 8-6.
4. If used, set the desired Purge Mode: Purge Controls, page 8-7.
5. Start the powder recovery system, booth exhaust fan, and conveyor.
Start moving parts through the booth.
Using the Console Keyswitch
The 3-position keyswitch on the front panel provides the following functions:
S Ready: Runs the system in normal mode.
S Lockout: Shuts off all guns, in/out positioners, and reciprocators, and
prevents gun triggering or moves. The Lockout can be overridden for
the positioners and reciprocators from their configuration screens.
S Conveyor Bypass: Allows you to trigger the guns without running the
conveyor (no signal from encoder or conveyor).
Lockout
When you place the keyswitch in the Lockout position, the Lockout notice
appears on the touch screen.
NOTE: Lockout cannot be canceled by moving the keyswitch to another
position if the booth exhaust fan is shut off after lockout is selected. You
must turn the booth exhaust fan on first. Conversely, if the booth exhaust
fans are shut off first, then turning the switch to the lockout position has no
effect.
Figure 8-1 Lockout Notice
 Loading...