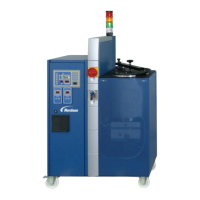
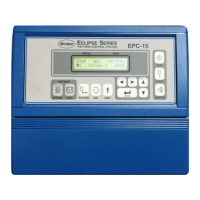
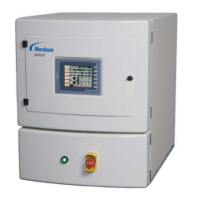
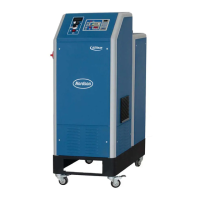
Control switch
Operation
4-5
Part 1120277_01
E 2012 Nordson Corporation
Starting the Melter
Before starting the melter for the first time, confirm that the
S melter is fully installed i ncluding any required inputs and outputs, gun
drivers, pattern controllers, or timers.
S melter's operating parameters are set up to support the
current manufacturing process.
Refer to Section 3, Installation, if any of the items listed above are
not complete.
To start the melter
1. Ensure that adhesive is present in the melter hopper. Refer to Loading an
Adhesive Slug as needed.
2. Switch the melter on.
The melter:
S Tests the control panel LEDs
S Turns on the heaters (the heaters LED turns green)
S Begins to automatically scan through and display the
actual temperature of the reservoir and each hose and gun that has a
setpoint temperature that is greater than zero degrees. The sequence
of the automatic scan is: reservoir, each hose and gun pair, and then
back to the reservoir.
NOTE: The melt plate and pneumatic cylinder are activated when the
melt-on-demand sensor signals that a dhesive is needed in the
reservoir.
S Turns on the ready LED (green) when the reservoir and all of the
hoses and guns are within 3 _C(5_F) of their assigned
setpoint temperature.
NOTE: If the Ready Delay Time (parameter 4) is set to a value other
than 0, then this additional time must pass before the ready state will
be reached.
 Loading...
