3-2
CHAPTER 3 REPAIR PROCEDURES
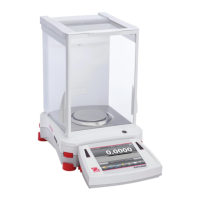
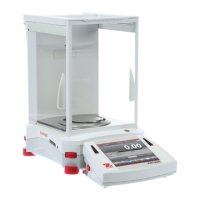
3.1.2 Analytical Load Cell (9) Replacement
After the Load Cell Assembly has been repaired, it is installed as follows:
1.Carefully align the Analytical Load Cell (9) in the Base (18) (Figure 5-3) so that there is equal space on both
sides of the Analytical load Cell to the base sides. This is very important as the Balance will not function
properly and may drift.
2.Secure the Load Cell (9) to the Base (18) with the three Screws (24), Washers (23) previously removed
at the bottom of the Base (18). Make sure the Load Cell is properly aligned before tightening the screws.
3.Install the Internal Calibration Mechanism back to the Base and secure using 4 screws previously removed.
4.Connect the two cable connectors from the Analytical Load Cell (9) to the Main PC Board edge connectors J3,
J6 and the Sensor Cable. The Sensor Board Cable is located at the rear of the balance and may interfere with
the operation of the balance if it is not positioned away from the Load Cell. Dress the cables and make sure
that the cables do not interfere with the Load Cell. If calibration option is installed, connect cable to J4.
CAUTION
Do not touch any connectors on Main or Position Sensor board.
Electrostatic discharge could damage components on the PCB's.
5.Secure the PC Board (11) to the Base (18) with the two Screws (3).
6.Install the Hex Screws (14) and Washers (25) at the rear of the balance into the connectors.
7.Install the Shield (4) back on the balance and secure with two Screws (3) (Figure 5-3).
8.Install the Draft Shield and secure with two Screws (2) making sure Lockswitch Cover Seal (1) (Figure 5-
2) is in place.
9.Replace the Cover Plate (6) and Pan (5) inside of the Draft Shield (Figure 5-2).
10. After assembly, verify that the balance meets all specifications. Perform all tests.