3-18
CHAPTER 3 REPAIR PROCEDURES
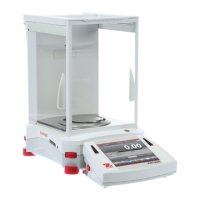
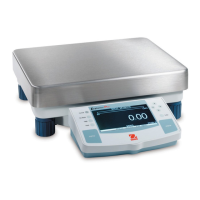
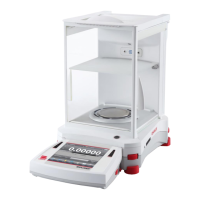
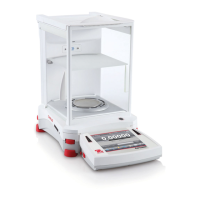
3.1.27 Vertical Stop Adjustment for Monoblock in High Capacity Top Loader Balance
NoteNote
NoteNote
Note:
The Position Sensor can be aligned by eye with the
mounting holes.
- If the Sensor Board has been replaced, it may be
necessary to adjust the vertical stop.
- The vertical stop setting is the reference for the lever
height (horizontal position).
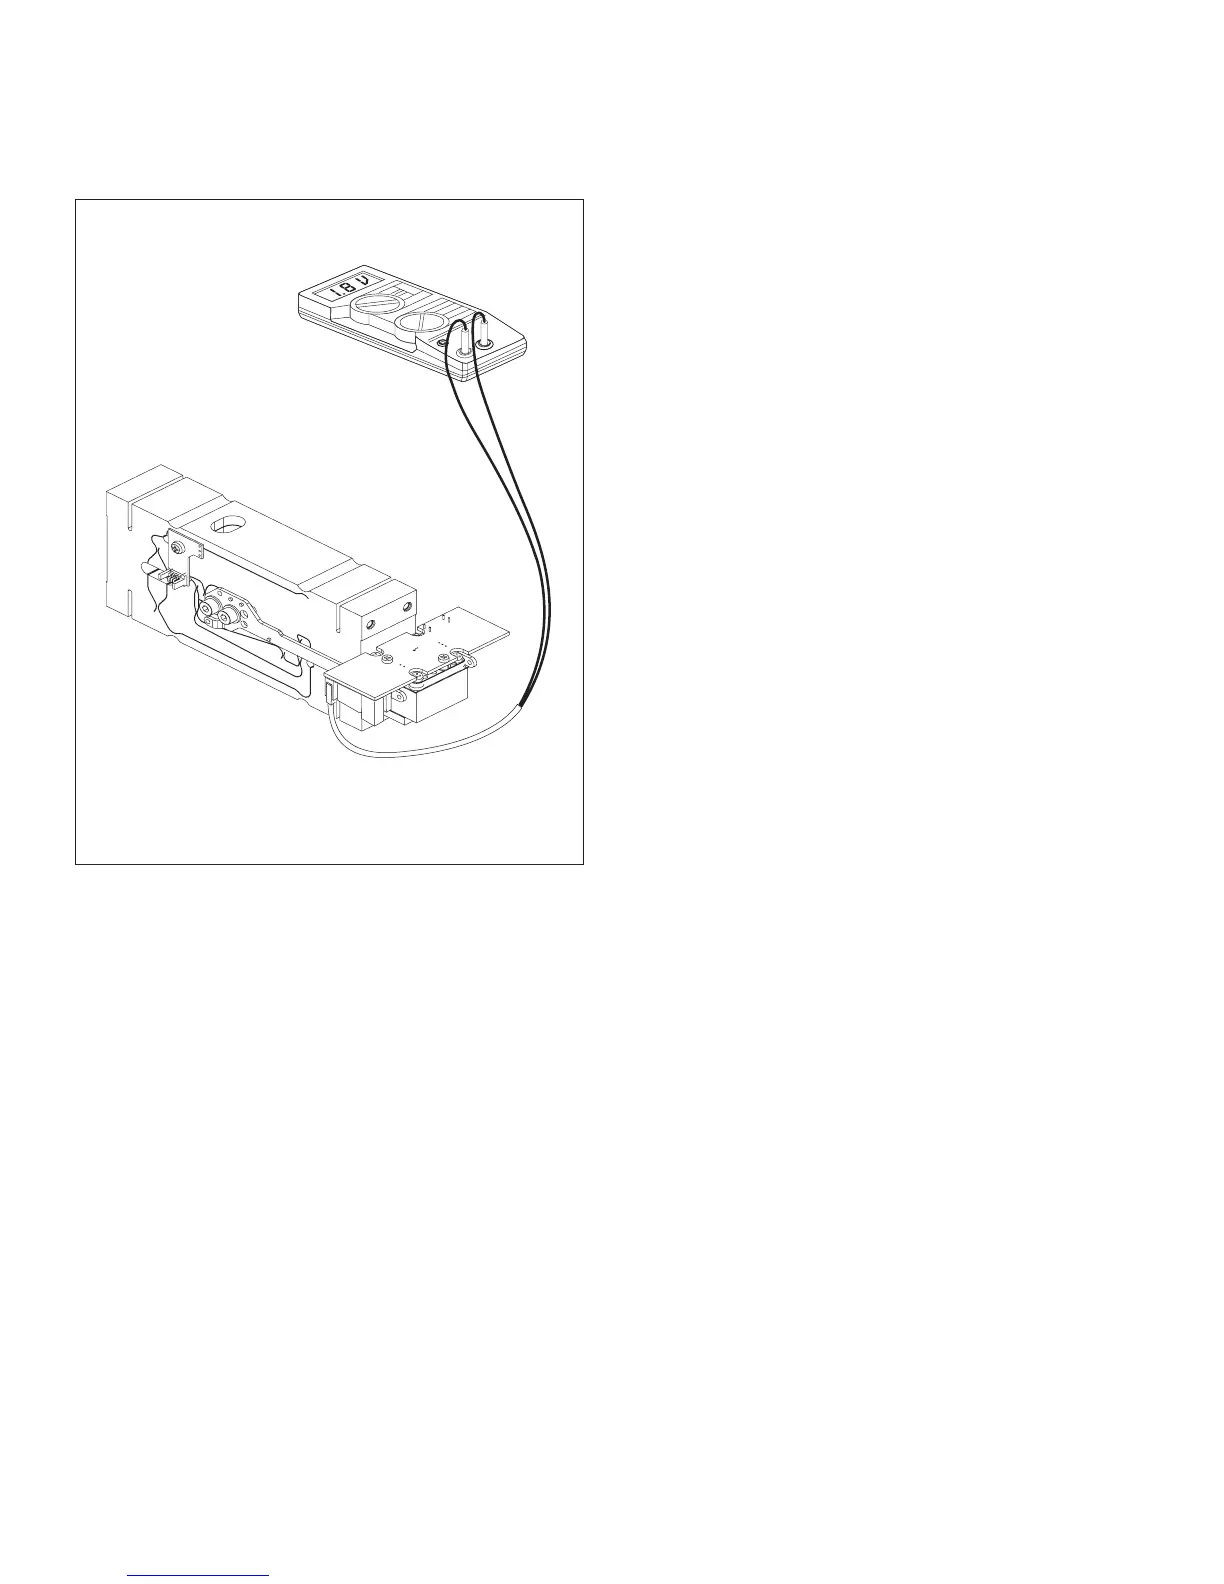
Preparation
1.The measuring cell remains in the balance
housing.
2. The ribbon cable from the Position Sensor
assembly is plugged into the Main PC board,
the coil cable remains disconnected.
3. Attach voltmeter (DC range) to pin 2 connector
located at the top left corner of the Position
Sensor assembly.
4.Turn on the balance.
Setting vertical stop
1.Note down 1st voltage as soon as the balance
has been switched on, here the lever is at the
bottom of the vertical stop.
2.Determine 2nd voltage value by carefully rais-
ing lever with thumb and forefinger until it is at
the top of the vertical stop. Note down the
value.
3.If the two voltage values and are not the same,
(+ or - 1.5 ...2V, difference max. 0.1V), the
voltage must be set by adjusting the vertical
stop.
4.To adjust the vertical stop, turn the vertical
adjustment screw and repeat steps 1 and 2
until the readings are within specifications
(step 3).
Figure 3-25. Position Sensor Connections.