3-21
CHAPTER 3 REPAIR PROCEDURES
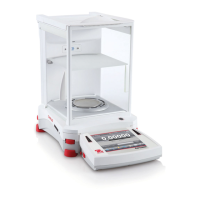
3.2.2 Analytical Balance - Position Sensor PC Board
When the Position Sensor PC Board (51C) (See Figure 5-4) has been determined that it is defective and requires replacement,
proceed as follows:
1.Remove power from the balance.
2.Proceed to paragraph 3.1.1 Load Cell Removal and remove the Load Cell (51)from the balance.
3.With the Load Cell (51) out of the Base (18), position the Load Cell with the Sensor board facing towards you.
4.Mark the position of Sensor Bracket on Transducer Base. Unsolder precision resistor and cable assembly (See
Figure 3-1). Remove the 2 Hex head screws which secure Sensor PC board Bracket to Load Cell Base and
remove Sensor PCB assembly.
5.Install the new Sensor PC Board in the reverse manner from which it was removed. Ensure assembly
is mounted in marked position (step 4) and Ratio Beam does not touch the Sensor PC Board Assembly
Bracket.
6.Proceed to paragraph 3.1.2 Load Cell Replacement and install the Load Cell back in to the balance.
Perform the Up/Down Adjustment, paragraph 3.1.3 or 3.1.4.
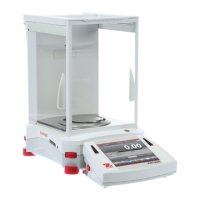
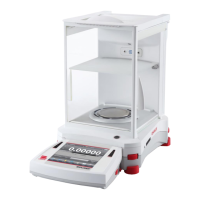
3.2.3 Precision Top Loader Balances Main Printed Circuit Board (PCB)
The circuitry used on the Main PCB is very complex. Troubleshooting the Main PCB requires an Oscilloscope, DVM, hand
tools, and the services of a trained electronics technician. In an effort to keep service costs down, it is suggested that if
the Main PCB is suspected of being faulty, it should be replaced to verify the defect. In the case of common power supply
problems, conventional troubleshooting techniques should be employed.
Refer to Figures 5-1 and 5-3 in Chapter 5 for location of components called out in this procedure.
See Figure 5-1 for steps 1 through 5.
1.With the balance turned OFF and unplugged, remove the Pan (1).
2.Remove Wind Shield (2).
3.Remove the four Corner Spacers (5).
4.Remove two Screws (3) and Lockswitch Cover Seal (4).
5.Remove the Cover (6) from the Base.