4 Determining IP Addresses
4-6
NJ/NX-series CPU Unit Built-in EtherNet/IP Port User’s Manual (W506)
Use the Sysmac Studio to set the IP address of the built-in EtherNet/IP port.
1
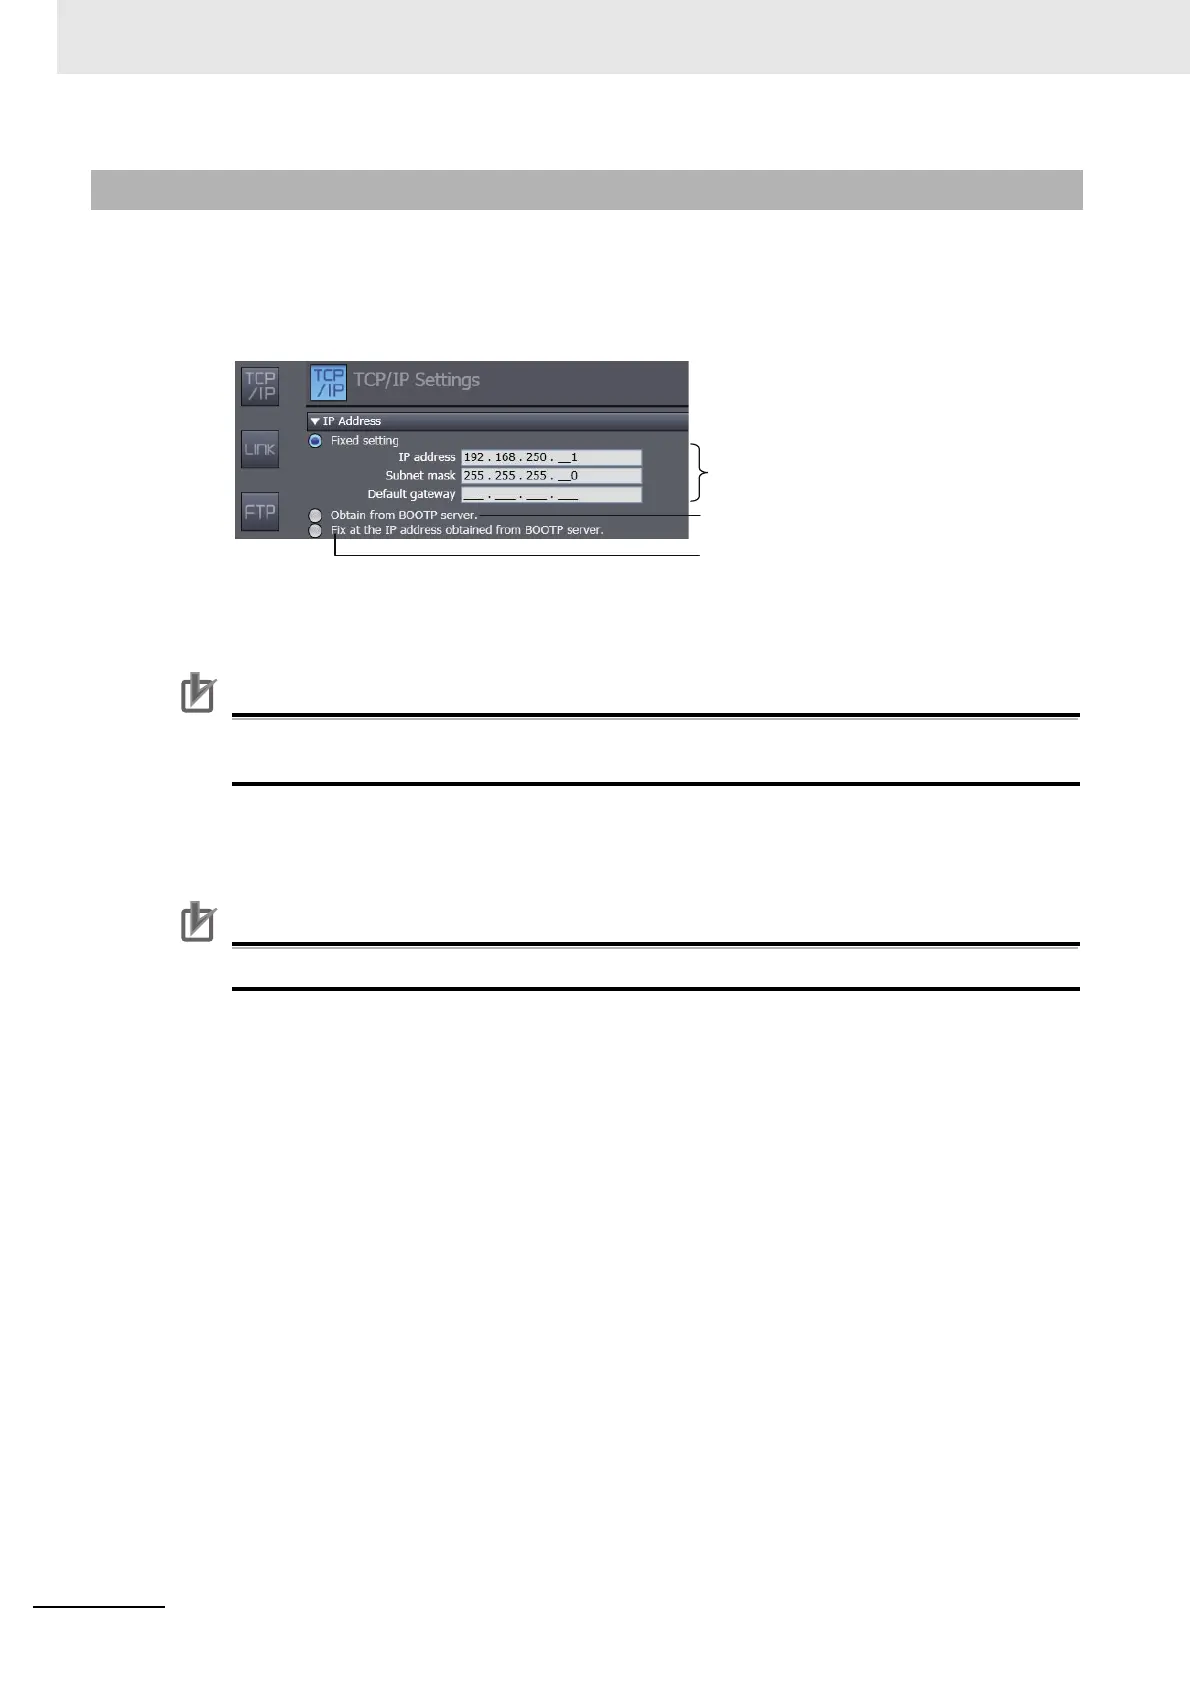
Select the setting method for IP addresses.
Make the following settings on the TCP/IP Settings Display of the Built-in EtherNet/IP Port Set-
tings Tab Page in the Controller Setup to set the local IP address.
For an NX701 CPU Unit, the IP addresses must be set separately for built-in EtherNet/IP ports 1
and 2.
Precautions for Correct UsePrecautions for Correct Use
For an NX701 CPU Unit, you cannot set IP addresses that make two built-in EtherNet/IP ports
belong to the same network.
2
Connect the Sysmac Studio to the NJ/NX-series CPU Unit via a USB connection or the Ethernet
network.
Precautions for Correct UsePrecautions for Correct Use
An NX1P2 CPU Unit can be connected only via Ethernet.
3
Connect the Sysmac Studio online to the NJ/NX-series CPU Unit. Refer to 4-2-3 Online Con-
nection for the procedure to connect online.
4
Use one of the following methods to download the IP addresses that were set on the Sysmac
Studio to the NJ/NX-series CPU Unit.
• Go online with the Controller, and then select Synchronization from the Controller Menu.
The data on the computer and the data in the physical Controller are compared automatically.
• Click the Transfer to Controller Button.
Note Use the Synchronization Menu of the Sysmac Studio to upload and download data.
4-2-2 Setting IP Addresses
Used to obtain the IP address from the BOOTP
server once and then not change it.
Used to obtain the IP address from the BOOTP
server each time the power is turned ON.
Used to set a user-specified IP address.
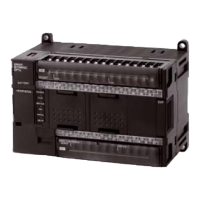
Display when using the NJ-series CPU Unit