Install PCIe Riser in Server Nodes
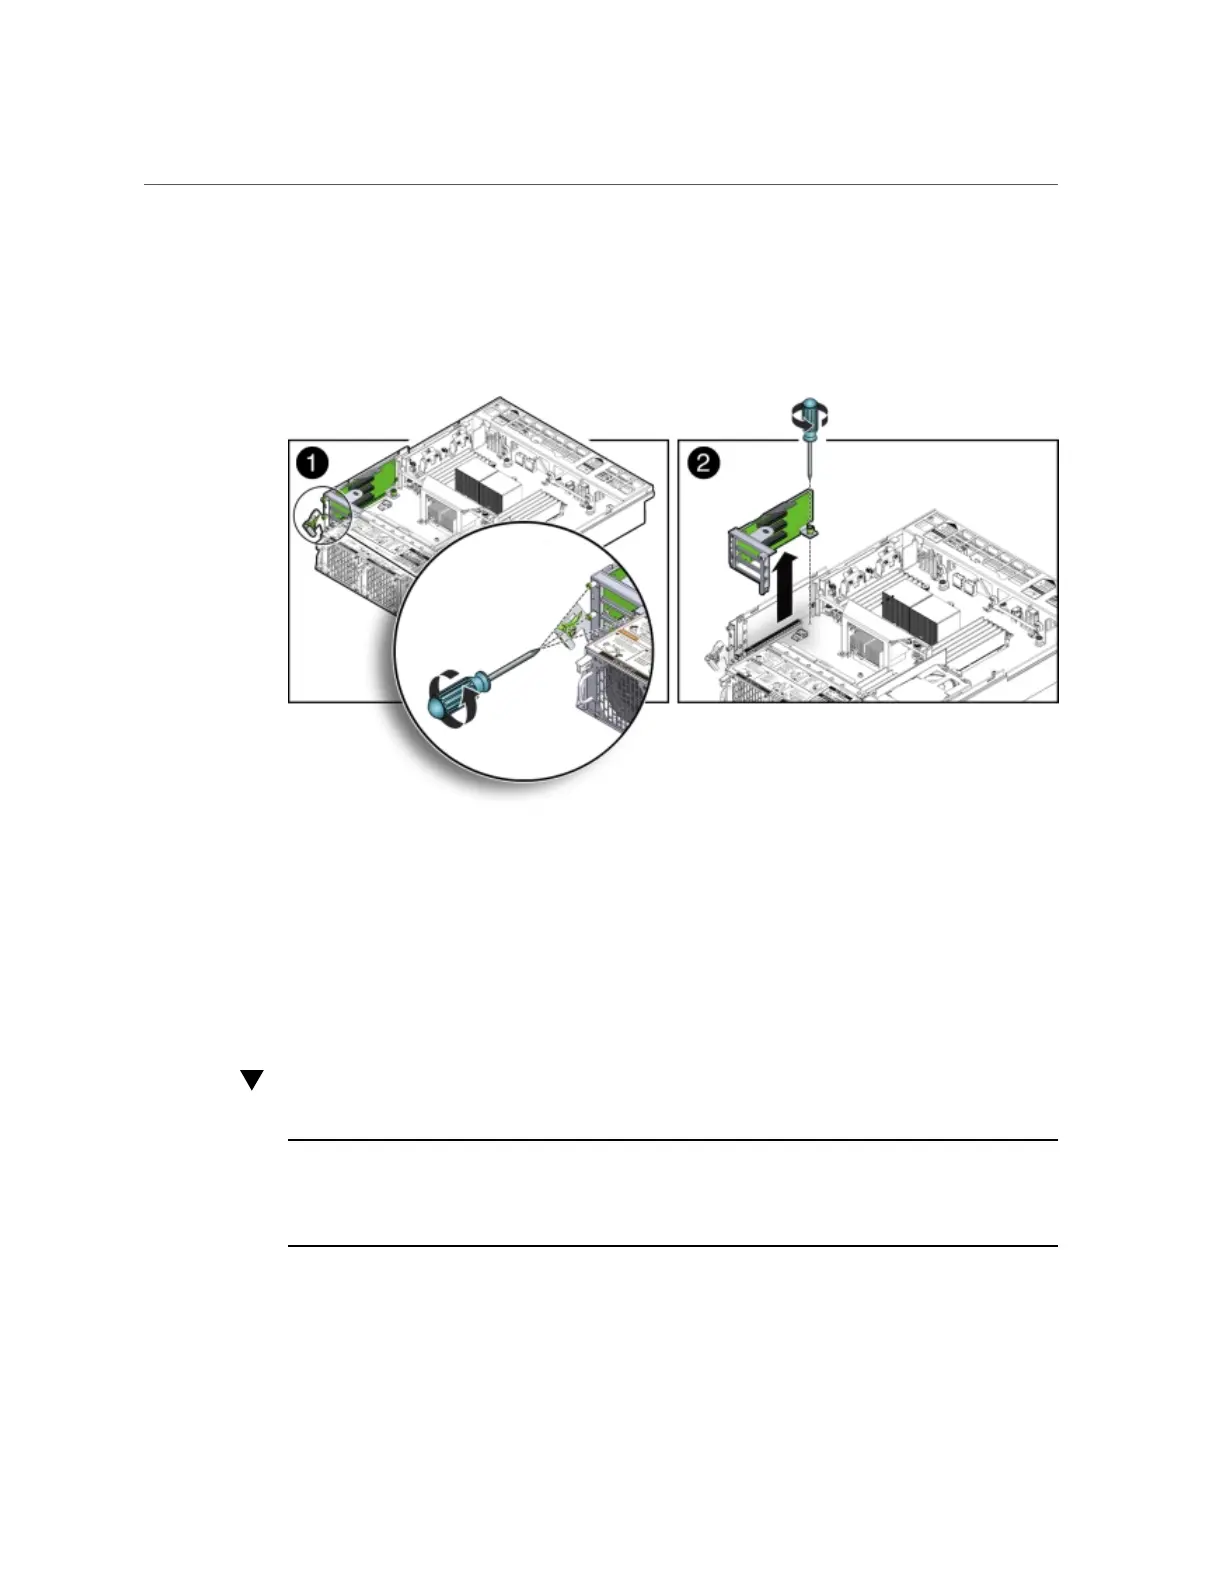
5.
Loosen the three green captive Phillips screws that secure the PCIe riser to the
server node [1].
Access these screws from the rear of the server node.
6.
Loosen the green captive Phillips screw that secures the PCIe riser to the
motherboard [2].
7.
To lift the PCIe riser out of the server node, grasp the front-most side plastic tab
with one hand and the rear of the riser with the other hand, and lift it straight up
and out of the server node [2].
8.
Place the PCIe riser and any cards attached to it on an antistatic mat.
Install PCIe Riser in Server Nodes
Note - Information in this appendix does NOT apply to Oracle Database Appliance X3-
2, Oracle Database Appliance X4-2, Oracle Database Appliance X5-2 or Oracle Database
Appliance X6 series. Refer to the preceding chapters in this document for information on
servicing those systems.
This section describes installing a PCIe Riser in Oracle Database Appliance Version 1.
Appendix A • Servicing the Oracle Database Appliance Version 1 179

 Loading...


