Replacing an NVMe Storage Drive
3.
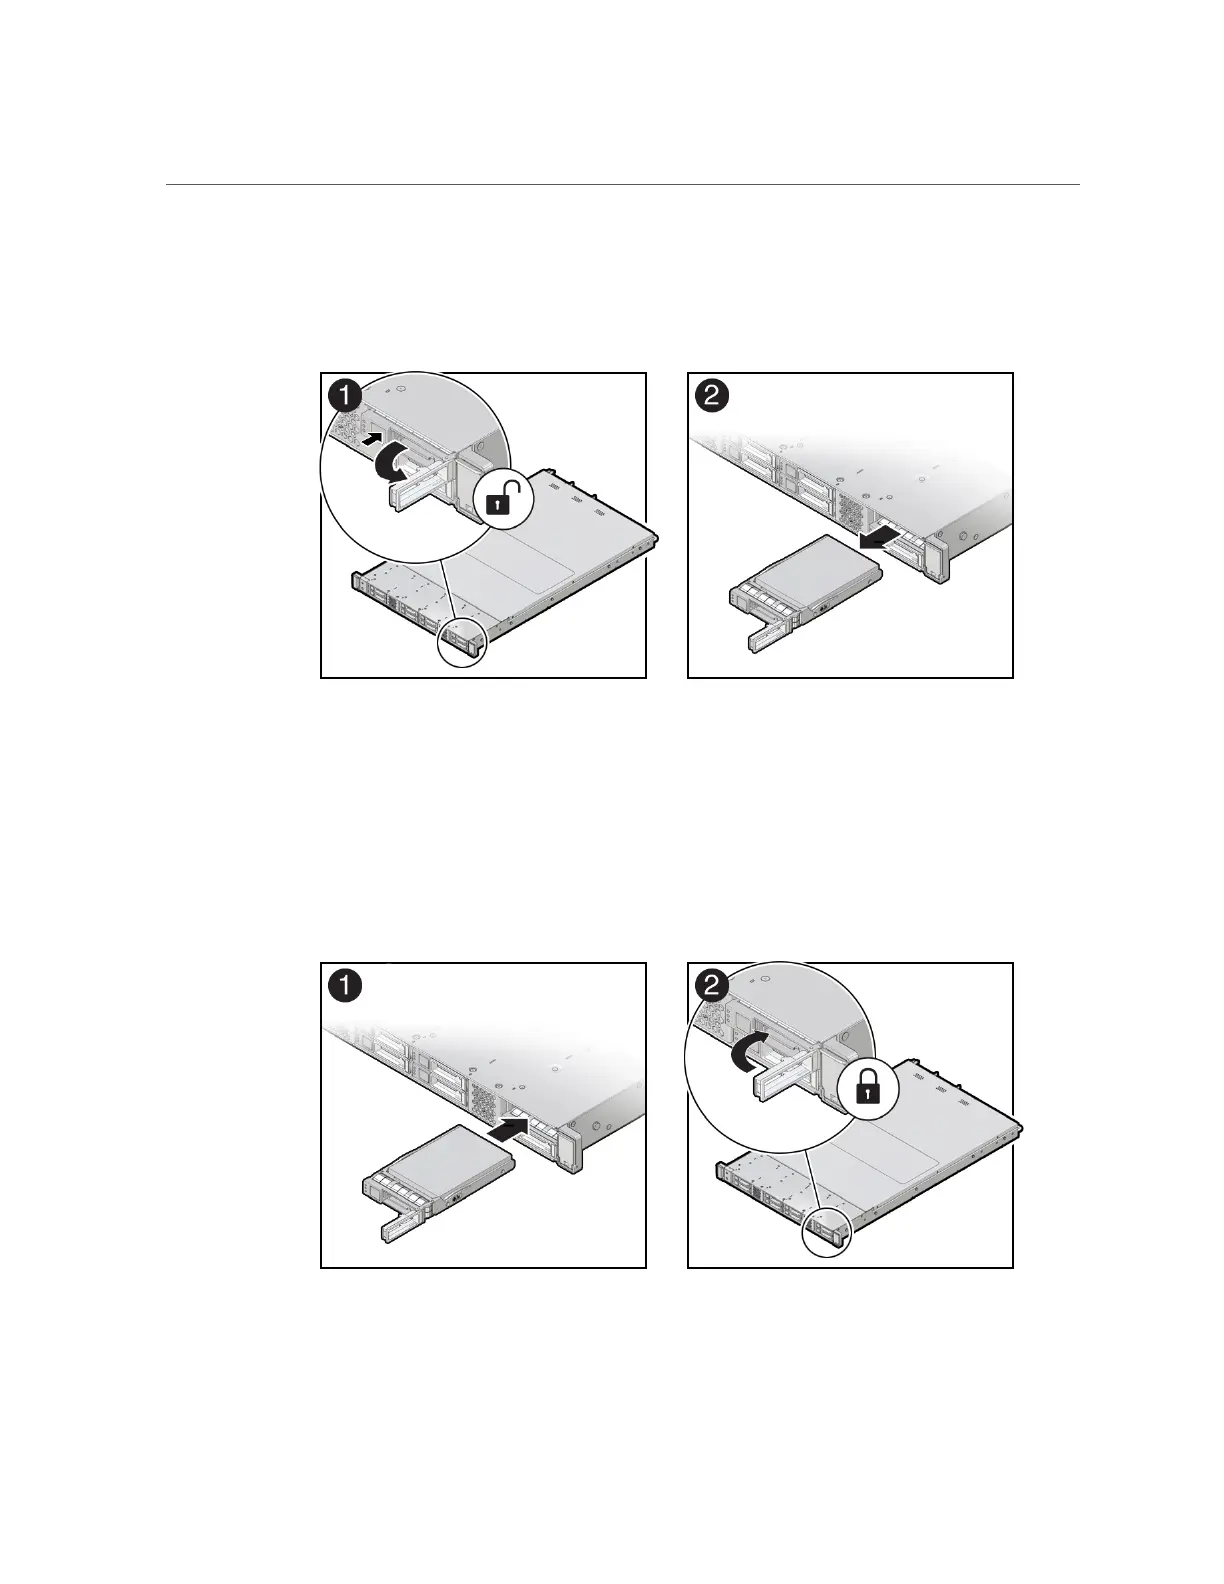
Push the latch release button on the front of the drive to open the drive latch [1],
grasp the latch, and pull the drive out of the drive slot [2].
4.
Align the replacement drive with the drive slot.
The drive is physically addressed according to the slot in which it is installed. It is important to
install a replacement drive in the same slot as the drive that was removed.
5.
Slide the drive into the slot until the drive is fully seated [1]. Then close the drive
latch to lock the drive in place [2].
68 Oracle Database Appliance Service Manual • November 2017

 Loading...


