Adding NVMe Expansion Storage
5.
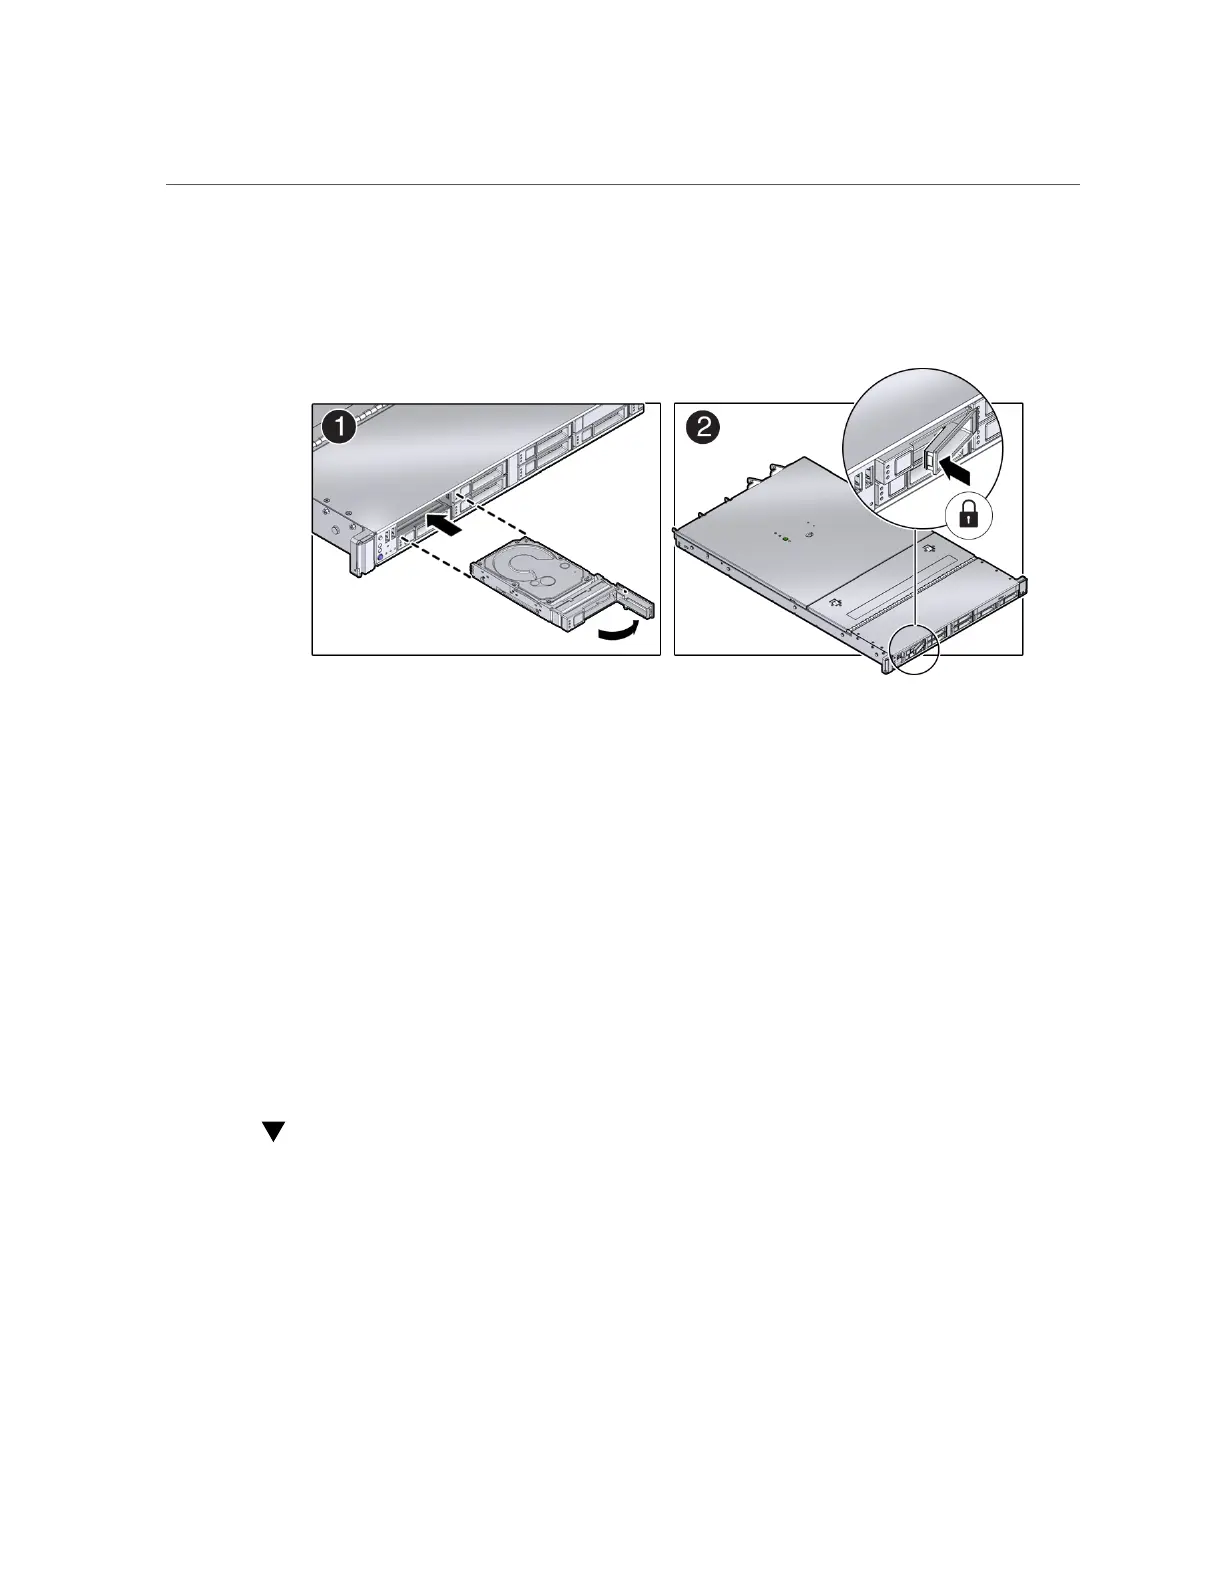
Slide the drive into the slot until the drive is fully seated [1]. Then close the drive
latch to lock the drive in place [2].
6.
Power on and remount the replacement drive. Type the following command from
the host:
# odaadmcli power disk on pd_xx
Where pd_xx is the name of the disk being replaced as described in step 1.
It can take a few minutes for the power-on operation to complete. Once complete, the drive's
green OK indicator will light.
7.
To check the status of the replacement disk, type the following command from
the host:
# odaadmcli show disk
For additional information, refer to the Oracle Database Appliance Deployment and User's
Guide.
Adding NVMe Expansion Storage
Before You Begin
■
The Oracle Database Appliance X6-2S/X6-2M supports two expansion slots for NVMe
drives. These are slots labeled NVMe2 and NVMe3 as seen from the front of the system
(callouts 1 and 2 in the following illustration). When adding NVMe storage, you must
populate both of these slots.
74 Oracle Database Appliance Service Manual • November 2017

 Loading...


