How to Replace a ZS3-2 Battery
7.
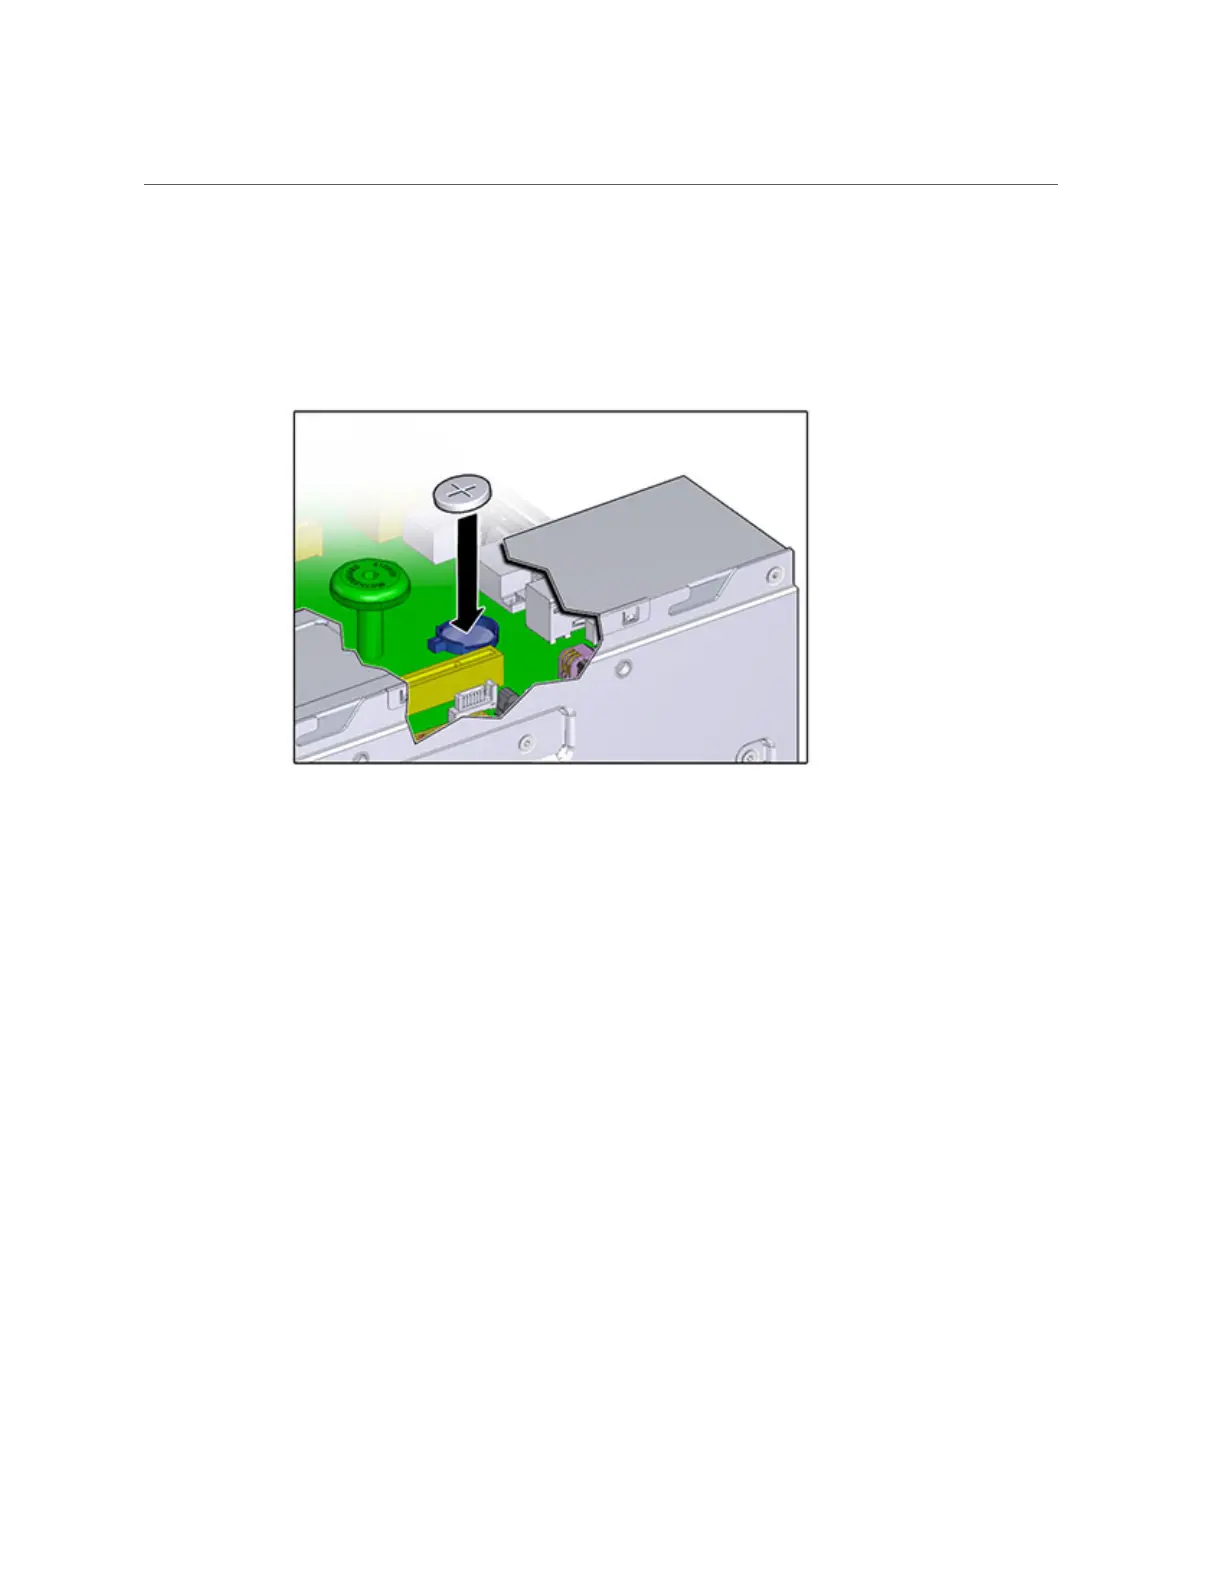
Position the battery where it will install into the receptacle, with the positive (+)
side of the battery facing up.
8.
Press the battery into the receptacle until you hear a click.
9.
Install Riser 1.
10.
Replace the top cover and tighten the two captive screws.
11.
Push the release tabs on the side of each rail and slowly push the storage
controller into the rack, making sure no cables obstruct the path of the
controller.
12.
Reconnect the data cables and the disk shelf cables.
13.
Connect the power cords to the power supplies. Verify that standby power is on,
indicated by the Power/OK and SP status indicators flashing green on the front
panel.
14.
After the SP status indicator is solid green, use a pen or other pointed object to
press and release the recessed Power button on the front panel. The Power/OK
status indicator next to the Power button lights and remains lit.
15.
When the system has finished booting, log in and set the time using the steps
in the task “Setting Clock Synchronization using the BUI” in Oracle ZFS Storage
Appliance Administration Guide, Release 2013.1.5.0.
Servicing the Hardware 155
 Loading...


