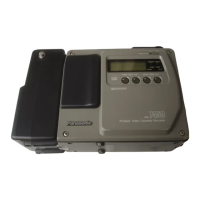
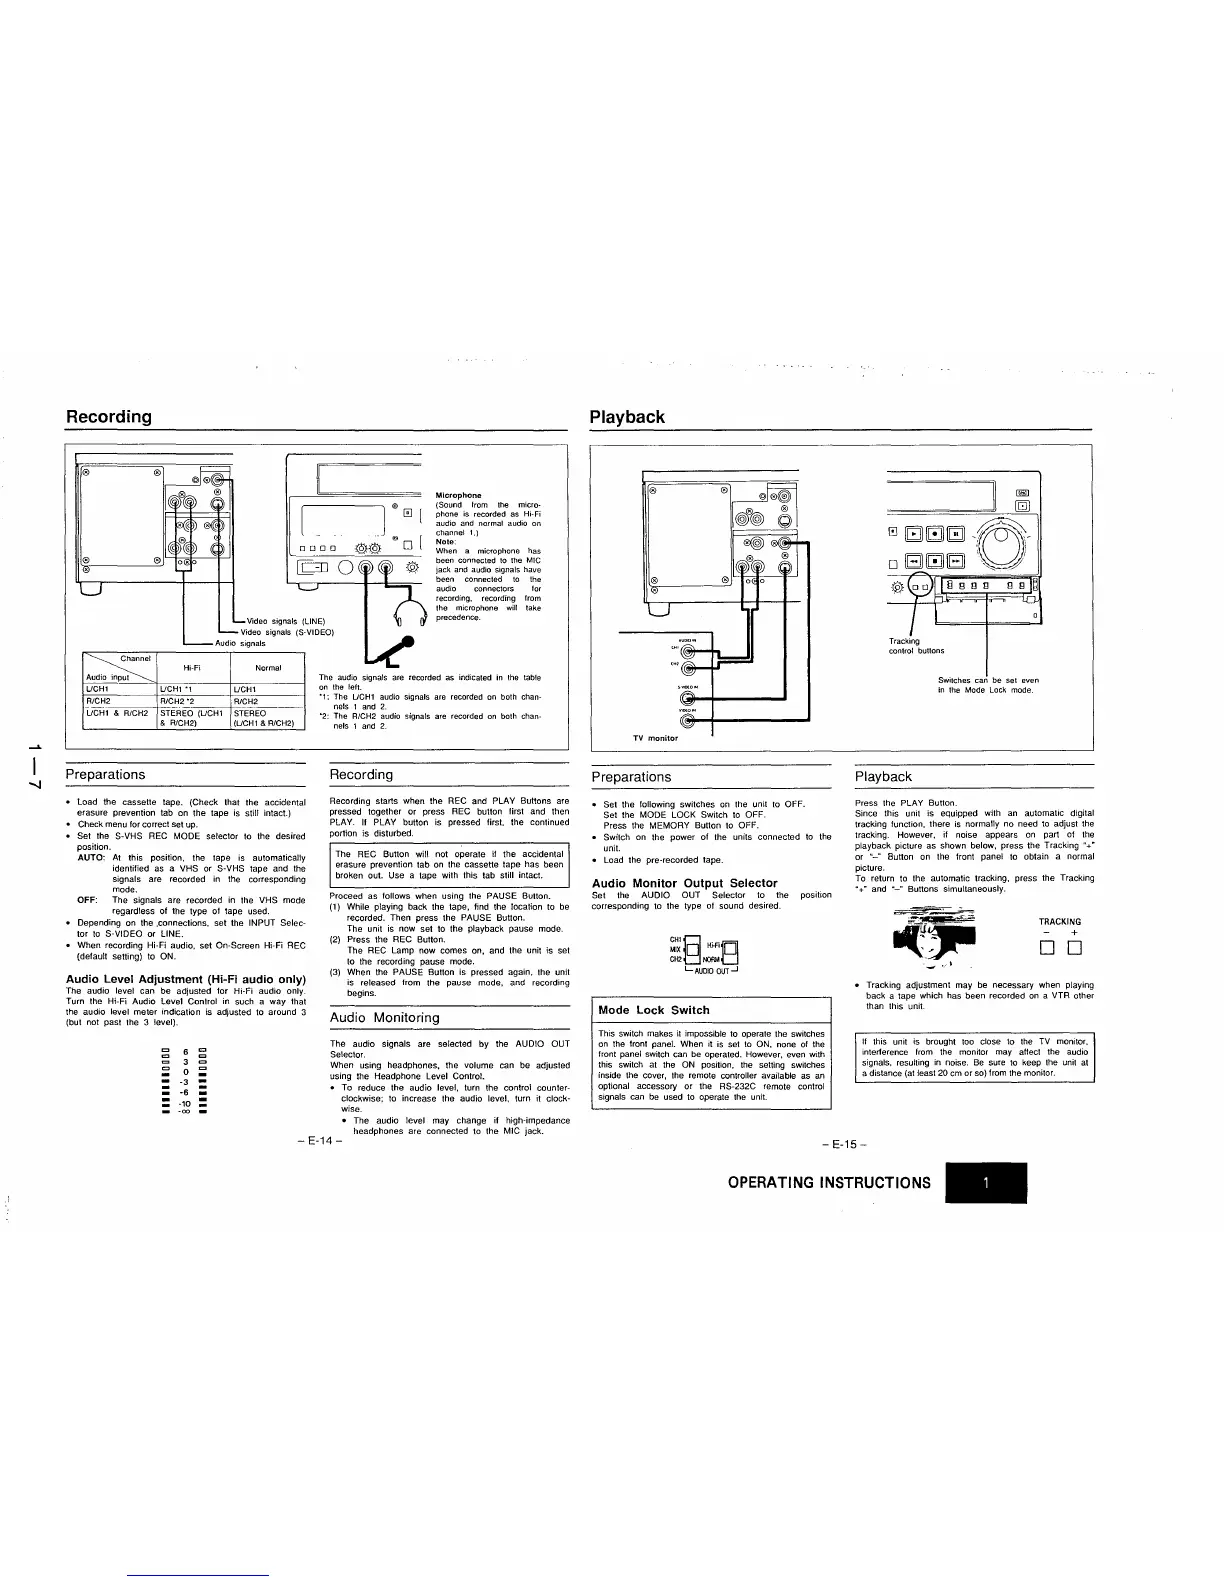
Recording
0000
o
Microphone
(Sound from the micro-
phone
is
recorded as Hi-Fi
audio and normal audio on
channel 1.)
Note:
When a microphone has
been connected
to
the
MIC
jack and audio signals have
been connected
to
the
audio connectors
for
Video signals (LINE)
Video
signals (S-VIDEO)
Audio signals
recording, recording from
the microphone
will
take
precedence.
Channel
Hi-Fi
Normal
Audio
input
UCH1 UCH1
"1
UCH1
R/CH2=--C-~~------I-'cRl==CH2
"2=---~_+RI(;f:l2
___
~
UCH1 & R/CH2 STEREO (UCH1 STEREO
& RlCH2) (UCH1 & R/CH2)
Preparations
• Load the cassette tape. (Check that the accidental
erasure prevention tab on the tape is still intact.)
•
Check
menu
for
correct
set
up.
• Set the S-VHS
REC
MODE selector to the desired
position.
AUTO:
At
this position, the tape
is
automatically
identified as a
VHS
or S-VHS tape and the
signals
are
recorded
in
the
corresponding
mode.
OFF: The signals are recorded in the VHS mode
regardless of the type of tape used.
• Depending on the .connections, set the INPUT Selec-
tor
to
S-VIDEO or LINE.
• When recording Hi-Fi audio, set On-Screen Hi-Fi REC
(default setting) to ON.
Audio Level Adjustment (Hi-Fi audio only)
The audio level can be adjusted
for
Hi-Fi audio only.
Turn the Hi-Fi Audio Level Control in such a way that
the
audio level meter indication
is
adjusted
to
around 3
(but not past the 3 level).
=
6
= =
=
3
=
=
0
-3
-
-
-6
-
-
-10
-
-
The
audio
signals
are
recorded
as
indicated
in
the
table
on
the
left.
*1:
The
UCHl
audio
signals are recorded
on
both
chan-
nels 1
and
2.
*2:
The R/CH2
audio
signals are recorded
on
both
chan-
nels 1
and
2.
Recording
Recording starts when the REC and PLAY Buttons are
pressed together
or
press
REC
button first and then
PLAY. If PLAY button is pressed first. the continued
portion is disturbed.
The REC Button will not operate if the accidental
erasure prevention tab
on
the cassette tape has been
broken out. Use a tape with this tab still intact.
Proceed as follows when using the PAUSE
Button_
(1)
While playing back the tape, find the location to
be
recorded_ Then press the PAUSE Button.
The unit is now set to the playback pause mode.
(2)
Press the REC
Button_
The REC Lamp now comes on, and the unit is set
to the recording pause mode.
(3)
When the PAUSE Button is pressed again, the unit
is
released from the pause mode, and recording
begins.
Audio Monitoring
The audio Signals are selected by the AUDIO OUT
Selector.
When using headphones, the volume can be adjusted
using the Headphone Level Control.
• To reduce the audio level, turn the control counter-
clockwise;
to
increase the audio level, turn
it
clock-
wise.
• The audio level may change if high-impedance
headphones are connected to the MIC jack.
-
E-14-
Playback
TV
monitor
Preparations
• Set the following switches
on
the unit to OFF.
Set
the MODE LOCK Switch
to
OFF.
Press the MEMORY Button to OFF.
• Switch on the power of the units connected
to
the
unit.
• Load the pre-recorded tape.
Audio Monitor Output Selector
Set the AUDIO OUT Selector to the position
corresponding to the type
of
sound desired.
MIX
0
Hi-fiO
CH1§
CH2
OORMD
LAUDlO
OUT..J
Mode Lock Switch
This switch makes
it
impossible
to
operate the switches
on
the
front
panel. When
it
is
set
to
ON, none
of
the
front
panel switch can be operated. However, even with
this switch at the
ON
position, the setting switches
inside the cover, the remote controller available as
an
optional accessory or the RS-232C remote control
signals
can
be
used to operate the unit.
11
[]lgjJ
[Q)
0
GlGJIGl
0
oBlGJBl
~
.\2)~
I§
!l !l
!l
!l
!l
I~
,.."
--to-
/
0
Tracking
control
buttons
SWitches
can
be set even
in
the
Mode
Lock
mode.
Playback
Press the PLAY Button.
Since this unit
is
equipped with an automatic digital
tracking function, there
is
normally no need to adjust the
tracking. However, if noise appears
on
part of the
playback picture as shown below, press the Tracking
"+"
or
"-"
Button
on
the front panel to obtain a normal
picture.
To return to the automatic tracking, press the Tracking
"+" and
"-"
Buttons simultaneously_
TRACKING
+
DD
• Tracking adjustment may
be
necessary when playing
back a tape which has been recorded
on
a VTR other
than
th
is
unit.
If
this
unit
is
brought
too
close
to
the TV monitor.
interference
from
the monitor may affect the audio
signals, resulting
in
noise.
Be
sure
to
keep the unit at
a distance (at least
20
cm
or so) from the monitor.
-
E-15-
OPERATING INSTRUCTIONS