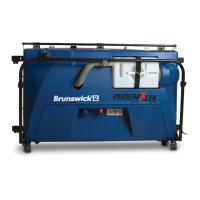
Phoenix LT4 Lane Machine Operation, Maintenance, and Parts Manual
4-8 Rev. Date: 01/22 61-900040-000
4.2.6 Cleaning the Oil Tank Area
Oil will accumulate on the sides and front of the oil tank, in the wicking foam areas, and on
the frame below the tank. To clean these areas, complete the steps below. Perform these
steps with the machine in the storage position away from the lane or the approach. The oil
tank can also be removed with the machine in the operating position by first removing the
hood. Rotating the oil tank sight glass downwards will help prevent oil spills that
occur due to lateral tipping.
1. Unfasten the clasps of the oil tank compartment and open the compartment door.
2. Remove the retaining pins from the retaining brackets at each end of the oil tank
(see Figure 4- 5).
3. While supporting the tank, unlatch the oil tank spring from the oil tank pull bracket.
4. Lift the tank up and move it away from the mounting bar. Rotate the sight glass
side of the oil tank downwards and position the tank to one side as far as it will go
so that the other end can clear the hood opening. Remove the tank from the
machine.
5. Wipe the oil transfer roller, the wicking foam areas, and the oil tank with a clean,
dry cloth.
6. Remove the foam drip pad from the frame area. Rinse the pad with soapy water
followed by clean water. Wring the pad out and hang it to dry. When dry, place it
back in the machine.
7. Reinstall the oil tank in the machine by reversing the actions specified in steps 2
through 4.
8. Close the oil tank compartment door and refasten the clasps.

 Loading...