Maintenance and Adjustments
61-900040-000 Rev. Date: 01/22 4-37
6. Secure the fuse and fuse holder in the control box by pushing it down with the
screwdriver and screwing it in (rotate clockwise).
7. Reinstall the hood, vacuum hose, cleaner tank cap, and waste tank.
TIP
Fuses shouldn't blow during normal use. If a fuse is blown, check the components in
the associated system to ensure none are jammed or otherwise damaged. Blown
fuses can be a good indicator that a component may be going bad or is out of
adjustment.
4.4.6 Replacing the Optical Sensor
The optical sensor stops the Phoenix LT4 at the end of the lane. A faulty optical sensor
could cause the machine to stop too soon or not at all. The instructions below tell how to
adjust and replace the front sensor.
Perform these steps with the machine in the operating position.
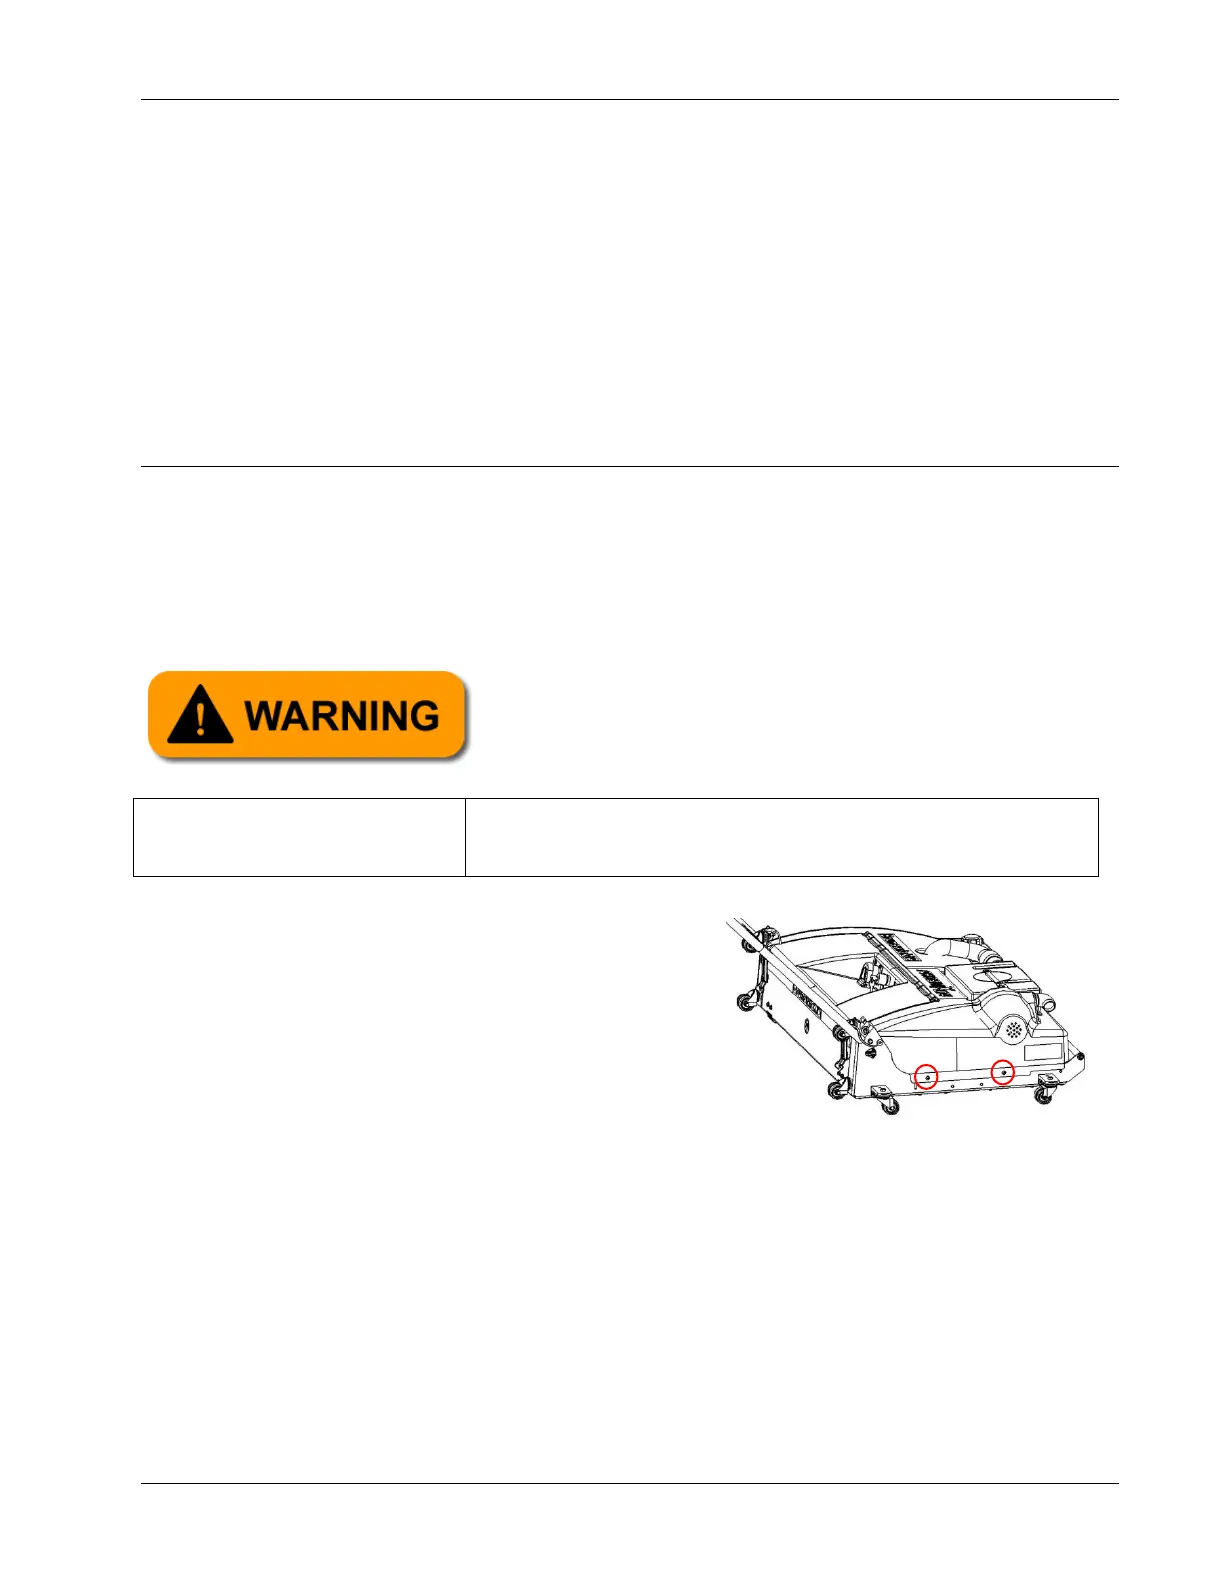
1. Unlatch the oil compartment door latches,
disconnect the vacuum hose and remove the
waste tank, remove the cap from the cleaner
tank, remove the two screws from each side
of the hood (see Figure 4- 477), and lift the
hood from the frame. Set the screws aside.
2. Locate the optical sensor cable, connector,
and the cable mounting block as shown in
Figure 4- 48 on the following page.
5/32” and 5/64" hex wrenches
Wire cutters and wire tie
Always ensure the Phoenix LT4 Lane Machine is
disconnected from any power source before starting
any maintenance, replacement, or repair task.