Phoenix LT4 Lane Machine Operation, Maintenance, and Parts Manual
4-22 Rev. Date: 01/22 61-900040-000
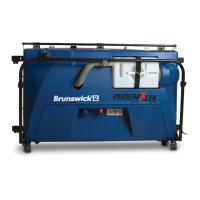
4. Once the desired height has been achieved, tighten the jam nut and reinstall the
hood, vacuum hose, cleaner tank cap, and waste tank.
5. Test run the machine on several lanes using a clean only function to check the
position of vacuum head. If further adjustment is needed, repeat steps 1-4.
6. When adjustments are complete, reinstall the hood, cleaner tank cap, waste tank,
and vacuum hose.
4.3.6 Adjusting the Vacuum Motor Position
The waste tank must be properly seated against the vacuum pump to ensure the proper
vacuum seal. If there are any leaks in the system, the Phoenix LT4 will not be able to
adequately pick up the cleaner / oil emulsion from the lane.
Perform the steps below with the machine in the operating position to adjust the vacuum
motor position.
5/32” hex wrench
Ratchet and 7/16” socket or 7/16” wrench
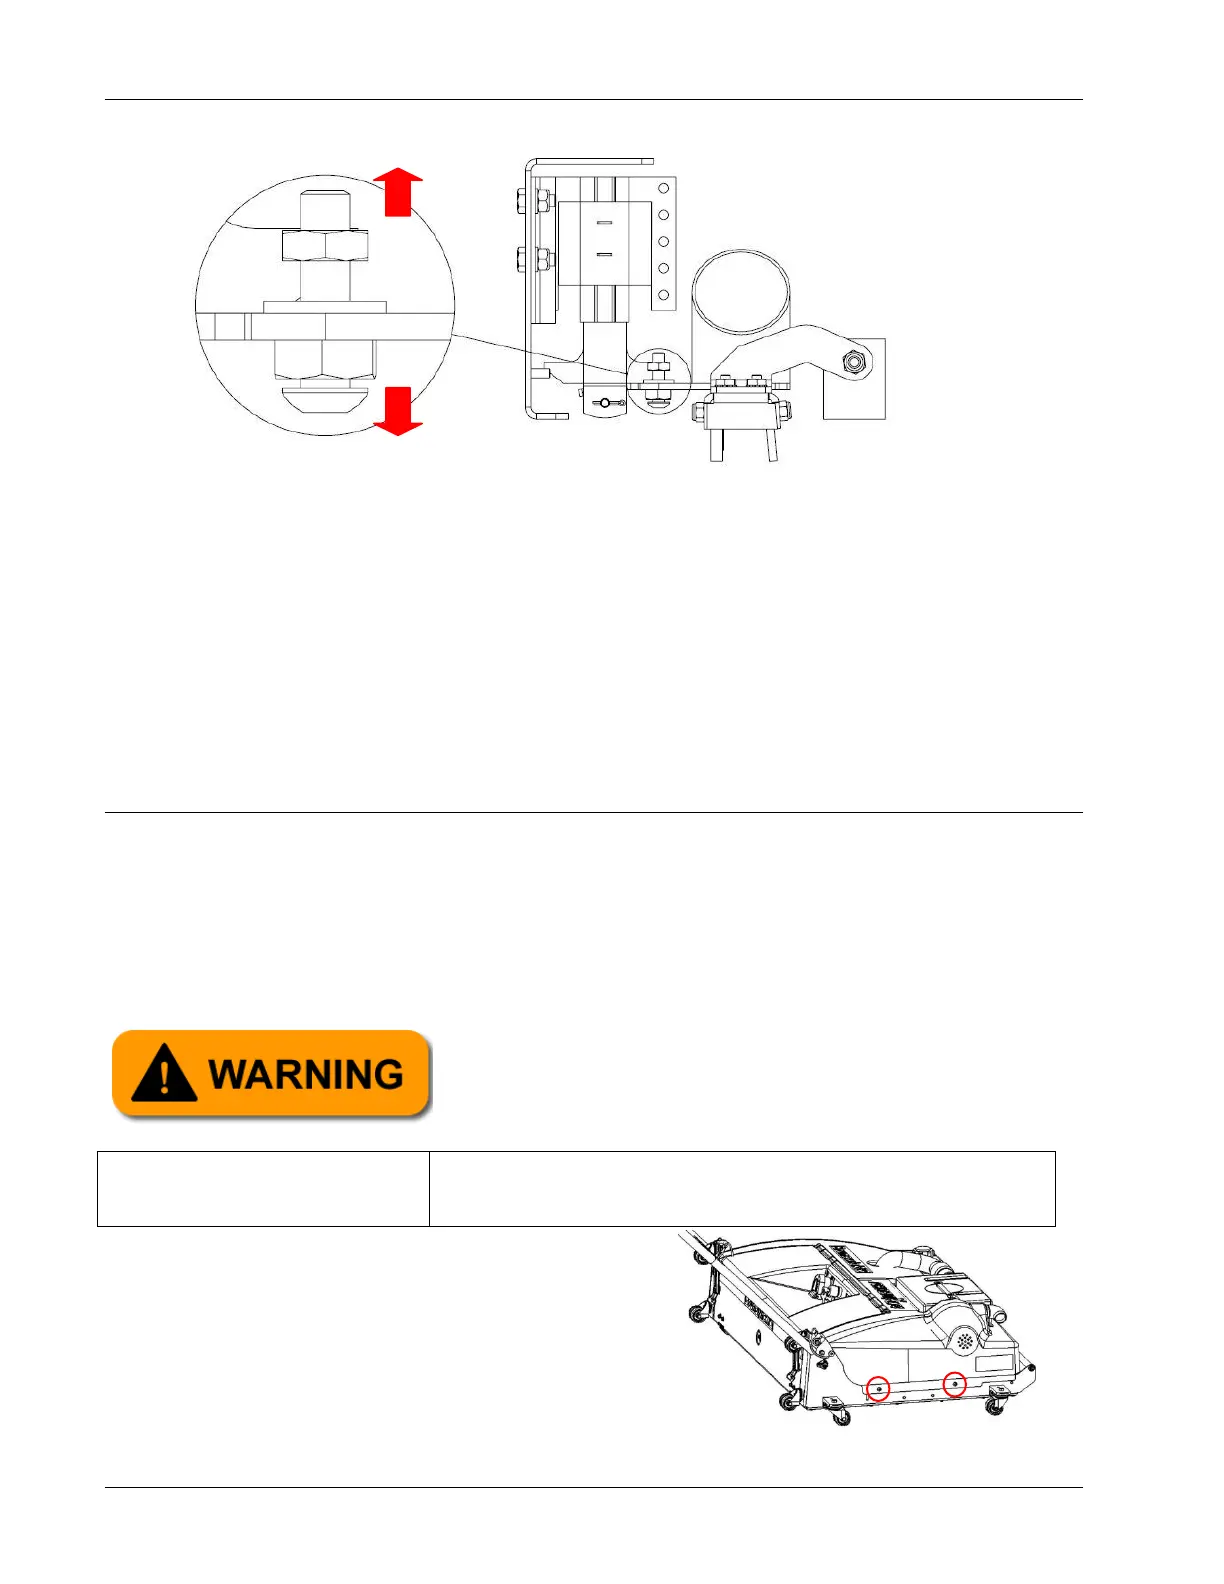
1. Unlatch the oil compartment door latches,
disconnect the vacuum hose and remove
the waste tank and cleaner tank cap. Then
remove the two screws from each side of the
hood as shown in Figure 4- 266, and lift the
hood from the frame. Set the screws aside.
Always ensure the Phoenix LT4 Lane Machine is
disconnected from any power source before starting
any maintenance, replacement, or repair task.