Maintenance and Adjustments
61-900040-000 Rev. Date: 01/22 4-21
allow the vacuum head to drop down onto the lane surface. This allows the vacuum head
to float. Perform the following steps with the machine in the operating position on a lane to
adjust the vacuum head height.
NOTE
The majority of centers will not to have to change the factory settings. If adjustments
are necessary, they should not vary dramatically from the factory settings.
Always ensure the Phoenix LT4 Lane Machine is
disconnected from any power source before starting any
maintenance, adjustment, replacement, or repair task.
5/32” hex wrench
Ratchet and 7/16” socket or 7/16” wrench
To adjust the vacuum head:
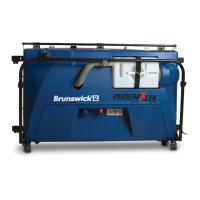
1. Unlatch the oil compartment door latches,
disconnect the vacuum hose and remove the
waste tank and cleaner tank cap. Then
remove the two screws from each side of the
hood as shown in Figure 4- 233, and lift the
hood from the frame. Set the screws aside.
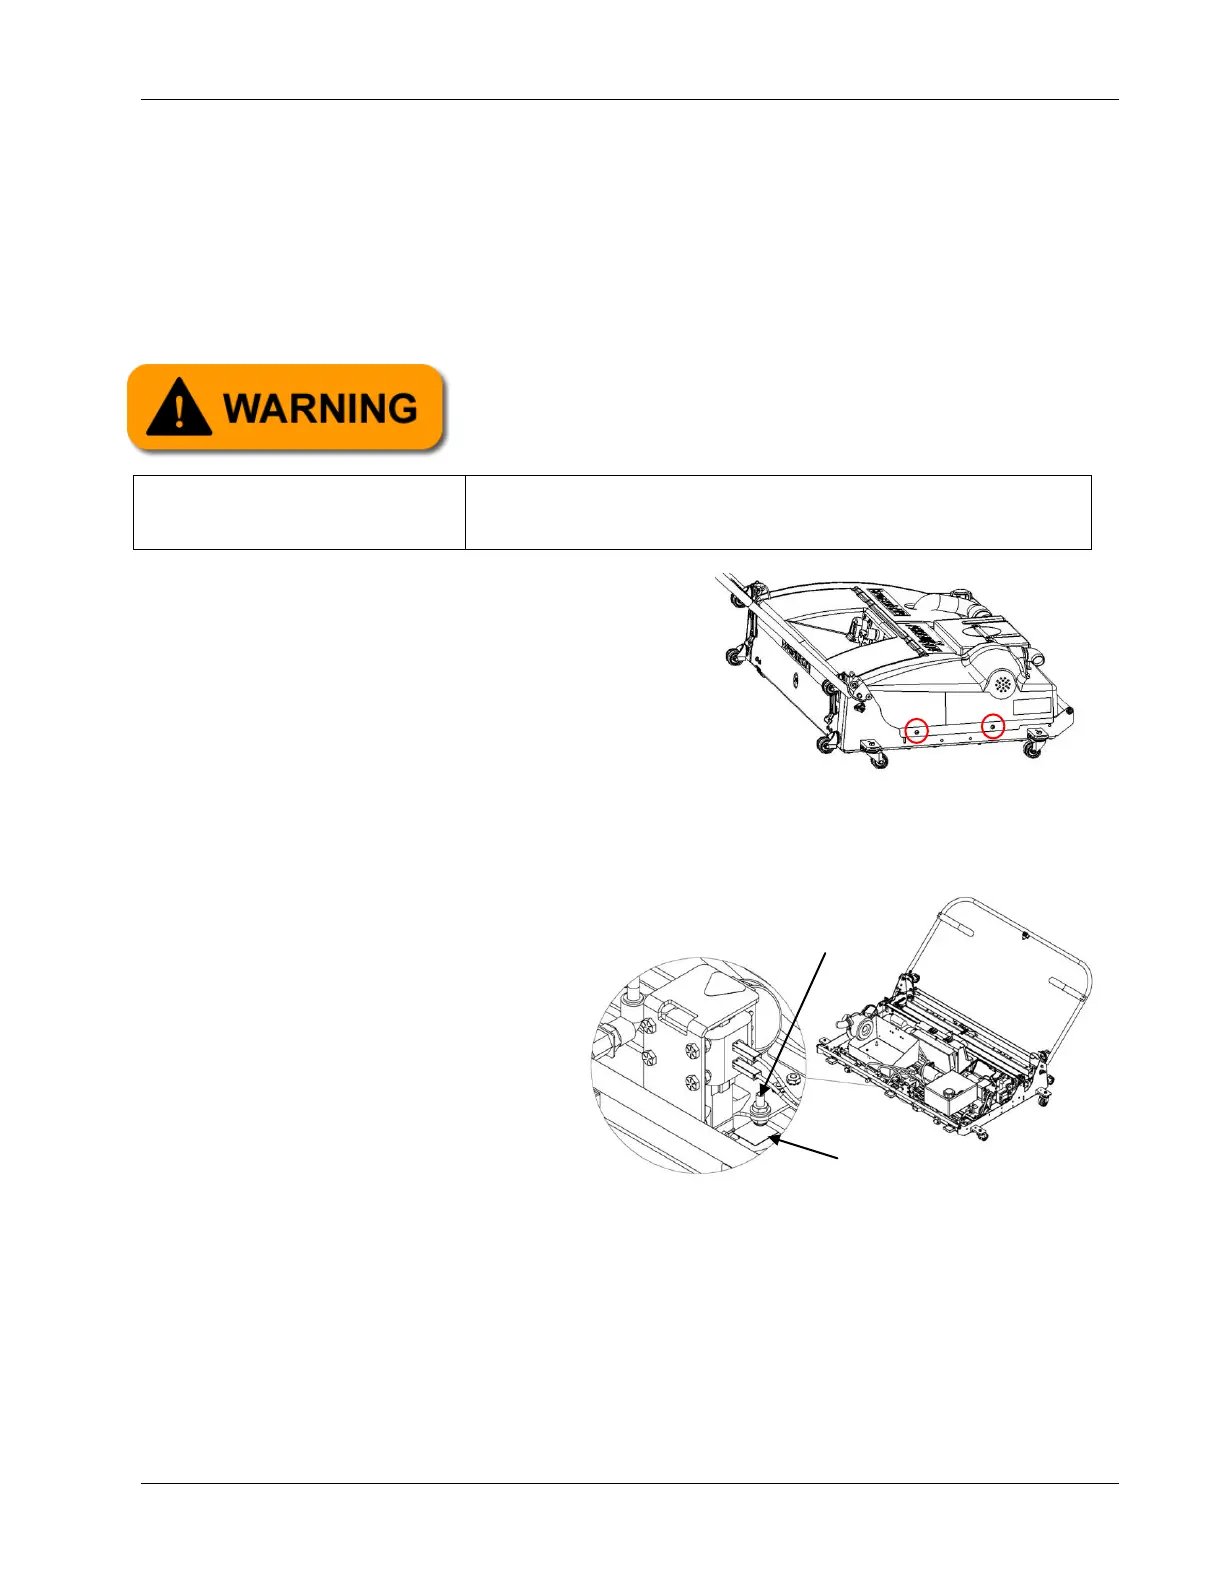
2. Loosen the jam nut on the
vacuum head height adjustment
screw as shown in Figure 4-
244.
3. To remove pressure from the vacuum head height adjustment screw, lift the vacuum
head off of the lane surface. To raise the vacuum head, rotate the height adjustment
screw counterclockwise. To lower the vacuum head, rotate the height adjustment
screw clockwise. Make only small incremental adjustments to the height. Refer to
Figure 4- 255 on the next page for more information.