Planmeca ProMax 3D Max with ProTouch 27
3D PATIENT EXPOSURE
User’s Manual
8.3 Preparing patient
Ask the patient to remove any spectacles, hearing aids,
dentures, hairpins, and personal jewellery such as
earrings, necklaces and piercings as these can produce
shadows or reflections in the image. The patient should
also remove any loose items of clothing (e.g. scarf, tie)
that might get caught in the arm structures of the X-ray
unit.
NOTE High contrast objects, such as gold teeth or amalgam,
may cause artefacts in the image.
Place a protective lead apron over the patient’s back if
required.
8.4 Patient positioning
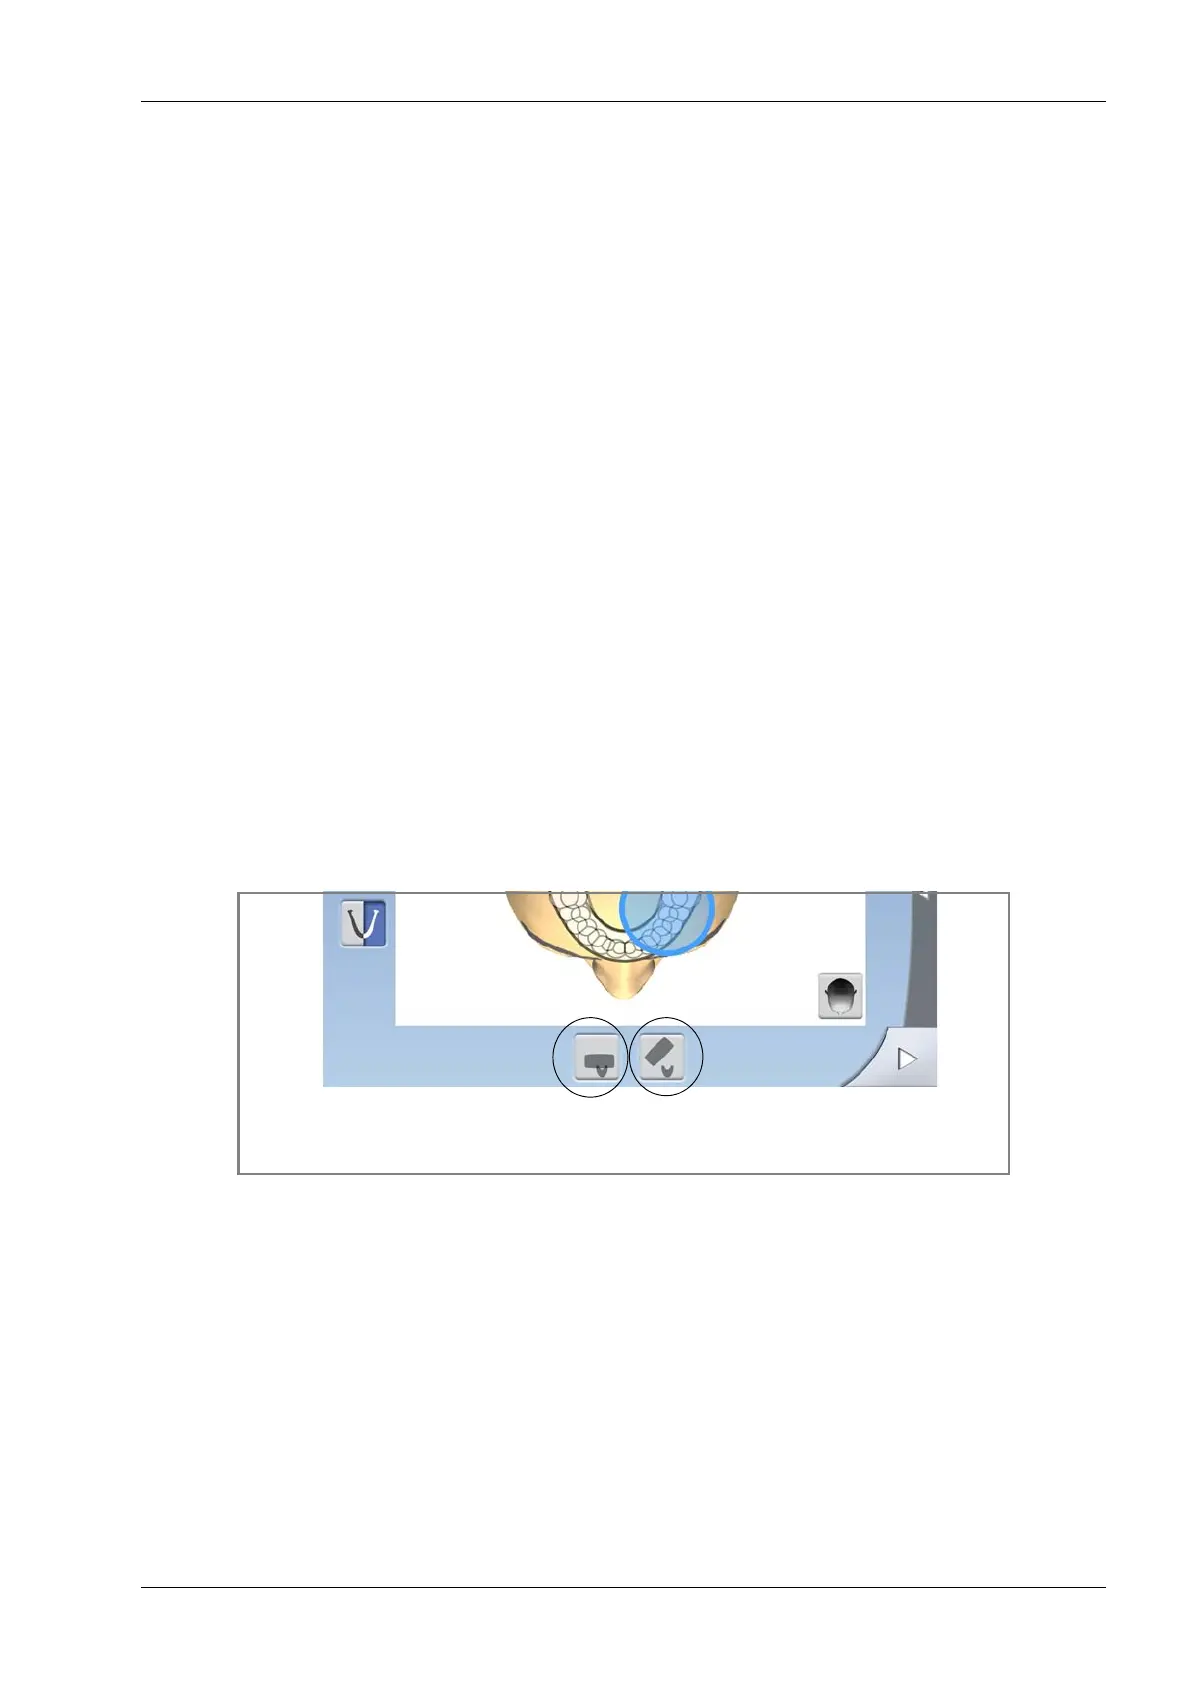
8.4.1 Selecting patient entry position
Use the buttons at the bottom of the screen to select the
patient entry position.
• Selecting the left button will position the C-arm around
the patient support. This is the traditional closed
patient entry position.
• Selecting the right button will move the C-arm to the
back, away from the patient positioning area. This full
view position allows you to monitor and adjust the
patient’s position freely from all directions.
NOTE If needed, the full view position (right button) can be
disabled (Service spanner > User > 1300 Operational
settings > 1330 Patient positioning). This might be
necessary if there is no space for the C-arm to move
back.
Select patient entry position
Closed Open