Planmeca ProMax 3D Max with ProTouch 39
3D FACE PHOTO
User’s Manual
9.4 Taking a 3D face photo
NOTE Make sure that you have selected the correct patient
and exposure mode in the Planmeca Romexis
program.
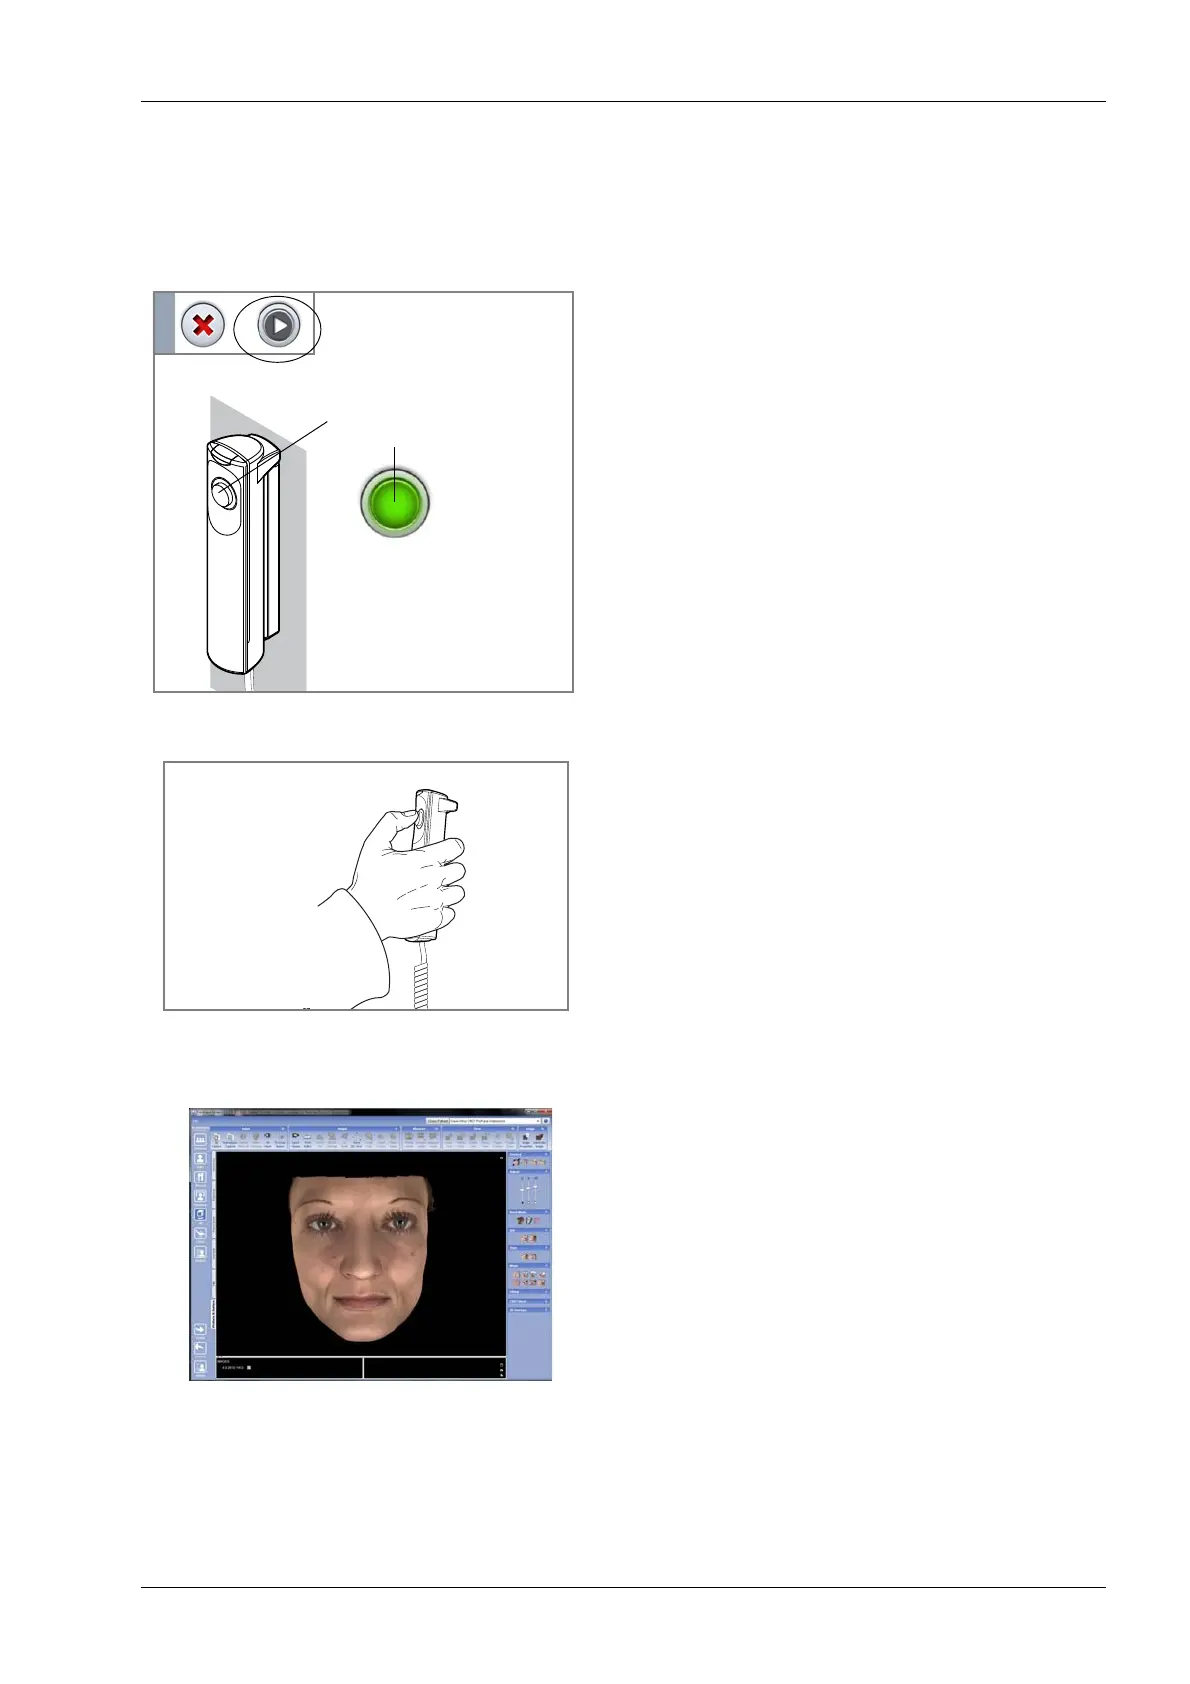
1. Select the forward button on the touch screen.
Green lights flash on the touch screen and exposure
button when the X-ray system is getting ready for an
exposure. The green lights stop flashing and stay on
continuously when the X-ray system is ready for an
exposure.
2. Ask the patient to stay as still as possible. Tell the
patient that the lights on the sides of the sensor will
flash during exposure but he should not be startled
and move. Ask the patient to either keep his eyes shut
or to focus them on a fixed point so that the eyes are
not half open in the image.
3. Press and hold down the exposure button for the entire
duration of the exposure. You hear a fast ticking sound
when the photo is taken.
4. The photo is shown on the computer screen.
5. Guide the patient away from the X-ray unit.
Green lights
Flashing green =
Getting ready
Continuous green =
Ready