MAIN PARTS
14 Planmeca ProMax 3D Max with ProTouch
User’s Manual
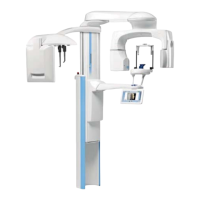
6.7 Patient positioning controls
NOTE Never allow patients to press the positioning controls
when they are positioned in the X-ray unit.
NOTE Touching any of the positioning controls (button or
joystick) will switch the patient positioning lights on.
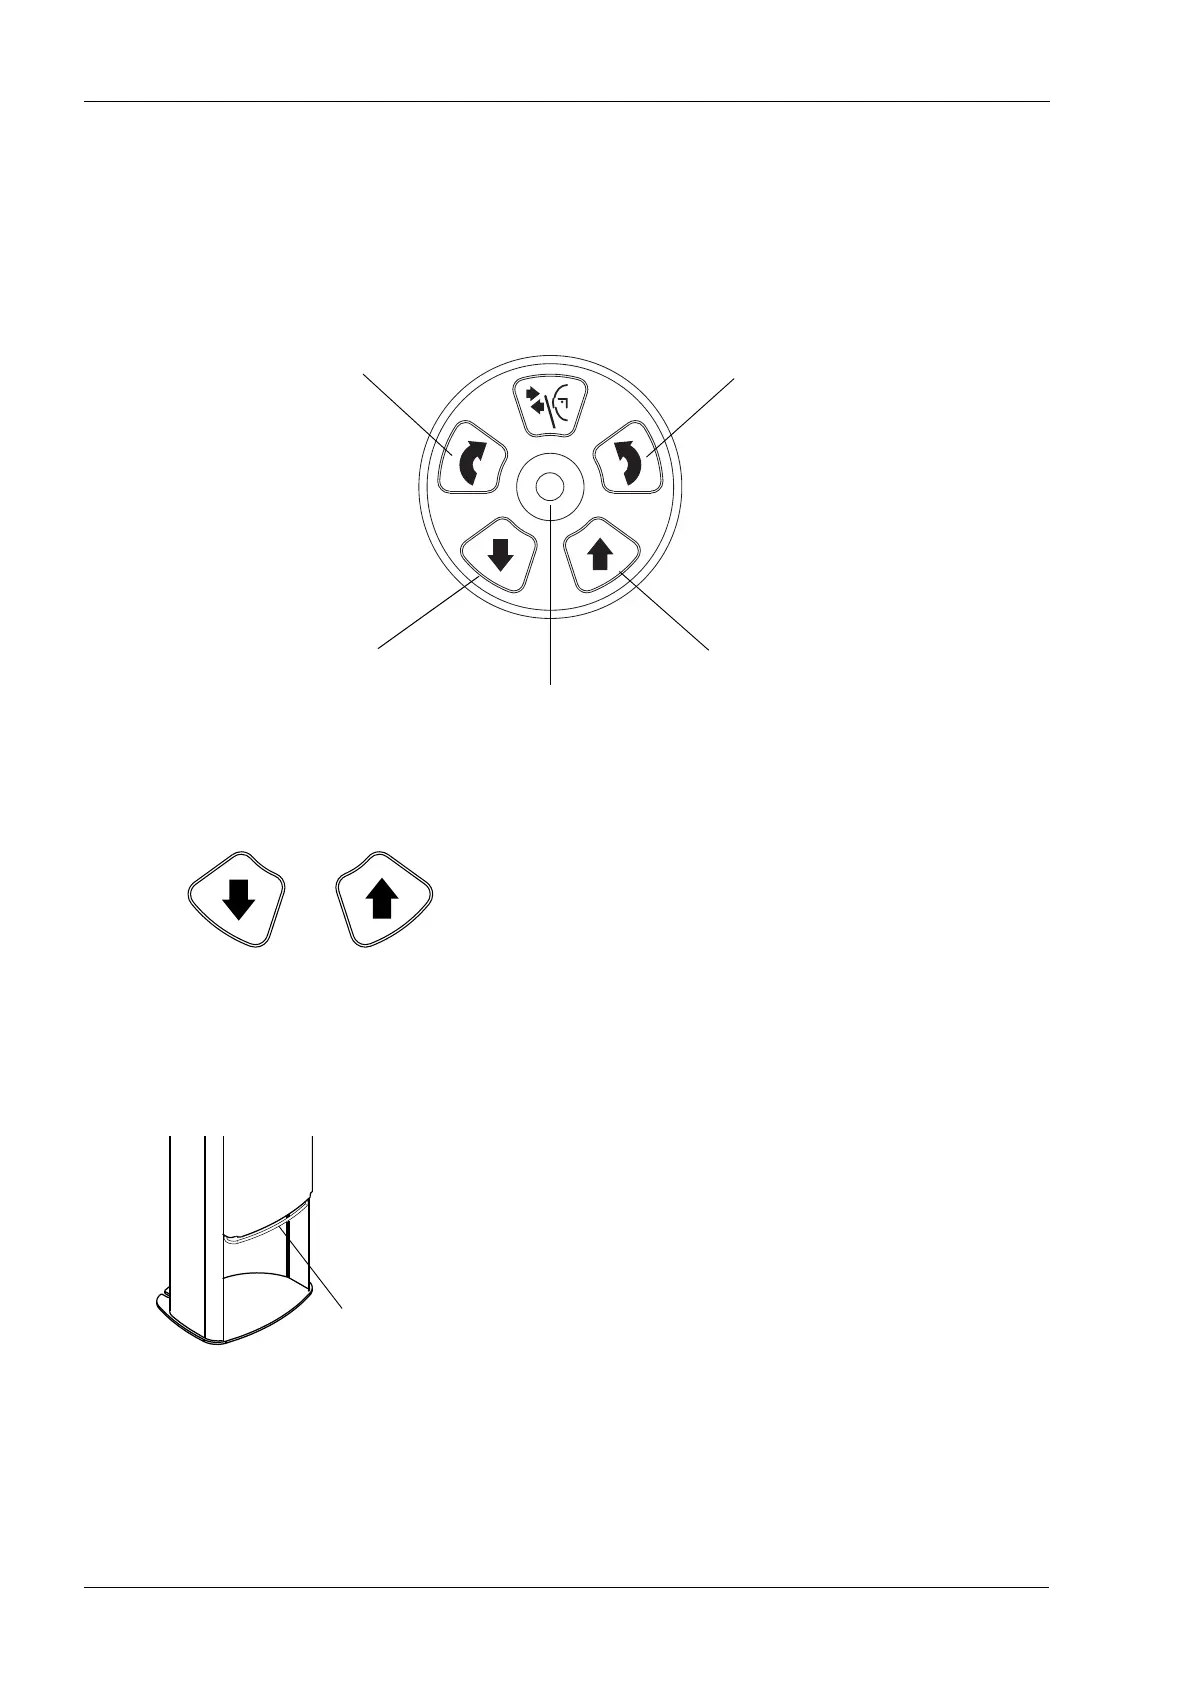
X-ray unit up / down
The X-ray unit up and down buttons are used to adjust the
X-ray unit to suit the height of the patient.
The X-ray unit moves slowly at first, then faster.
NOTE If for some reason either of the buttons gets stuck
during operation, you can stop the up / down
movement by pressing any of the other control
buttons or the positioning joystick. This is a safety
measure that guarantees that the up / down movement
can be stopped in an emergency.
NOTE Be careful that the X-ray unit does not hit the ceiling
when you press the up button. The maximum height
can be adjusted to suit offices with low ceiling, contact
your service technician for help.
NOTE Make sure that there is no object under the telescopic
column when you press the down button. If something
is in danger of becoming trapped, release the button
immediately to stop the movement.
NOTE The column movement stops automatically if the
emergency stop plate at the bottom is pressed
upwards. Clear any obstruction before moving the
column again.
NOTE When positioning wheelchair patients always first
move the X-ray unit down before you position the
patient in the unit.
Move image volume up
Move X-ray unit up
Positioning joystick
Move X-ray unit down
Move image volume down