3D MODEL EXPOSURE
44 Planmeca ProMax 3D Max with ProTouch
User’s Manual
10.2 Taking an exposure of an impression or plaster cast
NOTE The X-ray unit has to be calibrated for each new
material that is used. Refer to the previous section for
details.
NOTE FOR IMPRESSIONS
Do not use impression trays made of metal.
10.2.1 Selecting settings
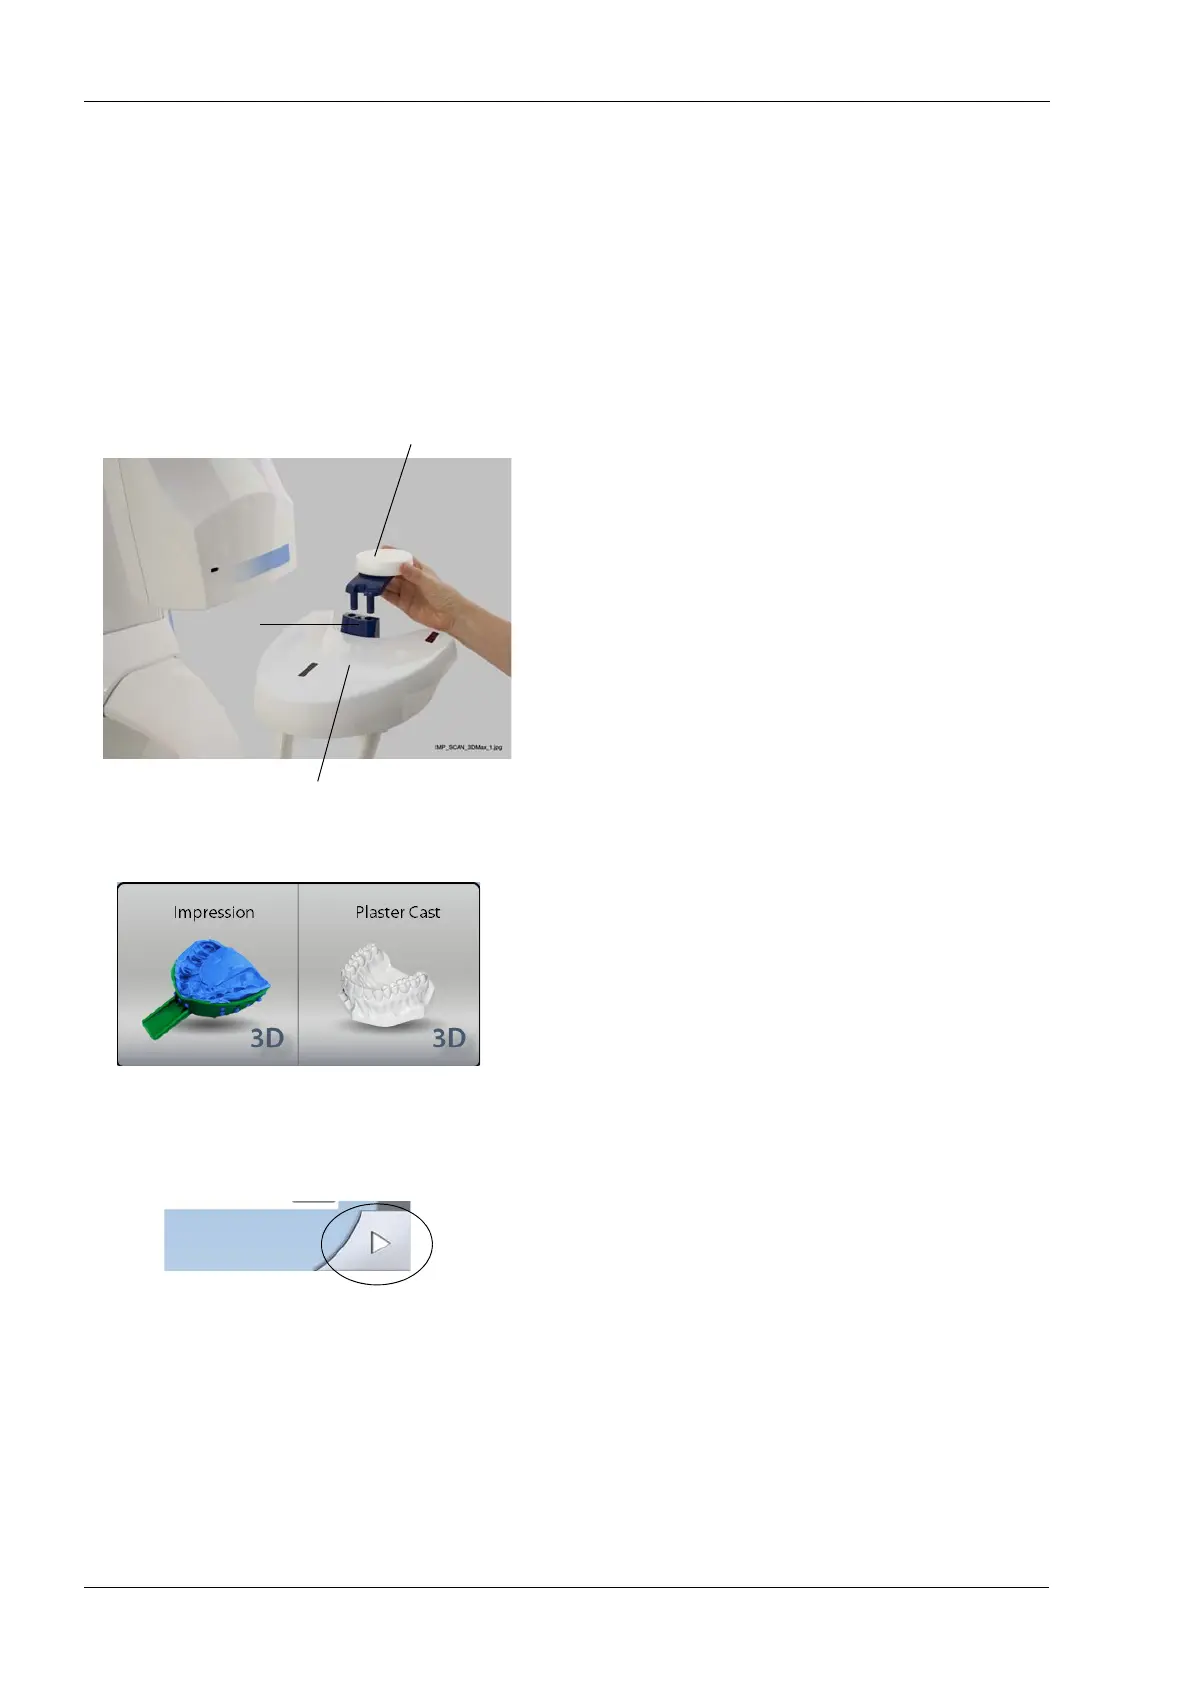
1. Remove any patient supports attached to the X-ray
unit patient support table. Insert the polystyrene disc
provided (part number 10017436) into the adapter if it
is not in place.
2. On the X-ray unit, select the program.
• For impressions select
3D Models > Impression.
• For plaster casts select
3D Models > Plaster Cast.
3. Select the exposure values that you used in the
calibration process for this material. Refer to section
8.2.4 “Adjusting exposure values” on page 22.
4. Select the forward field on the touch screen. The
positioning lights (volume center lights, volume bottom
light and incisor light) come on. The volume center
lights cross in the middle of the image volume.
Adapter
Polystyrene disc
Patient support table
(Part number 10017436)