3D PATIENT EXPOSURE
34 Planmeca ProMax 3D Max with ProTouch
User’s Manual
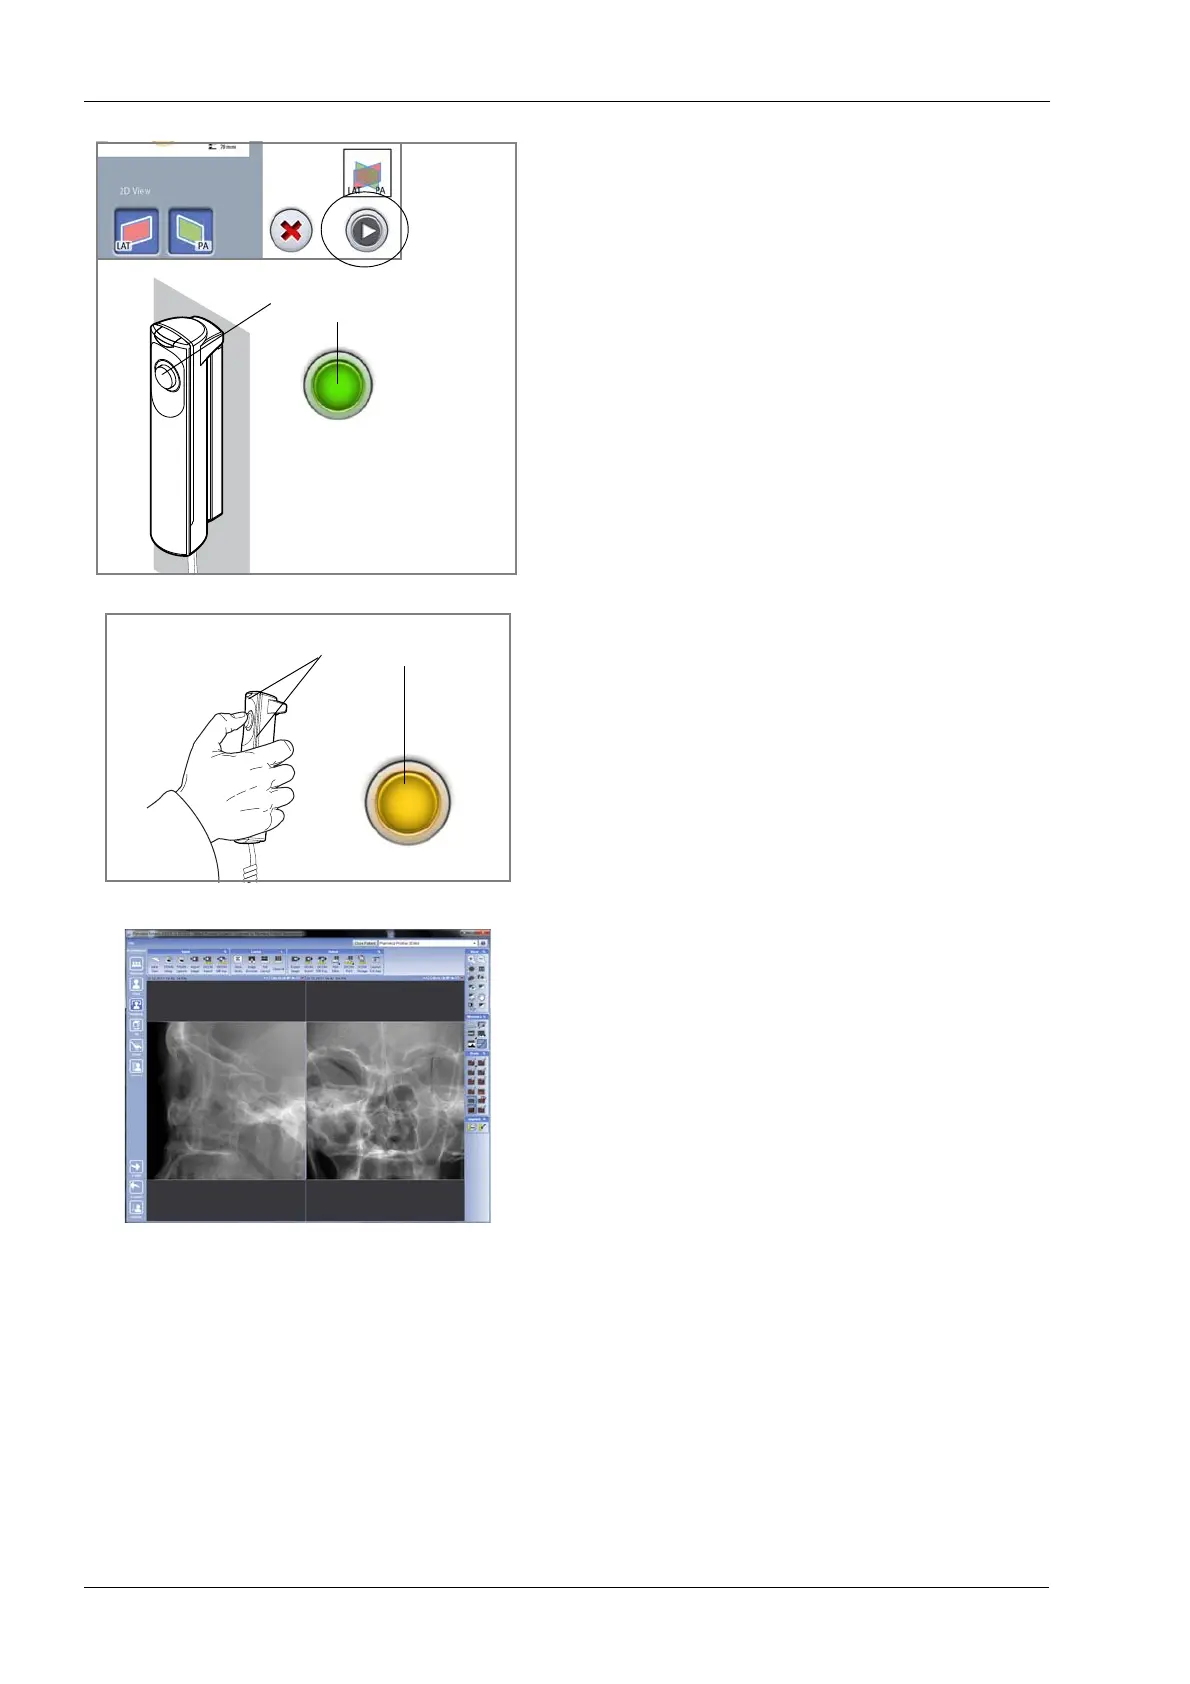
2. Select the forward button.
Green lights flash on the touch screen and exposure
button when the X-ray system is getting ready for an
exposure. The green lights stop flashing and stay on
continuously when the X-ray system is ready for an
exposure.
3. Ask the patient to stay as still as possible.
4. Move to a protected area.
5. Press and hold down the exposure button for the entire
duration of the exposure.
During exposure yellow radiation warning lights
illuminate on the exposure switch and on the touch
screen, and you hear a radiation warning tone.
Additionally, a radiation warning symbol is shown on
the touch screen.
6. The image is shown on the computer screen.
• You can now readjust the volume position as
described in section 8.5 “Adjusting volume position”
on page 29. Use the plus and minus signs that
have appeared on the touch screen to adjust the
position. Then take a new exposure as described
above. Repeat the procedure until the image
volume is in the correct place.
NOTE Scout images are not saved in the Planmeca Romexis
program.
Green lights
Flashing green =
Getting ready
Continuous green =
Ready