156
MBOX® USER MANUAL
Step 5. To remove a username, click the up/down arrows until the username appears in the eld and click the
Remove User button.
Step 6. Once a username (with password) has been entered, content can be
locked with that user’s credentials. To lock content, make sure that
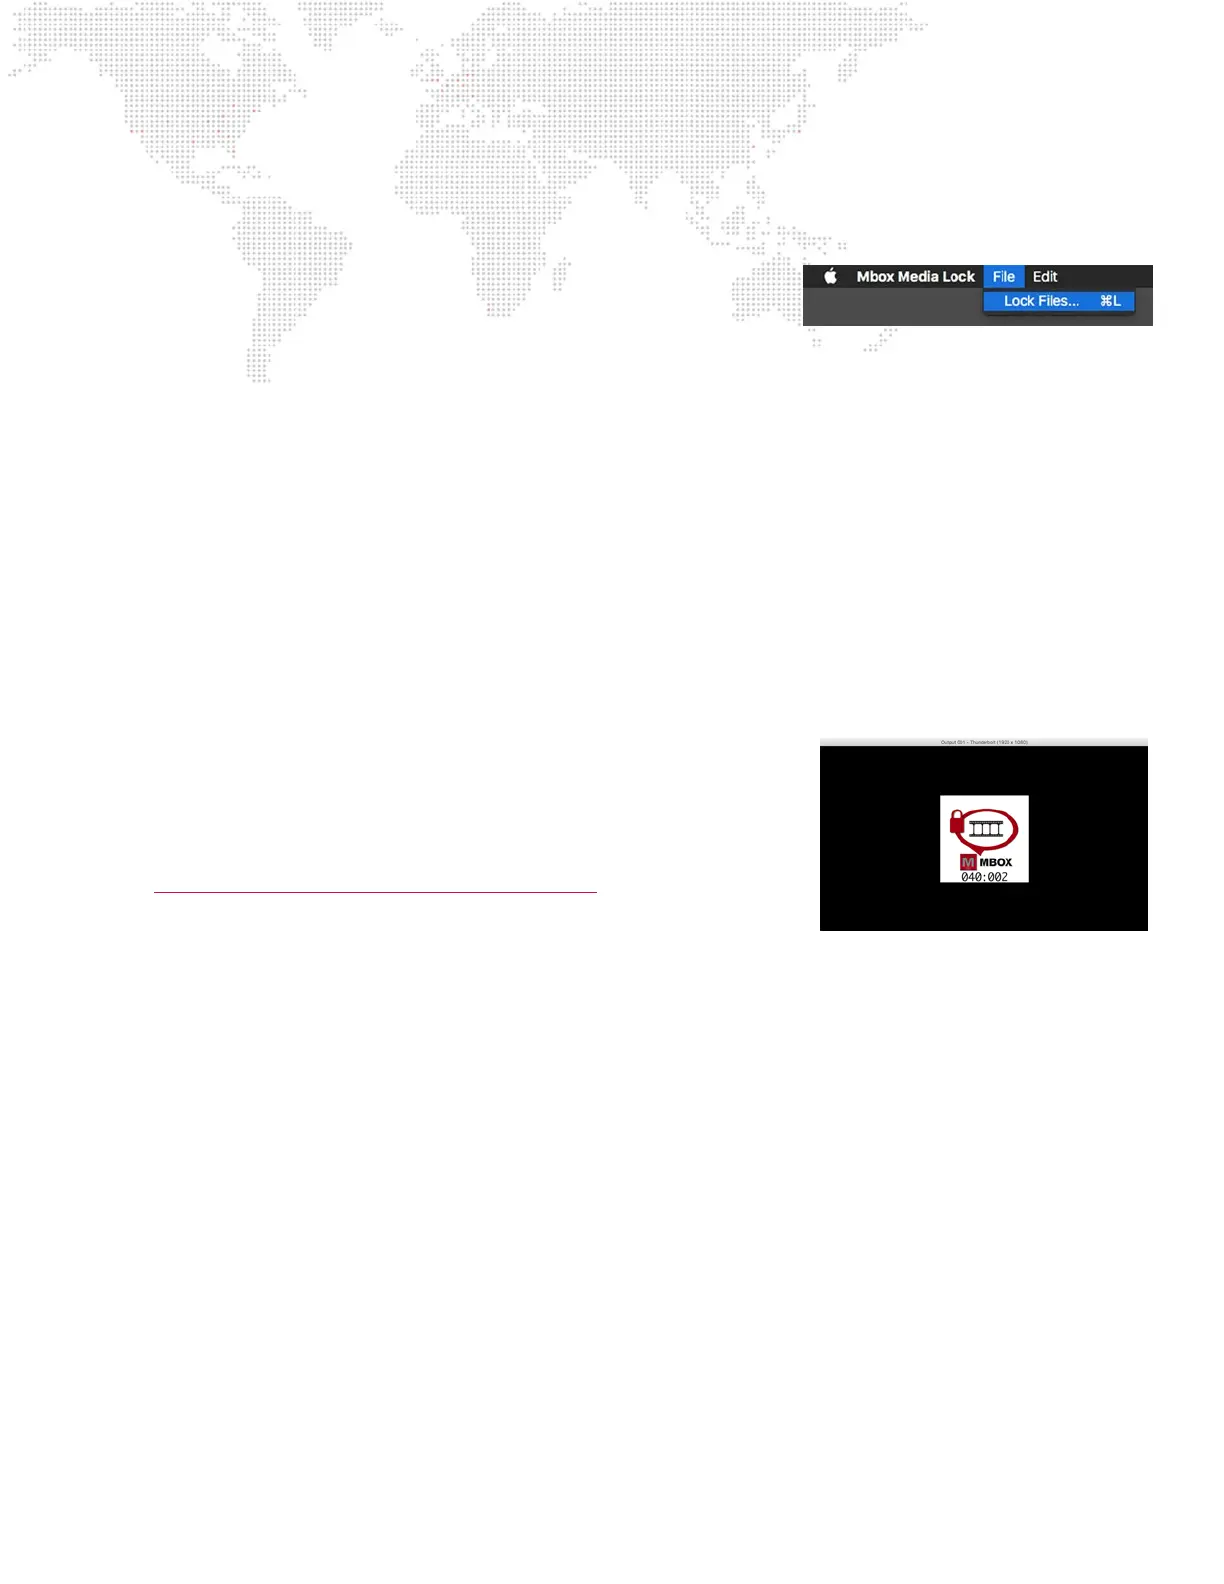
the correct username is displayed and either choose “Lock Files”
from the File menu at the top of the screen or press [⌘L] on the
keyboard. This will open a dialog window allowing for le selection.
Step 7. Navigate to the le(s) to be locked, select, and click the Open button to lock. Select multiple les by using
the [Shift] or [⌘] keys while selecting les. All the content in a folder can be locked by selecting a folder
rather than les.
Step 8. After clicking Open button, the dialog window will close and Media Lock will lock the items. If a large
number of les are being locked, this process may take a minute. Media Lock will display an indication of
how many les were processed and if there were errors in the “Files” and “Errors” elds. If errors occurred,
click on the Log button to open the console log for more information about the errors. Errors can occur if
content is already locked or if the le type is not compatible.
To make locked content unplayable on a rental Mbox server:
+ Simply remove the username that the content was locked with from the system. To make that content playable
again, re-enter the username and password with which the content was originally locked. In both cases it may be
necessary to quit and relaunch the Mbox application if it was running.
When an attempting to play locked content on a rental Mbox server that does not
have the correct username and password entered, Mbox will display the locked
content diagnostic image on the screen. This image will only be seen if the “Show
Diagnostics” preference is enabled on Mbox’s Preferences tab. Otherwise, Mbox
shows nothing on the layer and there is no other notication that the le is locked.
(Refer to “Preferences Table - Categories and Preferences” on page 51)