120
MBOX® USER MANUAL
ABOUT IMAGE REMAPPING
Overview
The Image Remapping functionality of the Mbox software allows the creation of one or more congurations of two-
dimensional rectangular “screen objects” that may be used to reposition, copy, or alter pixels on a layer, while keeping
everything absolutely pixel-accurate. The screen objects within the conguration receive the texture that is provided by
2D content used on the layer. Each screen object can have extra control parameters added, allowing for changes to the
imagery shown on the screen object. Standard control parameters for image remapping allow for intensity or opacity
changes, position changes, rotations, and color changes. Additional parameters allow for further mastering and the
creation of repetitive identical elements with a regular offset.
The image remapping le ( /Mbox/MultiScreenData.plist ) can hold multiple congurations, and each conguration may
be made up of multiple screen objects that can each have unique controls and mapping properties. This structure
creates a hierarchical relationship: File > Conguration > Screen Object > Control. External control over screen object
parameters is handled through Art-Net or sACN input to the Mbox server.
Note: Mbox Designer can have 255 Image Remapping congurations, Studio can have 8, Mini can have 2.
Editing Image Remapping Data
There are two different applications that can be used to edit image remapping data for the Mbox server: the Mbox
application itself and Mbox Remote. The methods for editing image remapping data are the same in both applications.
Eliminated Feature: The Multiscreen Editor application has been superseded with functionality in Mbox and Mbox
Remote and should not be used.
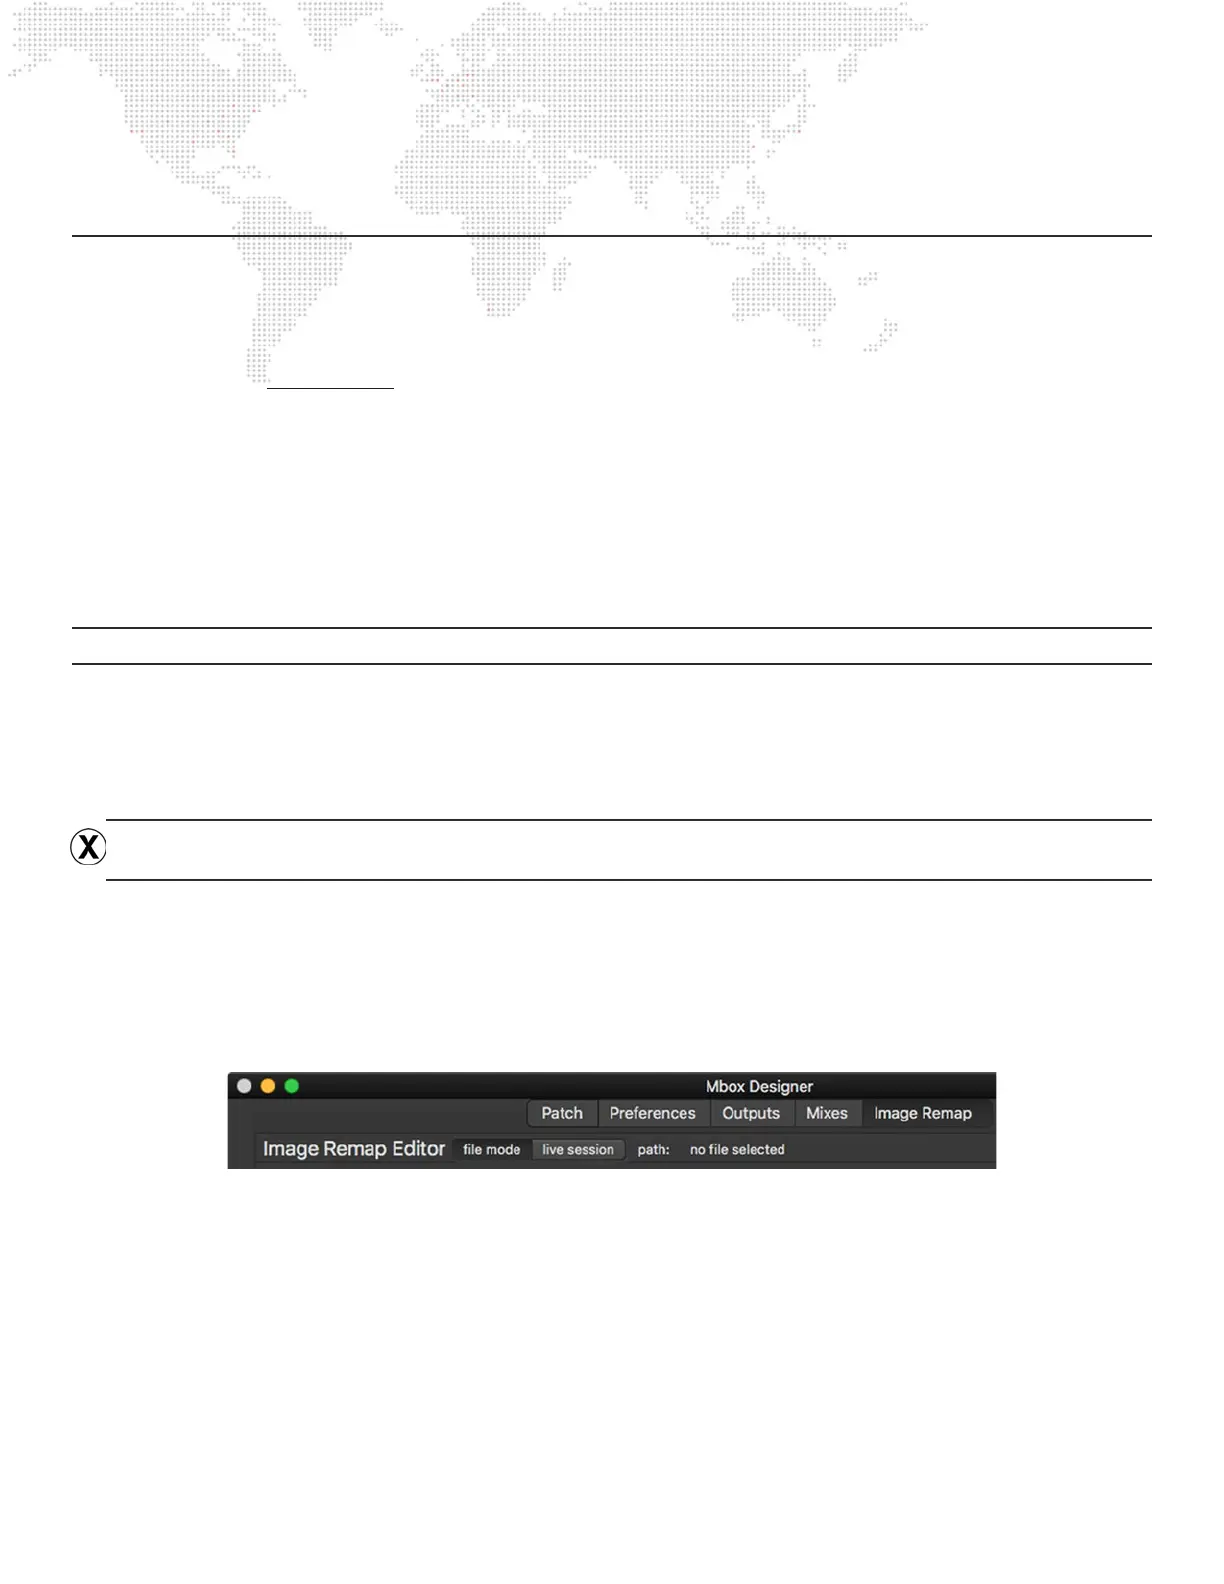
File Mode
Mbox and Mbox Remote are both capable of opening any image remapping le from disk, editing that le, and then
saving that le or saving it with a new name. When opening a le from disk the edits are not live and must be saved to
disk as the default /Mbox/MultiScreenData.plist le for the Mbox application to be able to use them:
Step 1. In Mbox and Mbox Remote, click on the Image Remap tab, and then click on the le mode button. Then
click on Open in the Image Remap menu (or press [⌘O] if using Mbox) to open a le selection dialog.
Step 2. In the le selection dialog, select the image remapping le to open. The le that the Mbox application uses
must be called MultiScreenData.plist and be located in the /Mbox folder, but any image remapping le can
be opened for editing.
Step 3. Click on the Open button at the bottom of the dialog window. The image remapping data will be loaded and
displayed.
Step 4. Edit the data as desired, then save the le using the Save item in the Image Remap menu (or by pressing
[⌘S] ) A “save-as” option is also available to allow the le to be saved with a different name or in a different
place.