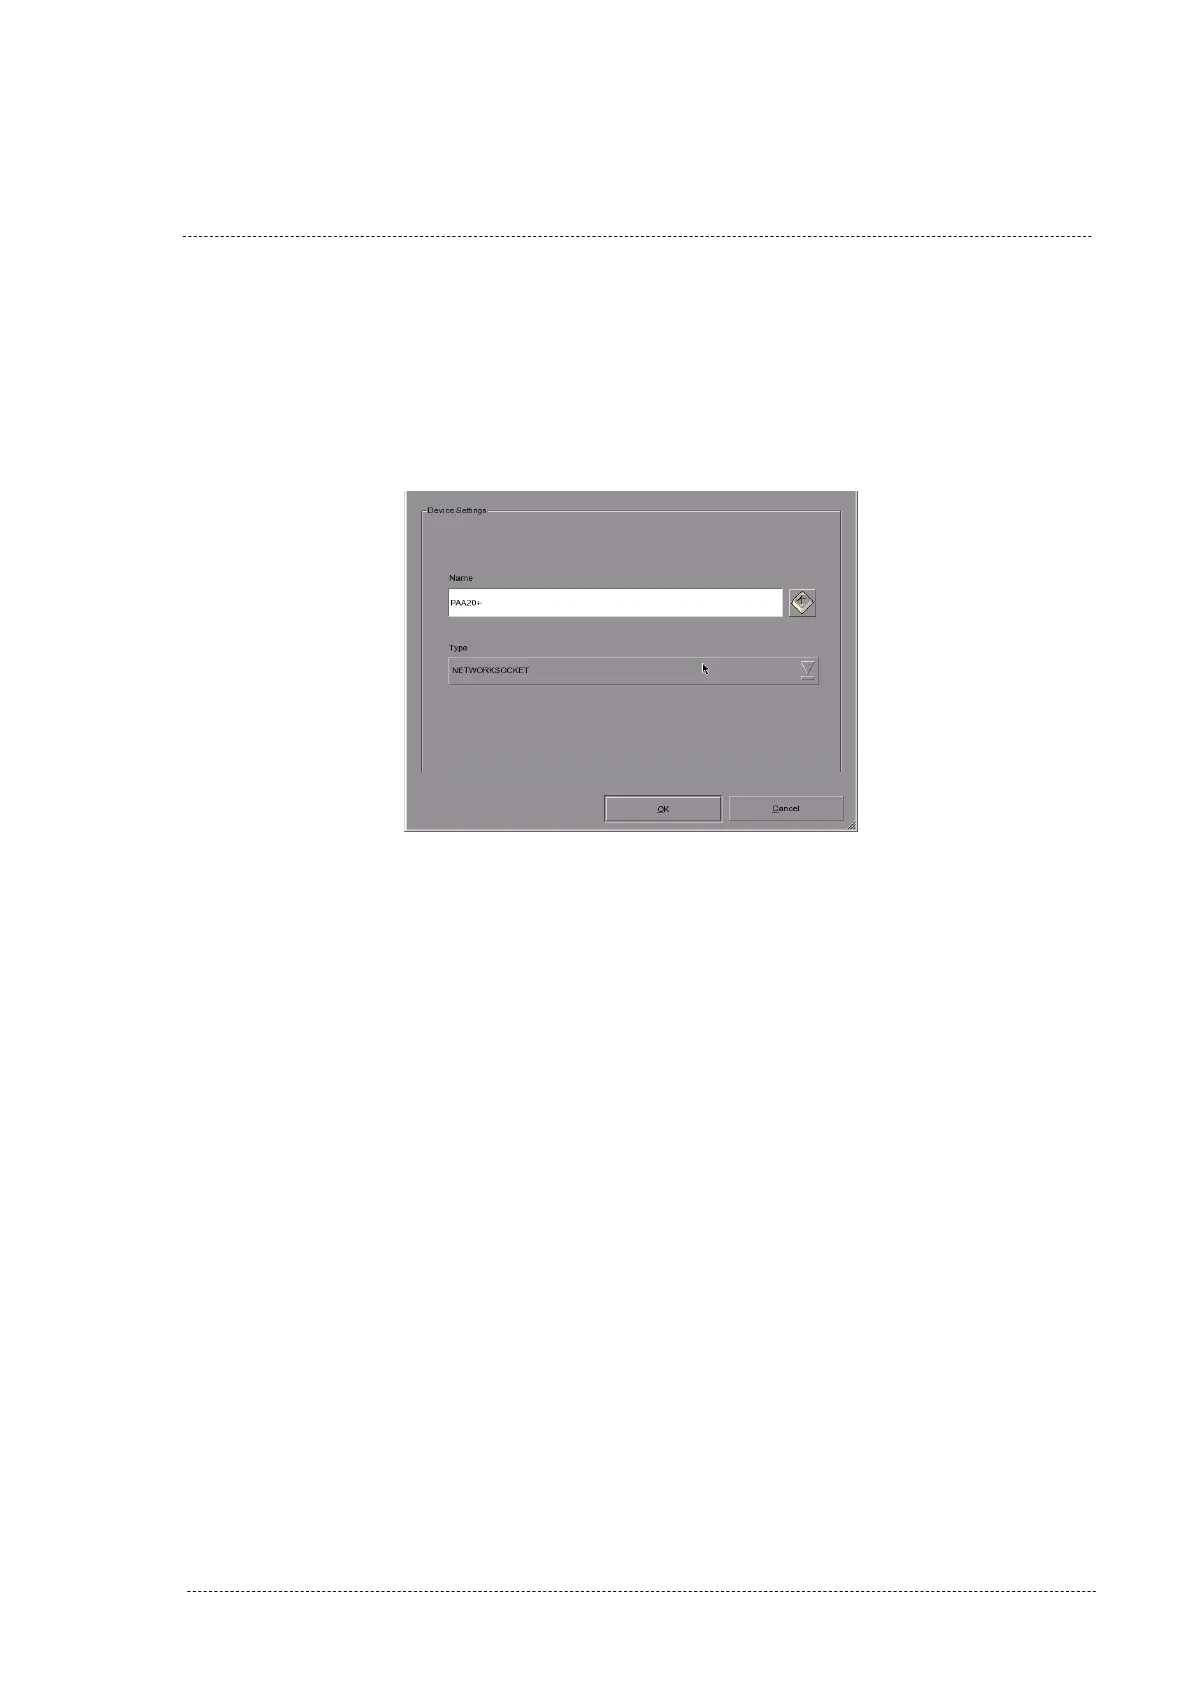
7. Click on the “Add” button to configure the PAA20+. Write down
PAA20+ in the “Name” field and select and select “NETWORKSOCKET”
on the “Type” selection tab. Save setting pressing the OK button.
Figure 8.5.1F.
Figure 8.5.1F
8. Once the PAA20+ is added, you need to configure the network and the
cues in the “Devices” screen. To configure the network you need to fill
in these fields:
• IP address: The IP of the PAA20+, configured in WebAdmin
interface. The PAA20+ factory default is 10.0.0.180. The
PAA20+ must be in the server’s sub-network.
• Port: The TCP/IP port used by the PAA20+ to listen the server
messages. It can be configured on the PAA20+ using the
WebAdmin interface. The PAA20+ factory default is port 10001.
• Local Port: The server TCP/IP port used to listen to PAA20+
messages. It can be configured in the PAA20+ using the
WebAdmin interface. By default is port 13200.
• Status: Selection tab used to Enable or Disable the
communication with the configured device.
• Transport: Must be set to TCP.
INSTALLATION MANUAL: PAA20+ V 2.0 (10/2021) 94