MANUAL – REFLEX EZ-TRAC™ | 32
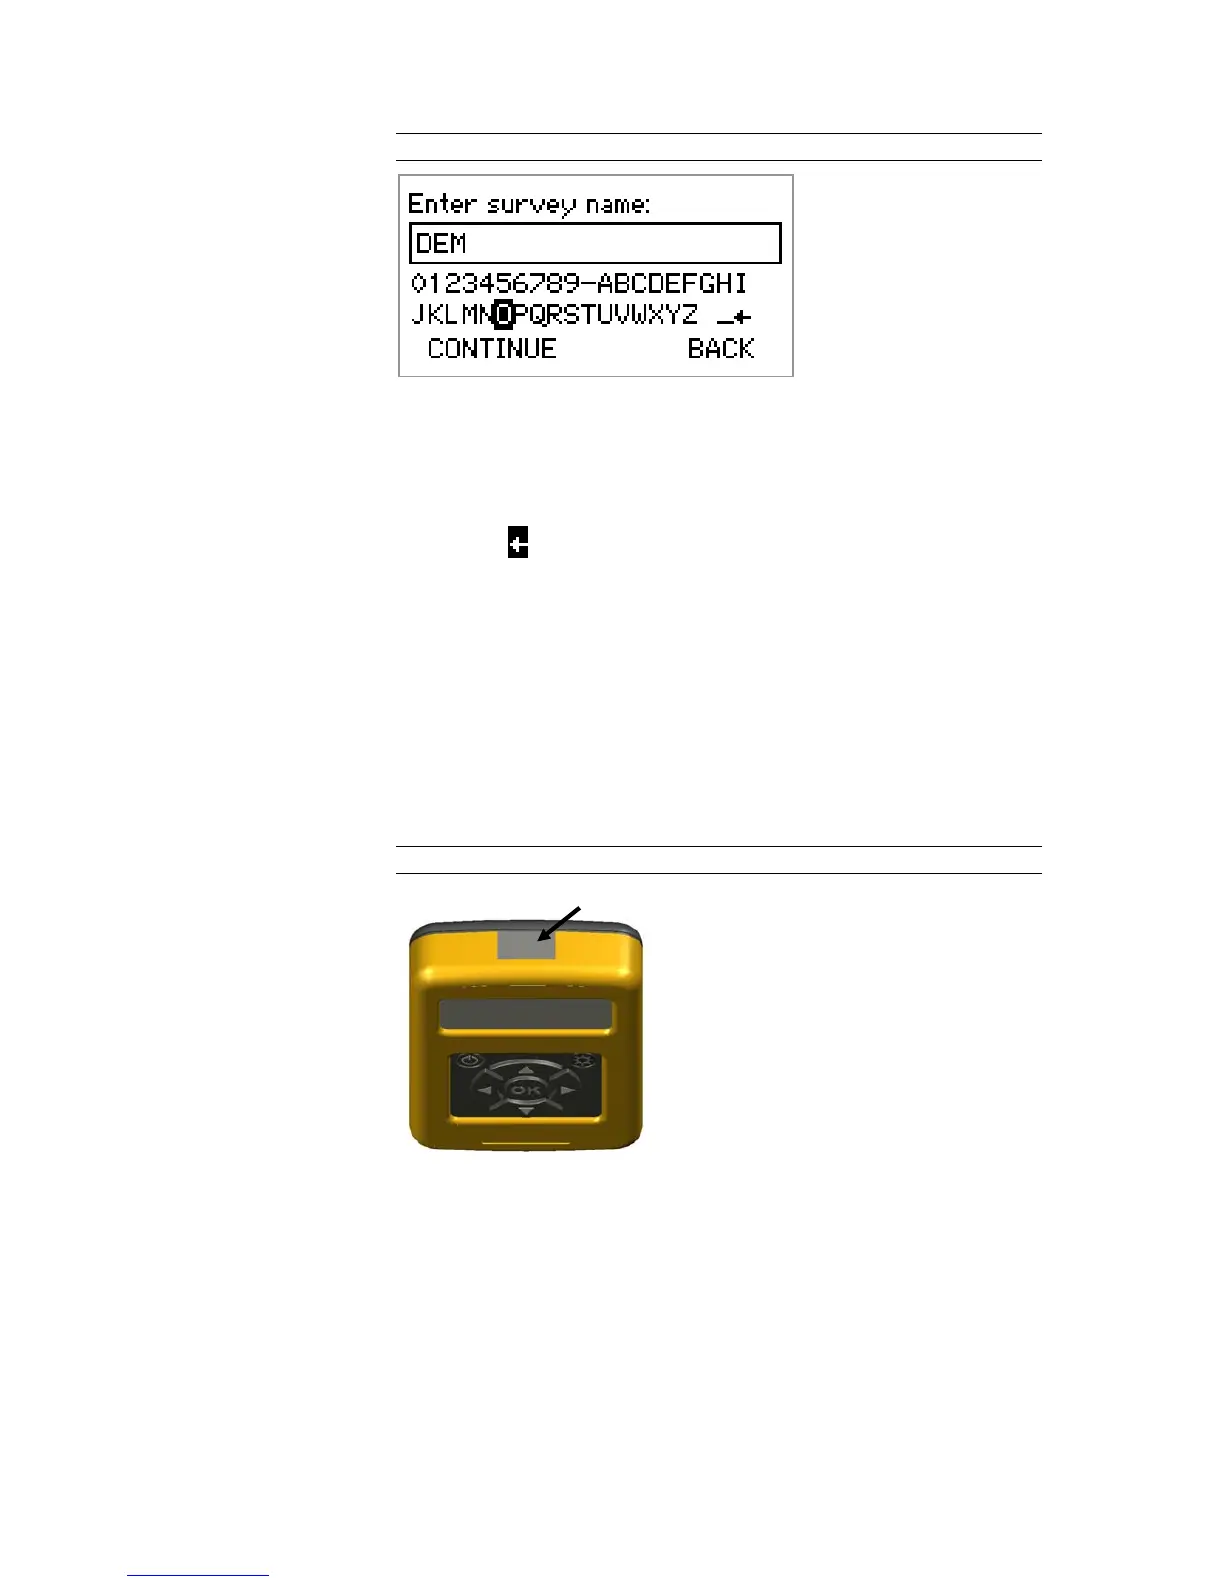
Figure 15 Enter characters
Select character The UP/DOWN and LEFT/RIGHT keys are used to navigate to the
desired character. The OK key is used to select the active character.
Fast navigation If the LEFT/RIGHT key is held down, you navigate directly to the far
left/right.
Delete If the arrow
to the right in the line of characters is active when the
OK key is pressed, the last character is deleted.
Continue When the first character has been entered, the CONTINUE option is
displayed. To continue to the next screen, use the DOWN key to go
to CONTINUE and then the OK key to select CONTINUE.
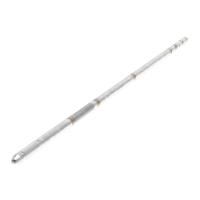
8.1.3 IR communication
REFLEX™ EZ-COM communicates with the instrument via an infrared
(IR) communication connection. The IR port of the
REFLEX™ EZ-COM
is placed in the top of the unit, and it has to be directed towards the
IR port of the instrument for communication.
Figure 16 IR port
8.1.4 USB connector
In the bottom of the REFLEX™ EZ-COM unit there is a USB connector,
which allows transfer of survey files to a PC.
For detailed instructions on how to transfer survey files to a PC,
please refer to the chapter Transfer survey files.
IR port