16A-6
STARTING - CHARGING
Alternator: Removal - Refitting
K9K
16A
REMOVAL
I - REMOVAL PREPARATION OPERATION
a Position the vehicle on a two-post lift (see Vehicle:
Towing and lifting) (02A, Lifting equipment).
a Disconnect the battery (see Battery : Removal -
Refitting) (80A, Battery).
a Remove:
-the engine cover,
-the front wheels (see Wheel: Removal - Refitting)
(35A, Wheels and tyres),
-the front section of the front wheel arch liners (see
Front wheel arch liner: Removal - Refitting)
(55A, Exterior protection),
-the engine undertray bolts,
-the engine undertray,
-the accessories belt (see 11A, Top and front of
engine, Accessories belt: Removal - Refitting,
page 11A-7) ,
-the front bumper (see Front bumper: Removal -
Refitting) (55A, Exterior protection),
-the turbocharger air outlet pipe (see 12B, Turbo-
charging, Intercooler air inlet pipe: Removal -
Refitting, page 12B-41) ,
-the headlights (see Front headlight: Removal -
Refitting) (80B, Headlights),
-the front bumper mountings (see Front bumper
support: Removal - Refitting) (42A, Front upper
structure),
-the top air deflector of the cooling radiator,
-the side air deflectors of the cooling radiator,
-the audible warning (see Horn: Removal - Refit-
ting) (82B, Horn),
-the front impact cross member (see Front impact
cross member: Removal - Refitting) (41A, Front
lower structure),
-the bonnet catch (see Bonnet latch: Removal -
Refitting) (52A, Non-side opening element mecha-
nisms).
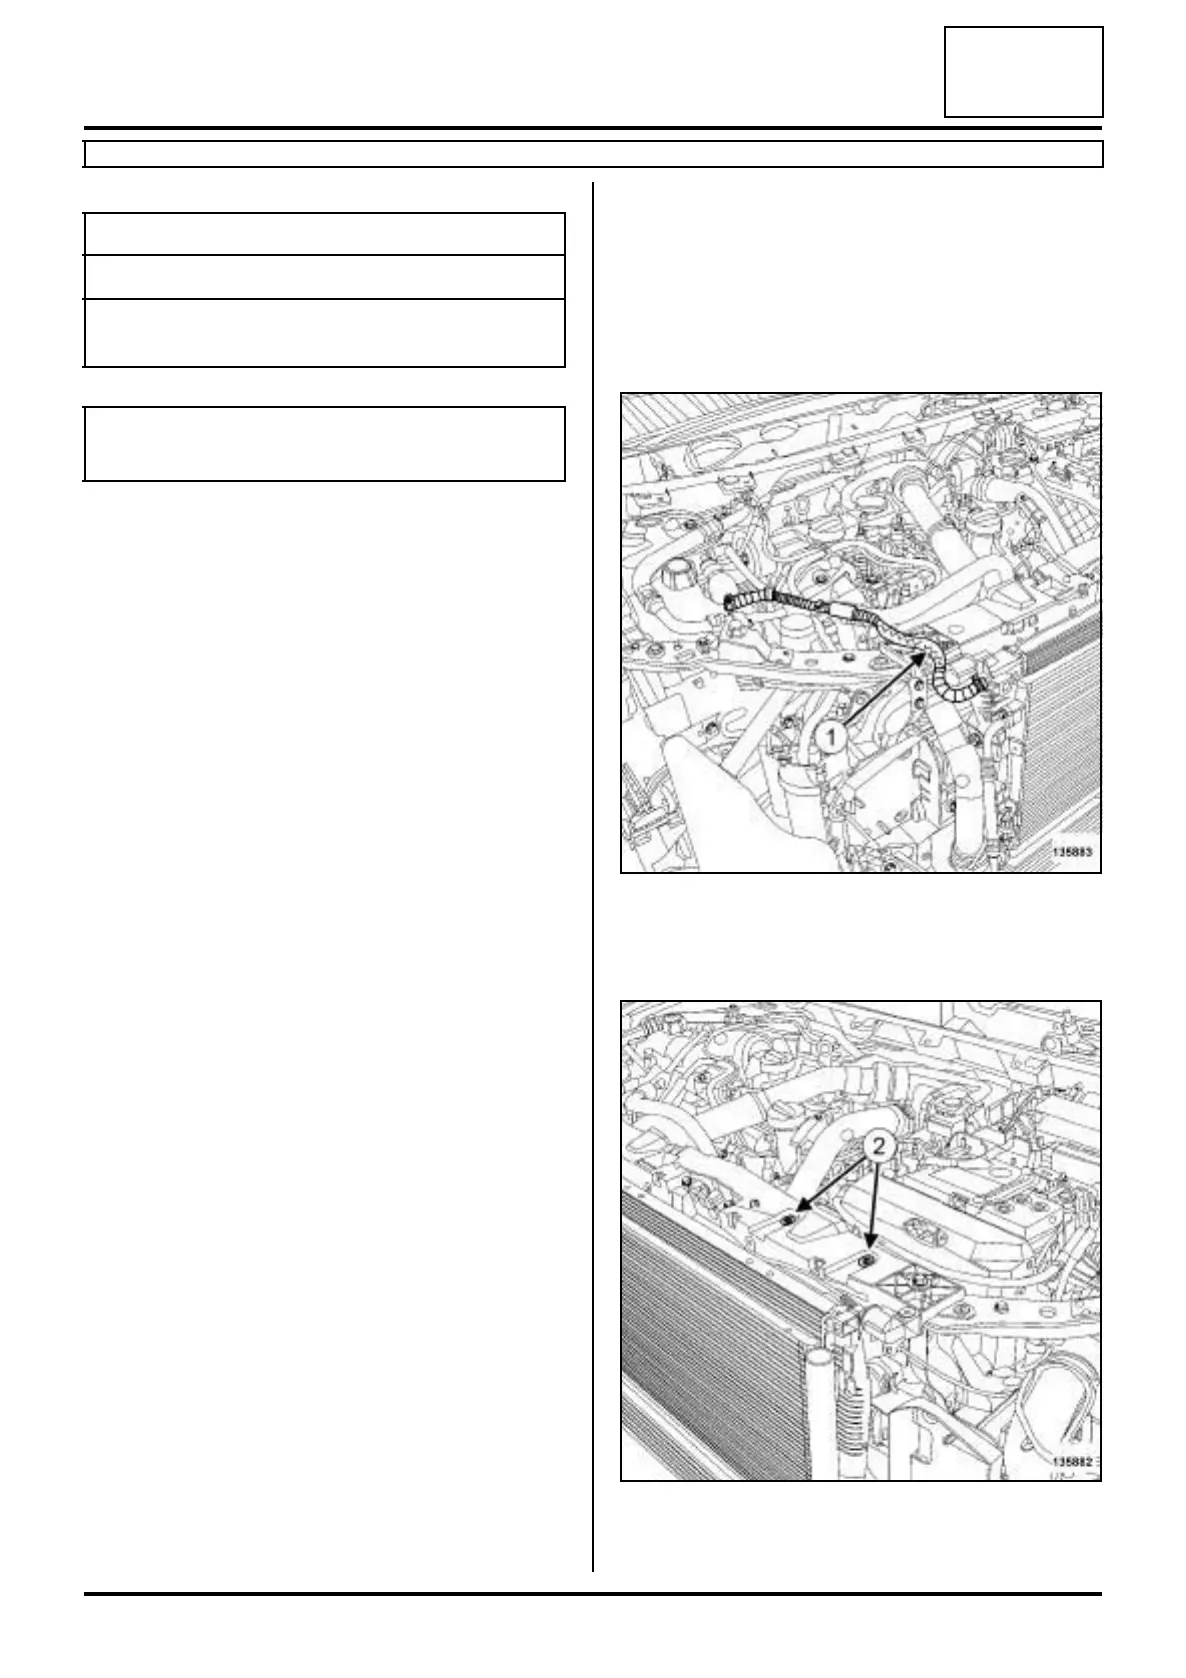
a Unclip the expansion bottle top hose (1) from the
front end panel.
a Remove the engine wiring channel bolts (2) from the
front end panel.
Tightening torquesm
alternator bolts 25 N.m
alternator positive termi-
nal nut
8 N.m
IMPORTANT
Wear protective gloves during the operation.
135883
135882