47
Theprintingplateisheateduprst. Then the axes move to the home position and the extruder is heated.
Once the extruder has reached its operating temperature, printing
starts.
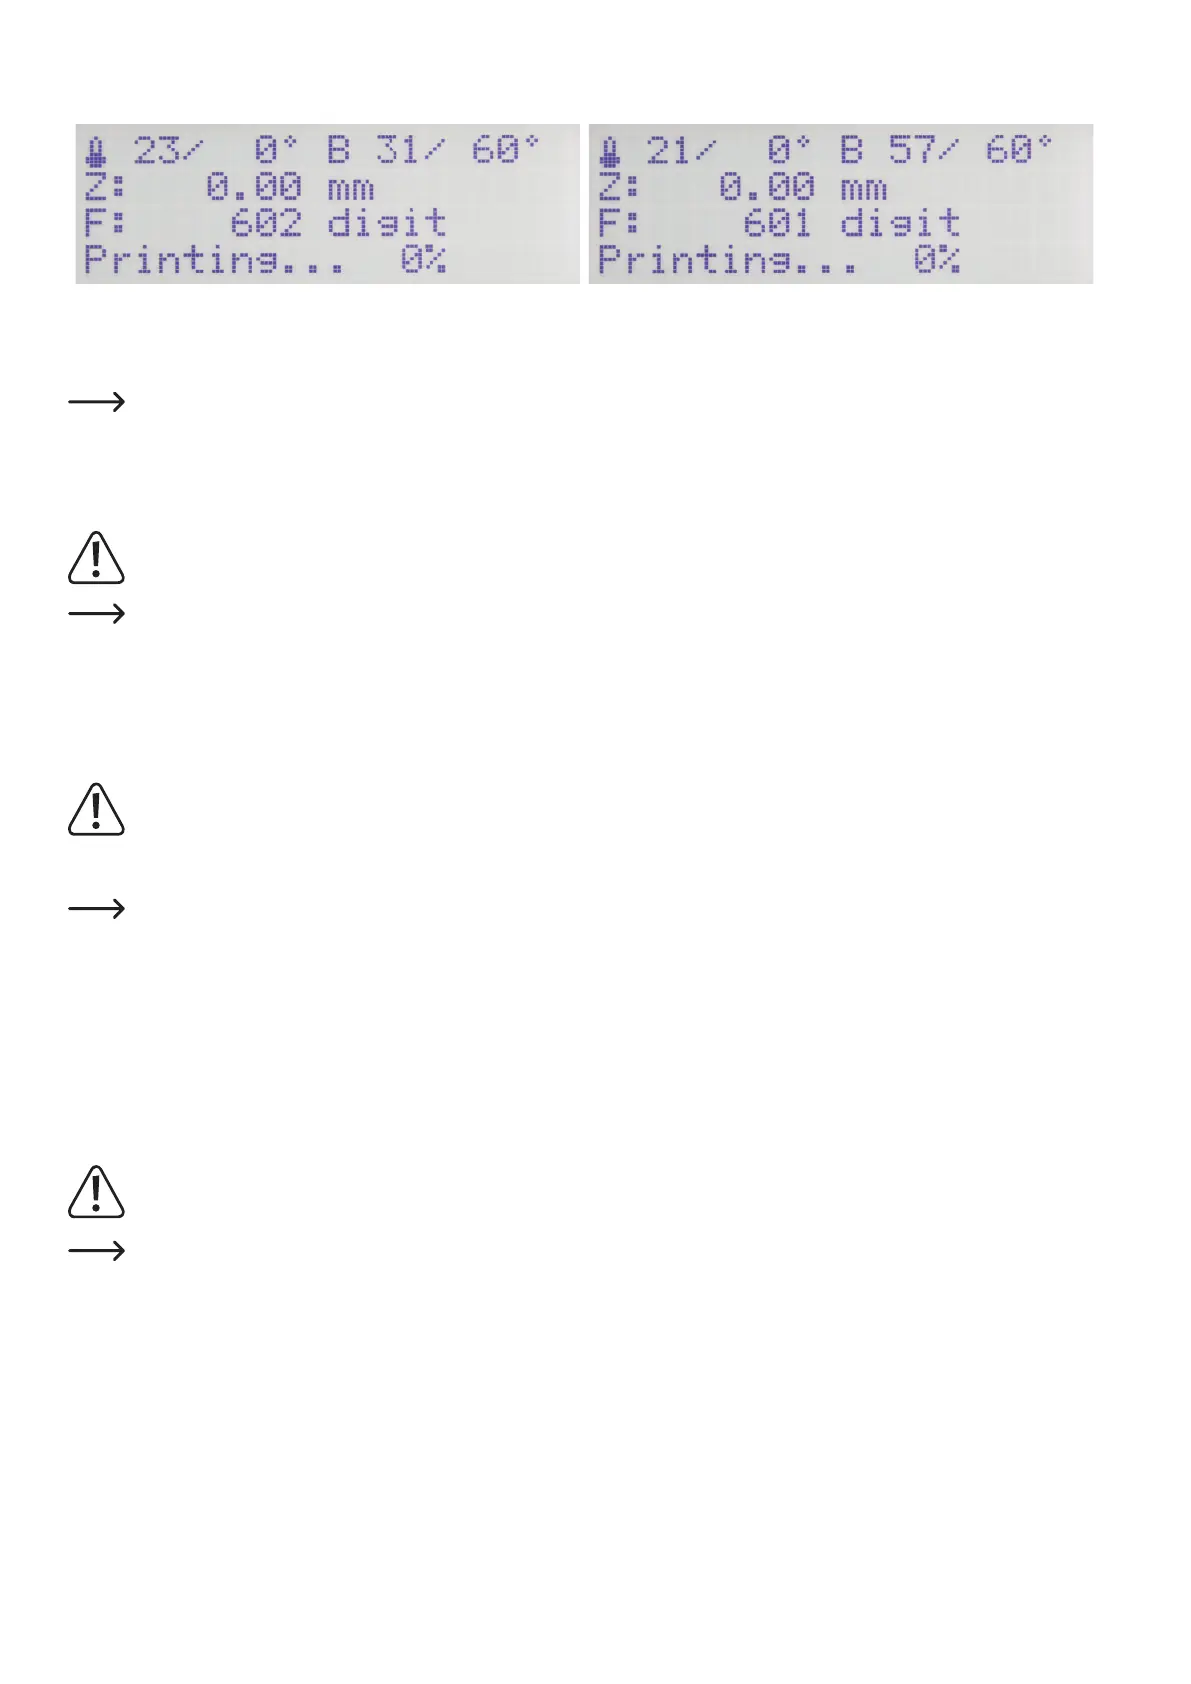
The progress of heating of the printing plate and extruder can be tracked based on the temperature displays in the upper display line.
The printing progress can be tracked in the lower status display.
Duringtherstcentimetresofprinting,thedistancebetweentheprintingplateandtheextruderscanbene-adjustedmanuallywiththebuttons
for printing plate movement (3). If you push the buttons for printing plate movement (3), do not keep the buttons pushed, but only tap them!
For this setting, observe that the extruders must not touch the printing plate since the printing plate and the extruder noz-
zles may be damaged otherwise (loss of warranty/guarantee).
If you have performed the heat bed scan for PLA (Scan PLA) or ABS (Scan ABS), the printer should already set the optimal distance
between the nozzle and printing plate when printing. If you have only performed a quick head bed scan (Scan), you can adjust the
distance with the item "Z Offset" in the menu "Conguration" - "Z Calibration".
When the automatic Z-compensation is active, the display will show "Cmp" next to the Z-position (5).
Ifnolamentescapesfromtheextruderatrst,thelamentinfeedbutton(4)mustbepusheduntillamentescapes.
Itispossiblethatlamentchipscollectovertimeatthelamentfeedknurls.Theyshouldberemovedunderallcircum-
stances(ifpossible)atonce,e.g.byblowingoff.Checkandcleanthelamentfeedknurlsregularly!Otherwise,itispos-
siblethatthechipswilladheretotheknurlsandthatnolamentcanbeconveyedanymorebecauseofthis(theknurlsslip
through then).
By default, the fans at the extruder run starting at the 4th layer for PLA and ABS, provided that the slicer settings have not been
changed.
Depending on the printed object, the printing result at ABS may be better without the fans, however. In that case, switch off the fans
in the slicer settings.
The tolerances of the fans may cause them to only start up at 20% or 25%.
Let the printed object cool off for a few minutes after printing. When the temperature of the printing plate is below 40 °C (see display), the printed
object comes free easier from the printing plate and you can remove it.
If the printed object does not come loose easily, you can loosen it carefully with a glass scraper, razor blade spatula, knife, etc.
Do not apply any mechanical force on the printing plate. There is a risk that the printing plate will be damaged by this (loss
of warranty/guarantee)!
To ensure stable operation, print from SD card for longer printouts. Otherwise, it is possible that printing is interrupted because the
printer is restarted via the USB interface. This can be caused by restarting the PC, re-initialising the USB controller or by a virus
scanner.
Whenyouhavecompletedtherstprintoutsuccessfully,werecommendurgentlythatyoucalibratethelamentinfeed(chapter
"19.b)Fineadjustmentofthelamentinfeed").Thiscompensatesfortolerancesoftheinfeedknurl.
Ownersofprinterswithadualextrudershouldalsoadjustthetwoextruderswithoutdelay(XandYextruderoffset).Forthis,observe
chapter "19. c) Fine adjustment of the two extruders".