63
f) More detailed description of the slicer functions
Below some settings of the slicer are explained that are only to be changed by experienced users. The use of wrong set-
tings can result in damage to the 3D printer or defective printouts.
Beginnersshouldrstworkwiththebasicsettingsthatareintegratedinthecustomversioninanycase.
Ifyoumakeanychangestothesettings,thesemustbesavedinthecongurationsettingsbyclickingthediscicon.
Savethedifferentsettingsasacongurationsetting.Assignuniquenamesforthedifferentcongurationsettingssothatyoucan
assignthemuniquelytothedifferentlamenttypes,printresolutions,etc.later.
For more information, read the integrated online help function.
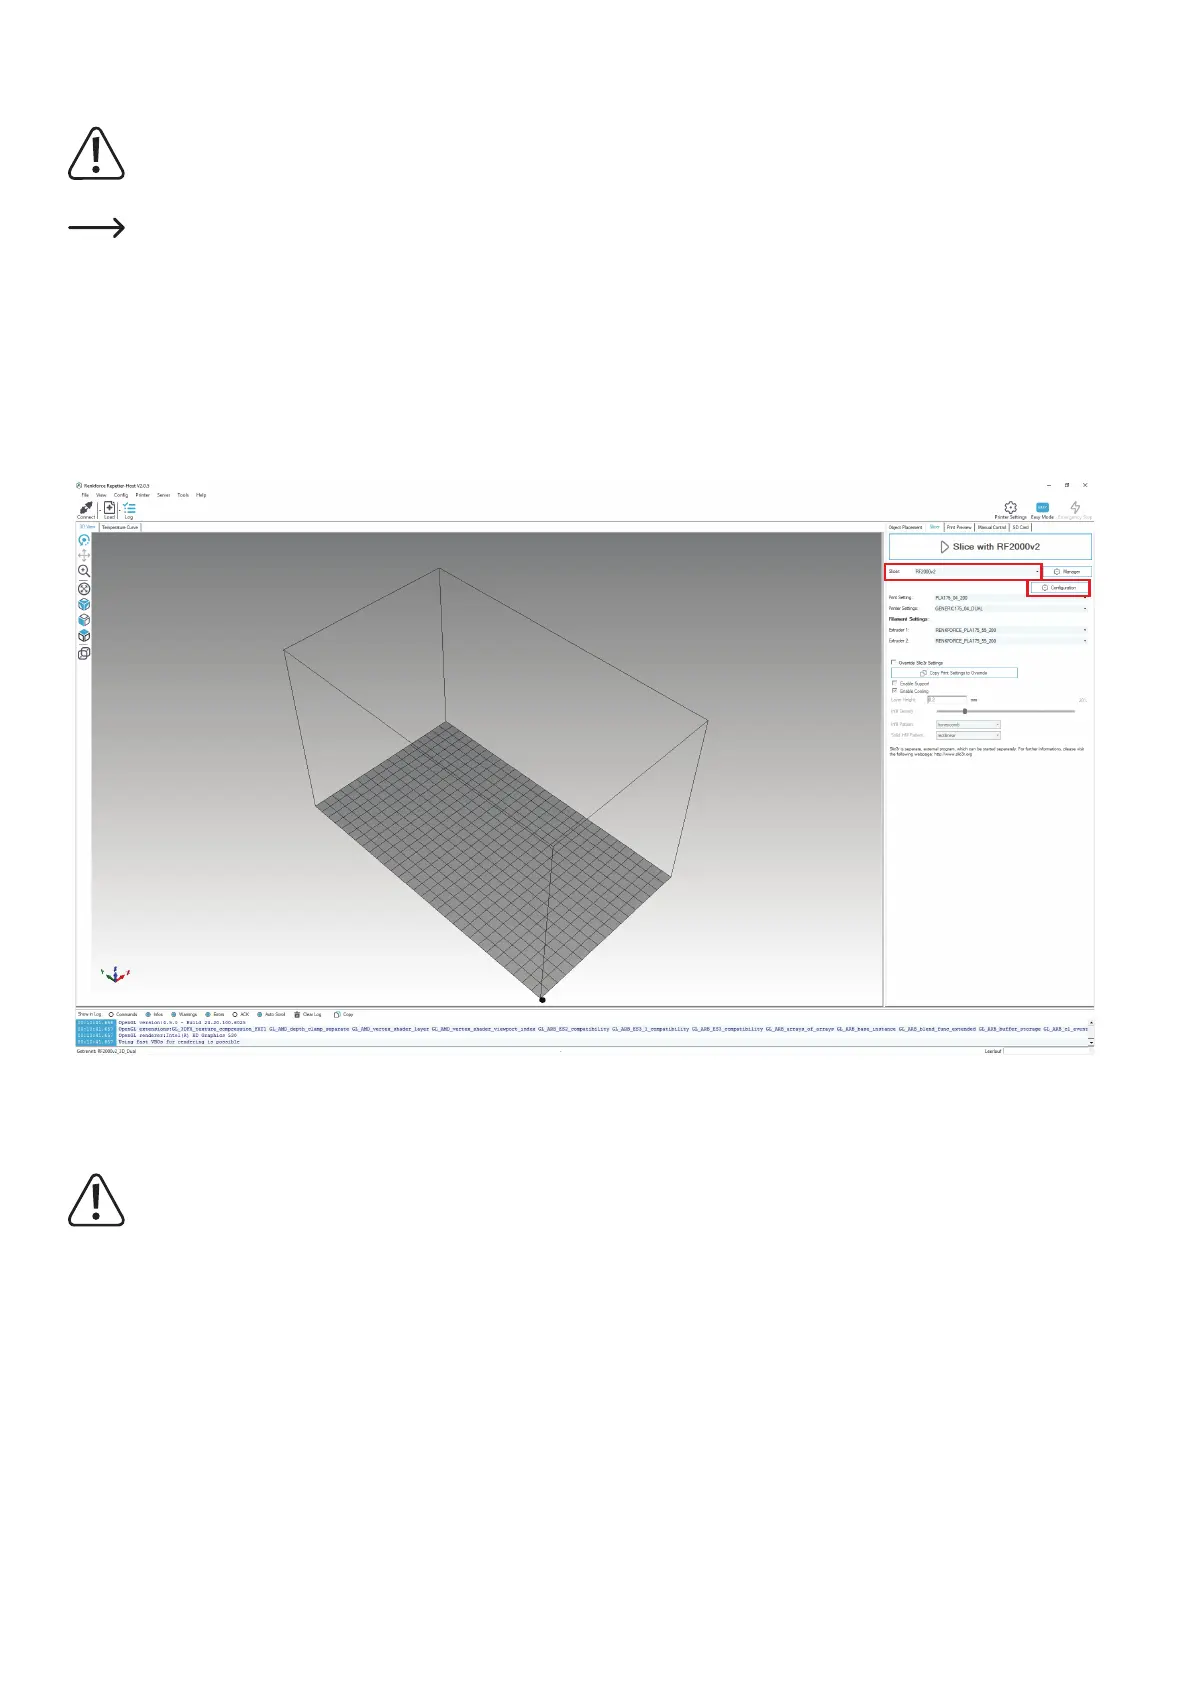
(1) Click the software in the tab "Slicer".
(2) Select the slicer for which you want to open the settings. In our example, this is "RF2000v2".
(3) Click "Conguration".
The Slicer window is opened (this may take a few seconds).
Attention!Ifyouadjustvalueswithdecimalplacesonthefollowingcongurationpages,pleasenotethattheinputmust
not be made with a comma but with a dot.
Example: „Layers and perimeters“ - „Layer heigth“: 0.2 = right 0,2 = wrong
„Filament“ - „Diameter“: 1.75 mm = right 1,75 mm = wrong
„Extruder“ - „Nozzle diameter“: 0.4 mm = right 0,4 mm = wrong
1
2
3